
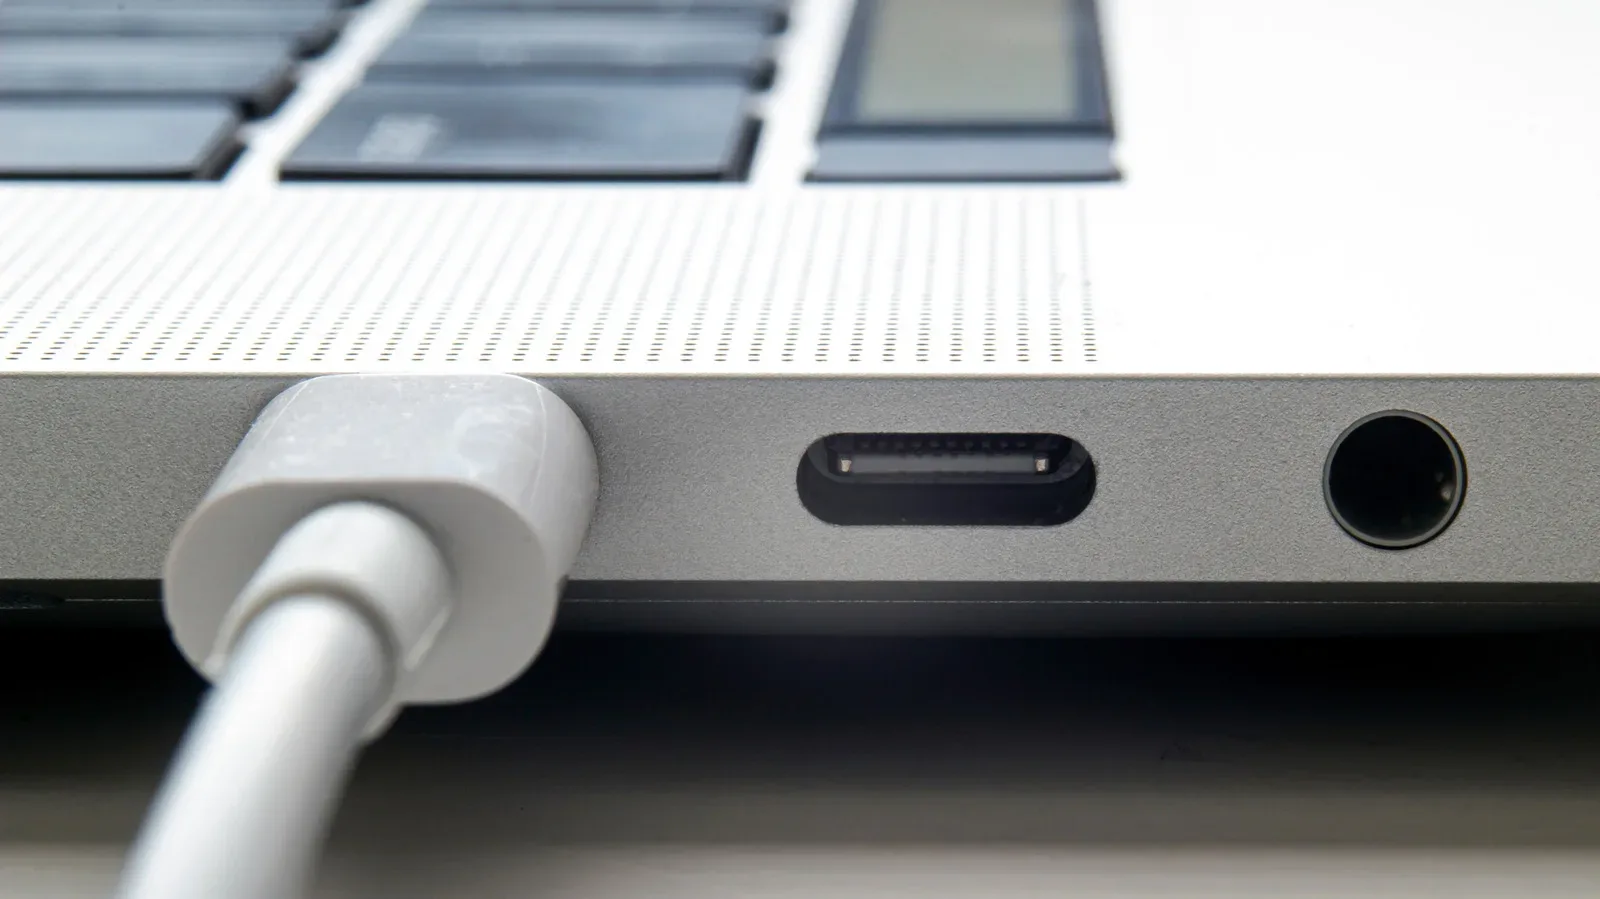
A USB accessory failing to appear on a MacBook is the sort of tiny technical problem that can derail an entire evening. A controller may not register, a wireless receiver can go silent, an external SSD might not mount, or a dock can leave a keyboard and mouse looking perfectly connected while accomplishing absolutely nothing.
The useful starting point is that “not showing up” does not describe one single failure. A Mac may be blocking data access until you approve the accessory. It may detect the device but lack the software or compatible file system needed to use it. The port, dock, cable or accessory may also be unable to provide or carry what the setup requires. Treating each of those as a separate possibility makes troubleshooting quicker and avoids changing several variables at once.
For gaming setups especially, this matters because a single laptop can be connected to storage, a display dock, a headset adapter, a wired controller and one or more wireless receivers. Every extra link is another point at which power or data can fail. The simplest approach is to begin with macOS’s security prompt, confirm whether the Mac can see the hardware, then move outward through the connection chain.
Start with macOS accessory permission
macOS requires permission for accessories to connect by default. The purpose is security: the setting helps prevent malware being introduced through an attached device. The side effect is easy to mistake for broken hardware. If permission was declined, a legitimate accessory may receive charging power yet be unable to transmit data.
First, unplug the USB device and plug it in again. This can make the permission request reappear. If it does, approve the accessory and then test the function you actually need, whether that is input from a controller, access to a drive or connectivity from a receiver.
You can review the behavior for new accessories through Apple menu > System Settings > Privacy & Security. Scroll to the Accessories section. The available choices are:
- Ask for new accessories: macOS requests approval when a new device is connected.
- Automatically allow when unlocked: new accessories are allowed while the Mac is unlocked.
- Always allow: accessories are allowed without that protection layer.
The first two choices preserve an important degree of control. “Always allow” may be convenient, but it is best reserved for a machine that is consistently attended or kept in a highly secure setting. If the question is why one newly connected device has stopped working, broadening this setting before trying a reconnect may hide the actual cause and reduce security for no benefit.
Check whether the Mac detects the device at all
After addressing permission, the next question is much more precise: does macOS know the accessory exists? Hold the Option key while clicking the Apple menu, then select System Information. Look under Hardware for the accessory.
This check divides the problem in two.
- The device is listed: the Mac has detected it at a hardware level. The remaining issue may involve the accessory’s own required software, a compatibility problem, or—when working with external storage—the drive’s file system format.
- The device is not listed: focus on the physical route between device and Mac: the cable, the selected port, any hub or dock, and available power.
- The device is listed but errors appear when it is connected: power is a likely candidate, particularly if the warning refers to the accessory needing more power.
This distinction matters because it prevents an unproductive loop of software updates when the Mac cannot see the hardware, or repeated cable swapping when the device is present but needs vendor software. It is a simple diagnostic checkpoint rather than a guarantee of compatibility, but it gives the next step a direction.
Remove hubs and docks from the equation
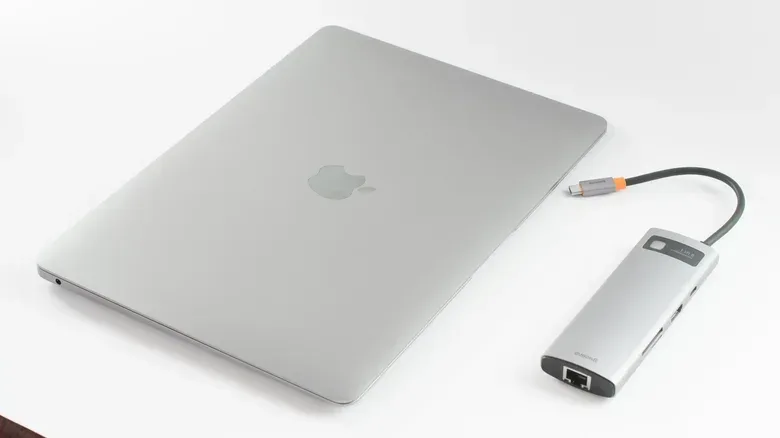
When a USB device is connected through a hub, dock or display, test it directly on the MacBook if a free port is available. This is one of the most useful isolation steps because an intermediary must successfully pass both data and, in many cases, power. A direct connection removes an entire hop from the chain.
That does not mean a dock is necessarily defective. Different devices can behave differently on the same dock. A storage drive may function while a wireless mouse receiver does not, for example. The working drive only proves that part of the chain is operating under that device’s demands; it does not prove every port, receiver or power condition is suitable for every accessory.
For a gaming desk setup, direct testing is particularly helpful with small wireless adapters, controllers and external drives. Disconnect the accessory from the dock, connect it straight to the MacBook, and retest. If it works directly, the issue is likely somewhere in the hub-or-dock route rather than with the accessory alone. At that point, check whether the hub or dock has its own power supply and whether it is connected as intended.
Hubs and docks often need separate power. Even models that do not require it can still become a weak point in a longer device chain. This is why direct connection is more than a ritual reboot-style fix: it is a way to learn which portion of the path is responsible.
Understand the power warning before buying anything
Some USB accessories need more power than a Mac’s USB port can provide. macOS may display a related message. If the accessory has a separate power cable, connect it and test again. That is a distinct issue from whether the cable physically fits or whether the device lights up; an accessory can appear partially alive yet lack sufficient power for its complete function.
Try a different USB port on the MacBook as well. If the device works in one port but not another, that result is useful on its own. If power-related alerts continue across ports, or if the Mac appears unable to feed USB power, Apple technical support may be appropriate. Repeated warnings are not a reason to keep forcing a questionable setup into service.
There is also a safety boundary here. A cable with browning or exposed wires should be replaced rather than tested repeatedly. Those are signs of a fire hazard. USB troubleshooting should not turn into a test of whether damaged equipment can limp through one more session.
Cables carry more than a plug-shaped promise
USB cables need to meet a device’s power and bandwidth requirements. In plain terms, bandwidth is the data-carrying capacity needed for the accessory to communicate reliably. A cable that connects physically is not automatically suitable for every role. Before assuming the Mac or device is at fault, verify that the cable being used is appropriate for the accessory’s needs.
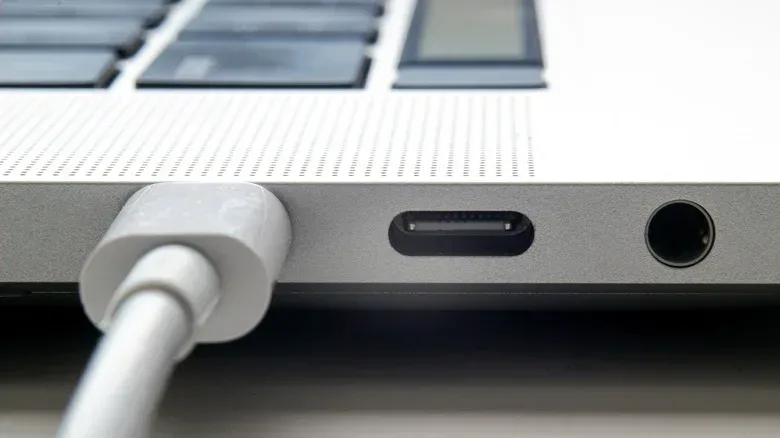
Inspect both cable ends and the ports. Dust, lint, grime or bent pins can interfere with the connection. An air can or a gentle pass with a soft-tipped tool can remove ordinary debris. Do not treat cleaning as a cure for physical damage, however. If the cable itself is compromised, replace it.
A controlled cable test is more informative than rotating through a pile of unknown leads. Use a cable you have reason to trust, connect directly to the MacBook, and check System Information again. If the device appears after that change, the original cable is a strong suspect. If nothing changes, move on instead of assuming every replacement cable will produce a different result.
Update macOS and any required accessory software
If the Mac recognizes the device but it still will not perform its task, check software next. Open Apple menu > System Settings > General > Software Update and make sure macOS is current. Bugs or driver compatibility issues can interfere with attached hardware.
A driver is software that helps an operating system communicate with hardware. Some accessories rely on proprietary software to do much of anything. If that applies to your device, install the latest version available from the Mac App Store or the manufacturer’s website. The key point is not that every USB accessory needs special software; many do not. It is that detection alone does not always mean an accessory is ready to work.
Keep this stage separate from the connection tests. Update the system or accessory software, reconnect the device, then test it. If you change the cable, dock, settings and software all at once, a successful result will not tell you which change solved the problem—and the fault can return when the setup changes again.
External SSDs, cards and the file-system question
For drives and external cards, a device may be physically detected while its contents remain unavailable. One reason is the file system: the method a drive uses to organize and store data. The compatible formats identified here are APFS, FAT and ExFAT.
APFS is a file system format compatible with macOS. FAT and ExFAT are also compatible formats for external cards and drives. If storage fails to work after the basic connection and permission checks, verify its format before treating the drive as dead. This is especially relevant when moving files between a MacBook and other hardware.
Do not confuse a storage-format issue with a missing USB connection. If the drive does not appear under Hardware in System Information, return to direct connection, power, port and cable checks. If it does appear, format compatibility becomes a more plausible explanation.
External storage is commonly part of a broader gaming-and-work setup. For another way to extend a laptop workstation without relying on a conventional monitor arrangement, see this guide on turning a spare laptop into a second screen for gaming and work.
A practical troubleshooting order
- Unplug and reconnect the accessory so macOS can show the permission prompt again.
- Review the Accessories setting under Privacy & Security; avoid “Always allow” unless the security trade-off makes sense for your situation.
- Open System Information with the Option-key Apple menu method and determine whether the hardware is listed.
- Bypass the hub or dock and connect the device directly to the MacBook.
- Try another Mac USB port and confirm any separate power supply for the accessory, hub or dock is connected.
- Inspect the cable and ports for debris or damage; replace any cable showing browning or exposed wire.
- Install macOS updates and the latest required proprietary accessory software.
- For a drive or card that is detected but unusable, check for an APFS, FAT or ExFAT format.
- Contact Apple technical support if power warnings persist or the Mac seems unable to provide USB power.
The main advantage of this order is that it moves from reversible, low-effort checks to the issues more likely to need support. It also respects the fact that charging, detection and full data use are different milestones. A device that charges is not necessarily approved for data, a device shown in System Information is not necessarily configured with the software it needs, and a drive that is detected is not automatically in a usable format.
By checking one layer at a time, most USB mysteries become less mysterious—and a MacBook gaming setup can get back to being a setup rather than a cable archaeology project.