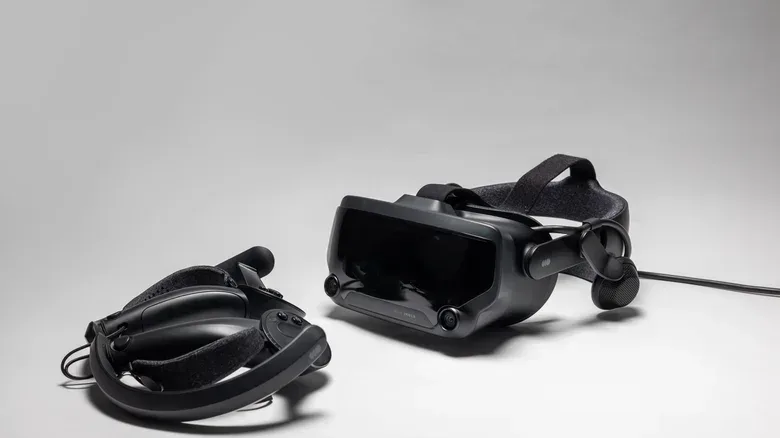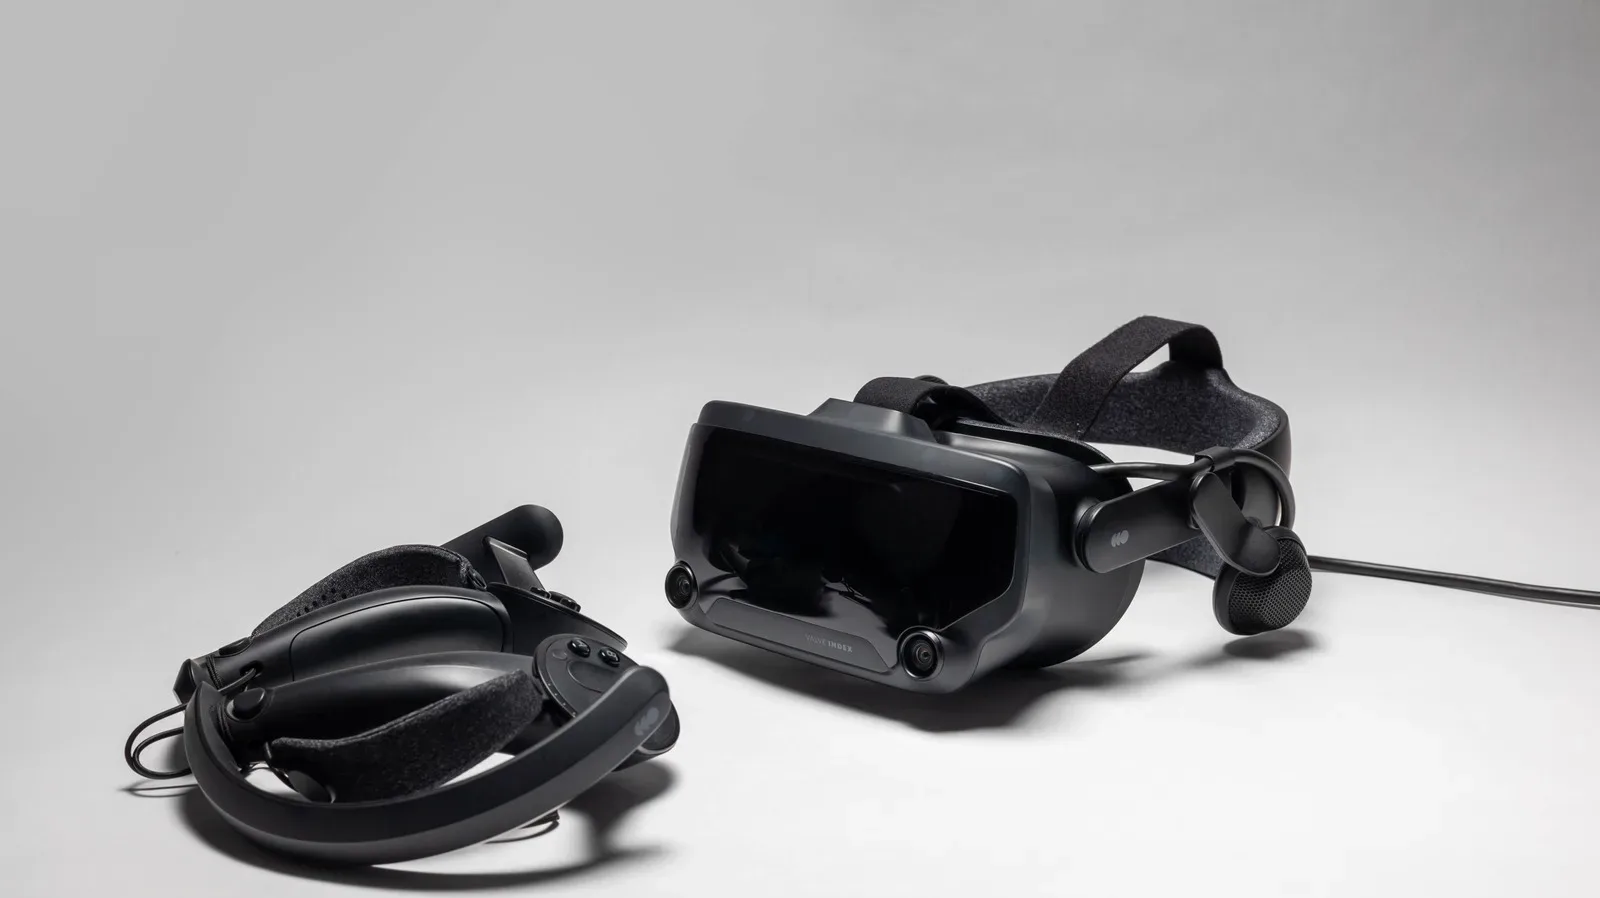
Steam’s VR mode is accessed through SteamVR, the free application that connects a compatible headset and its tracking hardware to the Steam library. It is less a hidden switch inside the regular Steam client than a separate VR layer: SteamVR detects the headset and controllers, guides you through the available play space, and then provides a dashboard for launching VR-supported games and adjusting system options.
The important part is that owning a particular newly released headset is not a requirement for using VR through Steam. SteamVR supports hardware from Valve, HTC, Meta/Oculus and other manufacturers. What matters is having compatible VR hardware connected and configured for the PC, whether that connection is wired or supported wirelessly.
This guide covers the practical setup sequence, what SteamVR’s room choices mean, where to find the dashboard, and which advanced options are worth understanding before changing them.
What SteamVR actually does
SteamVR is the software layer that lets Steam communicate with a VR headset, its controllers and, where applicable, external sensors. Once running, it can render compatible games in virtual reality and place a version of the PC desktop inside the headset.
It also supplies several pieces of the VR experience that are separate from an individual game:
- Hardware tracking: confirming that the headset and controllers are detected and ready.
- Play-area setup: choosing whether a player will move around a defined area or remain in one place.
- The dashboard: a quick-access interface for Steam, games, settings and the desktop.
- Safety boundaries: the Chaperone system can help players keep track of the usable physical area.
- Performance controls: options for graphics behavior, frame delivery and controller configuration.
In other words, SteamVR is the cockpit. The Steam client is still where a library and store live, but SteamVR is where a VR-compatible title becomes an in-headset experience.
Before opening SteamVR
Start with a Steam account and a PC that is ready to connect to the VR device. Ensure the headset, controllers and any sensors required by that hardware are connected before beginning the SteamVR setup. This is a simple but important order of operations: the initial diagnostics need to see the devices in order to confirm tracking.
For a wireless route, Steam Link support is available for Meta Quest 2, Meta Quest 3 and Meta Quest Pro, along with HTC Vive Focus and PICO headsets. The Steam Link app is the relevant component in that scenario. A wireless setup is still a setup: install the app on the supported device and make sure the rest of the required hardware and software connection is in place before expecting SteamVR to detect it.
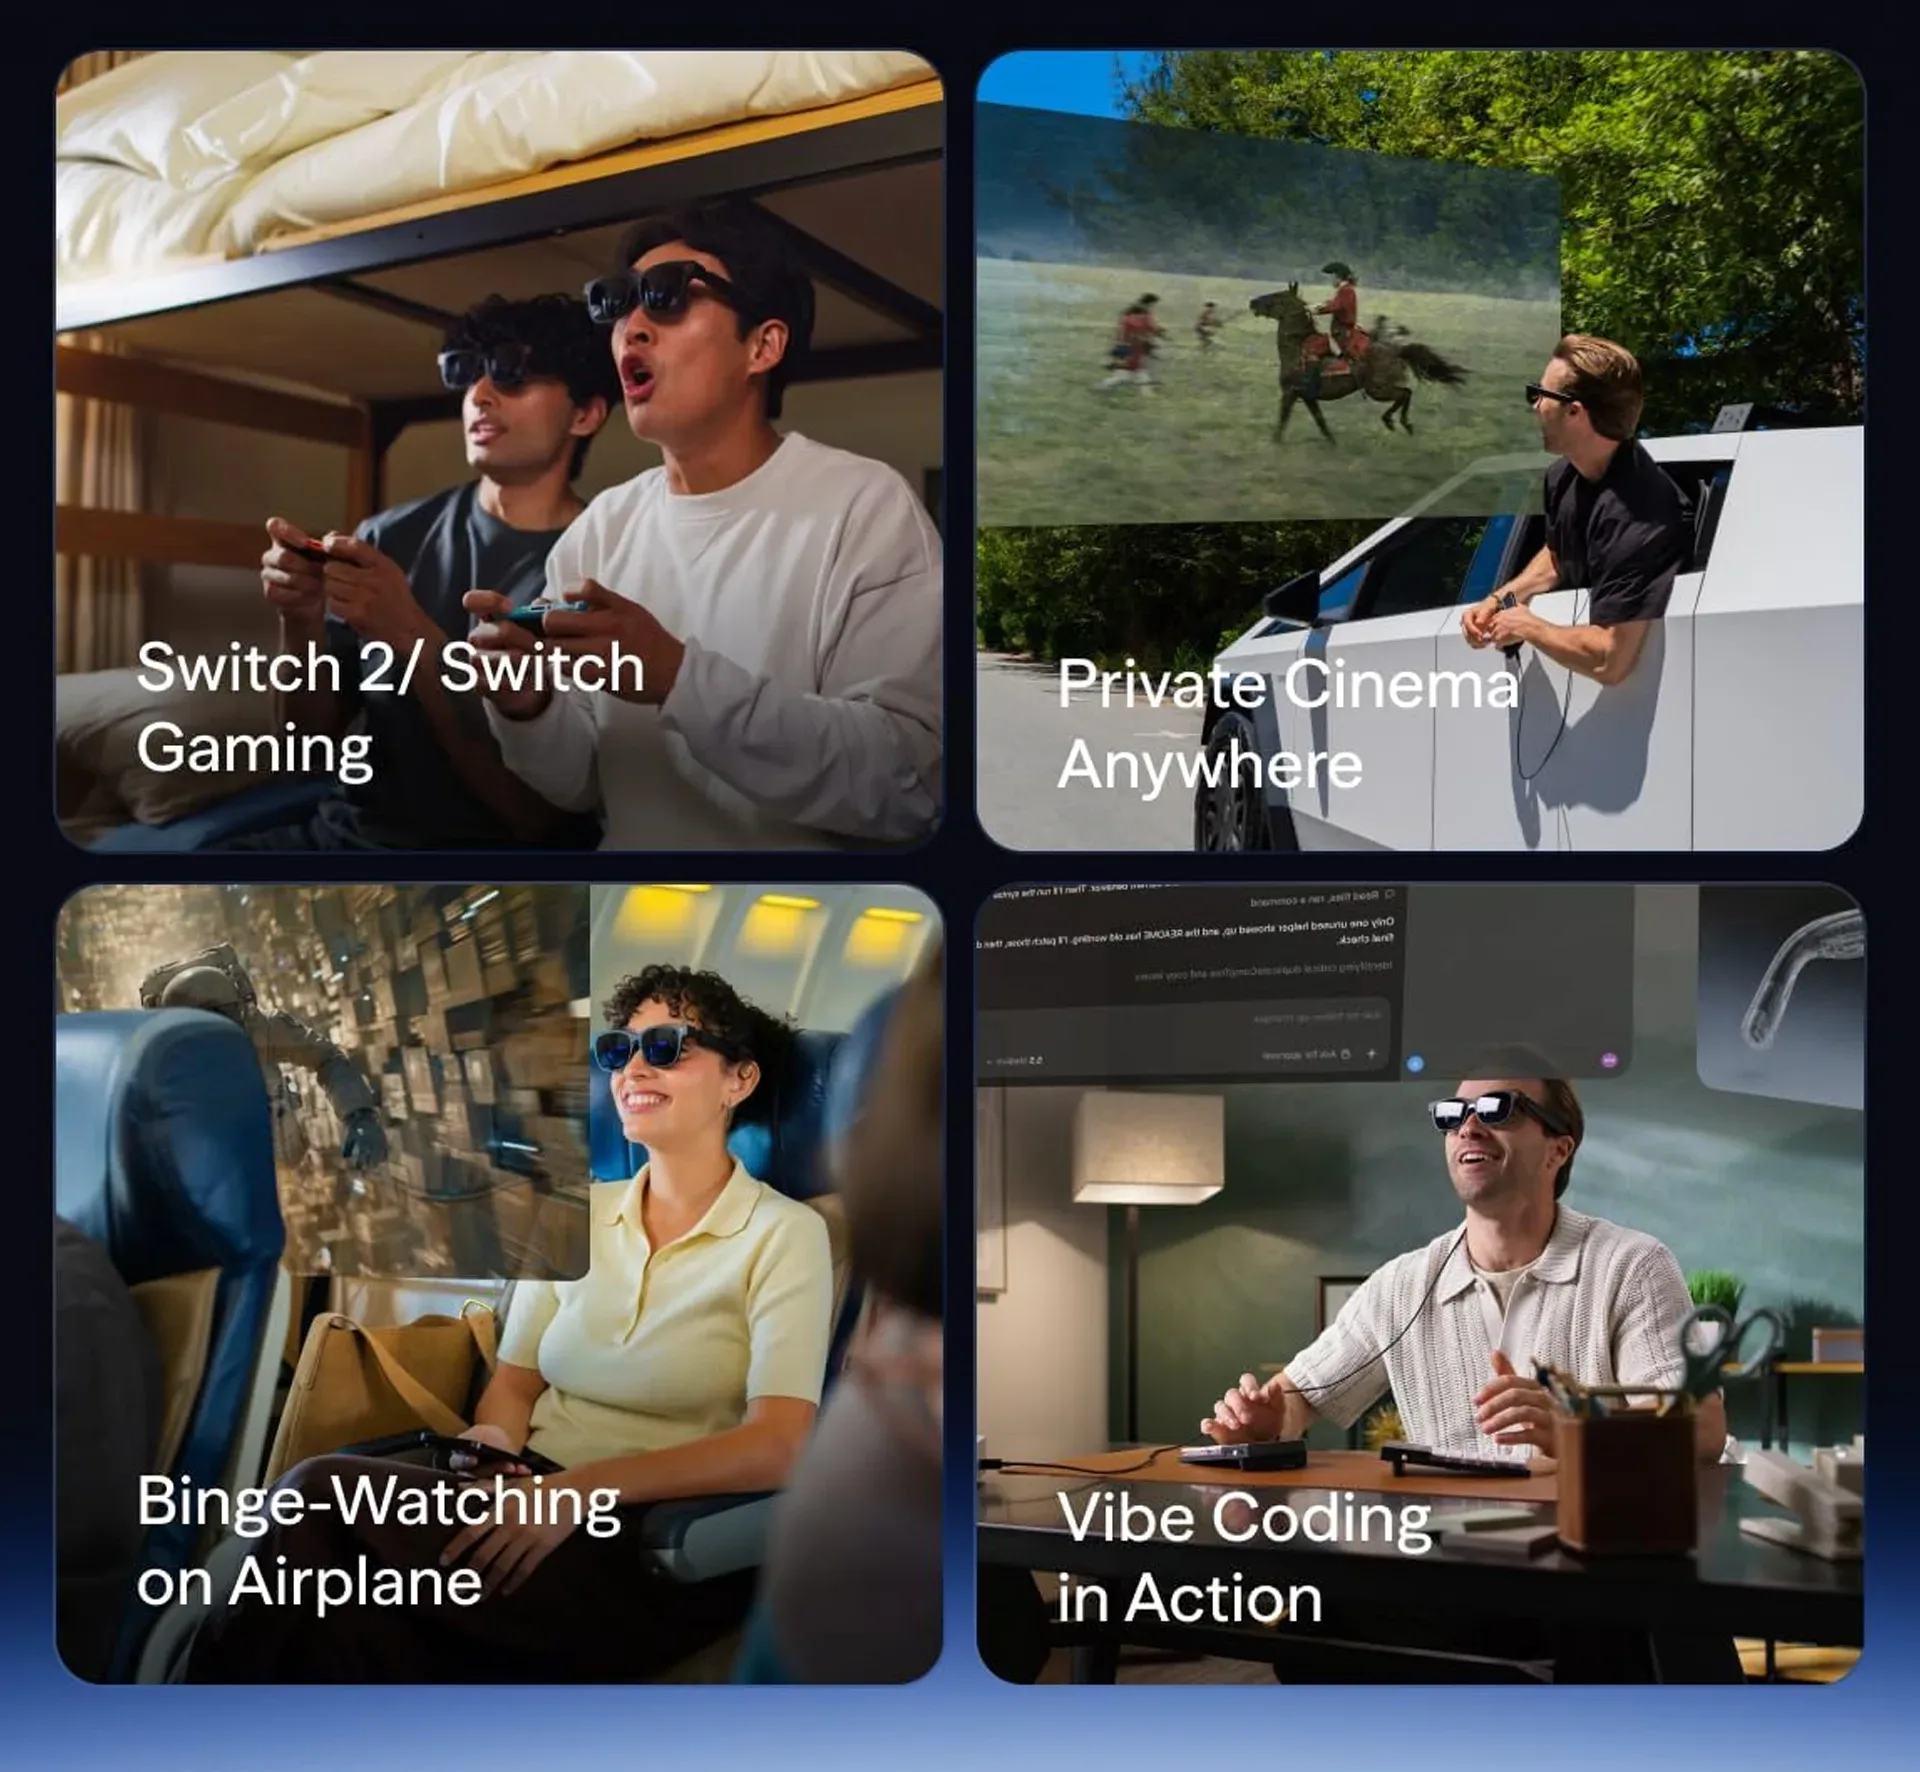
Not every screen-mounted gaming device is the same thing as a VR headset. For example, XR/AR glasses and full VR headsets can serve different purposes, even when both are pitched for games. That distinction is useful when comparing the appeal of dedicated SteamVR hardware with devices such as the Viture Pro 2 XR/AR glasses. SteamVR setup described here is specifically concerned with a compatible headset and its tracked VR environment.
Step 1: Install SteamVR from Steam
- Open Steam and sign in to the intended account.
- Use Steam’s search function to find SteamVR.
- Install SteamVR. The application is free.
- Launch it after installation.
If Steam is already signed in, SteamVR can use that account. SteamVR can also be used offline, though logging in is the normal route for accessing a Steam library and the store.
At this stage, resist the temptation to launch a game immediately if this is the first run. SteamVR’s initial checks are designed to establish the physical and tracking conditions that make VR usable. Completing those steps first gives the headset and controllers a defined environment and gives the player a chance to enable boundaries.
Step 2: Connect the headset, controllers and sensors
With SteamVR installed, confirm that all of the hardware the headset requires is connected to the PC. That includes the headset itself, both controllers and any required sensors. SteamVR uses this stage to establish whether the devices are available for tracking.
“Tracking” means the system can follow the position and movement of the headset and controllers. It is fundamental to VR: head movement needs to change the player’s view, while hand-controller movement needs to register as in-game input. If SteamVR cannot see an essential device during setup, it cannot complete that part of the VR experience reliably.
For a wireless supported headset, use Steam Link as part of the connection process rather than assuming that simply opening SteamVR on the PC will establish the wireless link on its own.
Step 3: Choose Room-Scale or Standing Only
New users are prompted to choose a play-space style. The two choices describe how much real-world movement the setup expects:
- Room-Scale: intended for play in a defined area where the user can move around physically. SteamVR asks for approximately 6.5 by 5 feet of space.
- Standing Only: intended for play from one fixed location rather than movement across a cleared area.
This is not merely a cosmetic preference. Room-Scale configuration means taking the physical area seriously: clear it and prepare it before the tracking procedure begins. The 6.5-by-5-foot figure is the stated space to prepare for that option, not a promise that every game will use the same movement pattern.
Standing Only may be the more sensible selection where an open floor area is unavailable. It gives SteamVR a setup that matches the practical reality of the room instead of treating a constrained space as a larger one. Whichever option is selected, SteamVR runs headset and controller tracking checks afterward.
Use Chaperone to keep the real world in view
SteamVR’s Chaperone system is a play-area boundary feature. It can be turned on through Settings, under the Play Area tab. Its purpose is straightforward: help the player keep aware of the available space while using a headset that blocks the normal view of the room.
It is worth enabling before starting a VR game, particularly with a Room-Scale configuration. A boundary cannot create more floor space, but it gives the configured space an active role while playing instead of leaving it as a one-time setup measurement.
SteamVR Home: the place you arrive before a game
Once setup is complete, SteamVR places the user in SteamVR Home, a virtual hub. It can be used to invite friends, chat and interact through avatars. The space can also be decorated with items bought through Steam or obtained through certain Steam achievements.
SteamVR Home is therefore both a social space and a staging area. It is not necessary to treat it as a game in its own right before jumping into a library title, but it explains why launching SteamVR does not always take the player directly to a game menu.
Step 4: Open the dashboard and launch a VR game
Press the menu or system button on the controller to open the SteamVR dashboard. This is the central in-headset interface for several routine tasks:
- Browse Steam and find VR-compatible games in the library.
- Browse VR titles in the Steam store.
- Access SteamVR settings.
- Display the PC desktop inside the headset.
From there, select a VR-compatible game from the library to launch it. The compatibility point matters: SteamVR is the means of entering VR mode, but a title must support VR for it to run as a VR game.
The desktop view is also practical when something outside a game needs attention. Rather than removing the headset simply to look at the monitor, the dashboard can bring the desktop into the virtual environment.
Settings worth knowing before you adjust them
Open SteamVR settings through the cog icon at the dashboard’s right side. Settings can also be reached through the Desktop button in the dashboard’s left corner. The menu includes controls for the play area and Chaperone, alongside brightness, resolution and graphics options.
Those standard settings affect how the image is presented and how demanding the experience may be on the PC. The right choice is not universal: headset capabilities, game demands and PC performance can all matter. A sensible approach is to change one option at a time and keep track of what changed, rather than moving multiple graphics controls at once and losing sight of which adjustment helped or hurt.
Motion Smoothing
Motion Smoothing is intended to moderate a game’s frame rate to reduce motion sickness. Frame rate refers to how often a game produces images over time. In VR, uneven or uncomfortable motion can be more noticeable because the display is tied closely to head movement. SteamVR offers this setting as a comfort-oriented tool, not as a substitute for a system that is otherwise running appropriately.
The practical takeaway is modest: if VR movement feels uncomfortable, Motion Smoothing is one of the relevant settings to investigate. It should be considered alongside the wider graphics and resolution choices rather than viewed in isolation.
Controller Bindings
Controller Bindings determine how controller inputs correspond to in-game actions. This is especially useful in VR because headsets and controllers vary. A game may have a preferred default layout, but SteamVR provides bindings controls so players can inspect or alter the input arrangement when needed.
If an action does not feel mapped as expected, Controller Bindings is the appropriate settings area to check. It is more targeted than altering broad dashboard controls, because the issue may be the relationship between a physical button or gesture and the game command it triggers.
Advanced Frame Timings
Advanced Frame Timings provides a view of how individual VR apps perform. The term is technical, but its purpose is accessible: it is a diagnostic view for understanding performance behavior app by app.
This setting is most useful when there is a specific performance concern and a player wants more detail than a general impression that something feels slow or uneven. It does not itself improve a game; it exposes information that can help identify which VR application is under strain.
A concise SteamVR startup checklist
- Install and open SteamVR through Steam.
- Connect the headset, controllers and any required sensors.
- For supported wireless headsets, set up the Steam Link app.
- Choose Room-Scale or Standing Only during first-time configuration.
- If using Room-Scale, prepare roughly 6.5 by 5 feet of space.
- Complete headset and controller tracking checks.
- Enable Chaperone in Settings under Play Area if you want visible play-space awareness.
- Use the controller’s menu or system button to open the dashboard.
- Choose a VR-compatible title from the Steam library.
That is the essential path into Steam VR mode. The initial configuration may take a few minutes, but once the headset and play space are set up, the recurring routine is simple: connect the hardware, open SteamVR, bring up the dashboard and launch a compatible game.