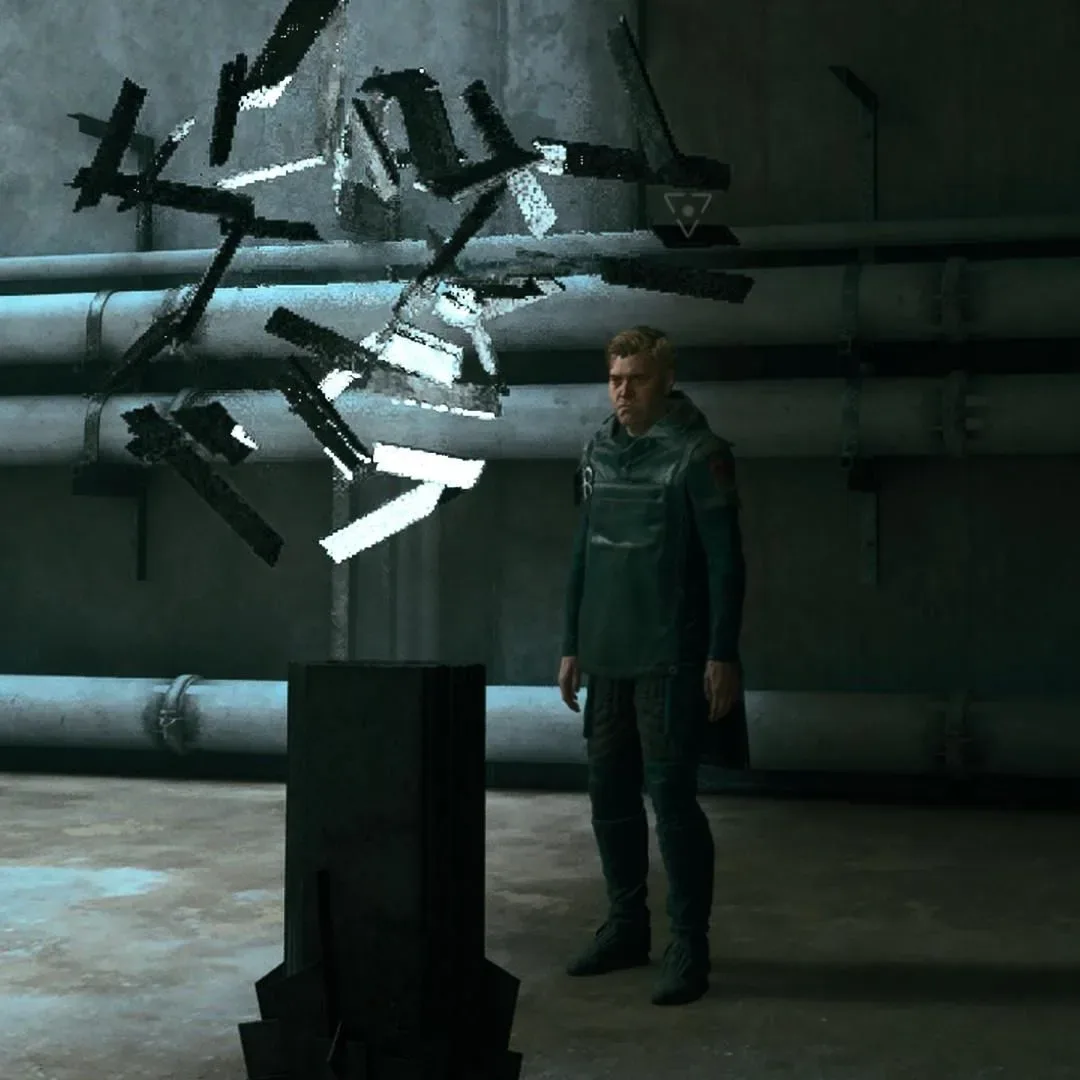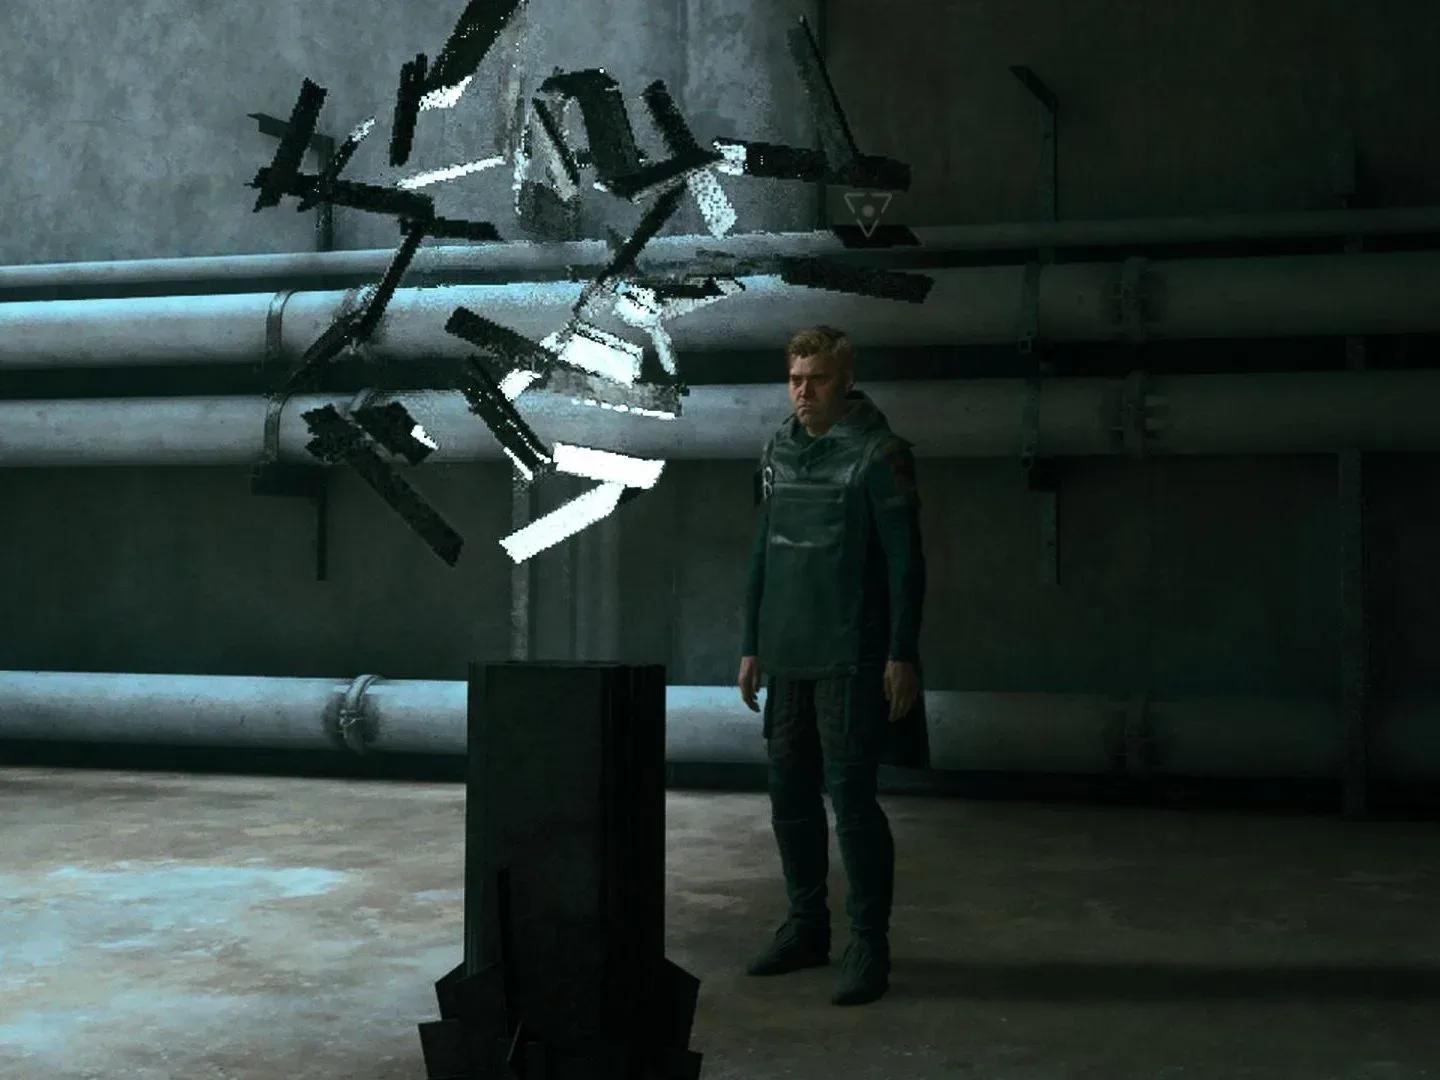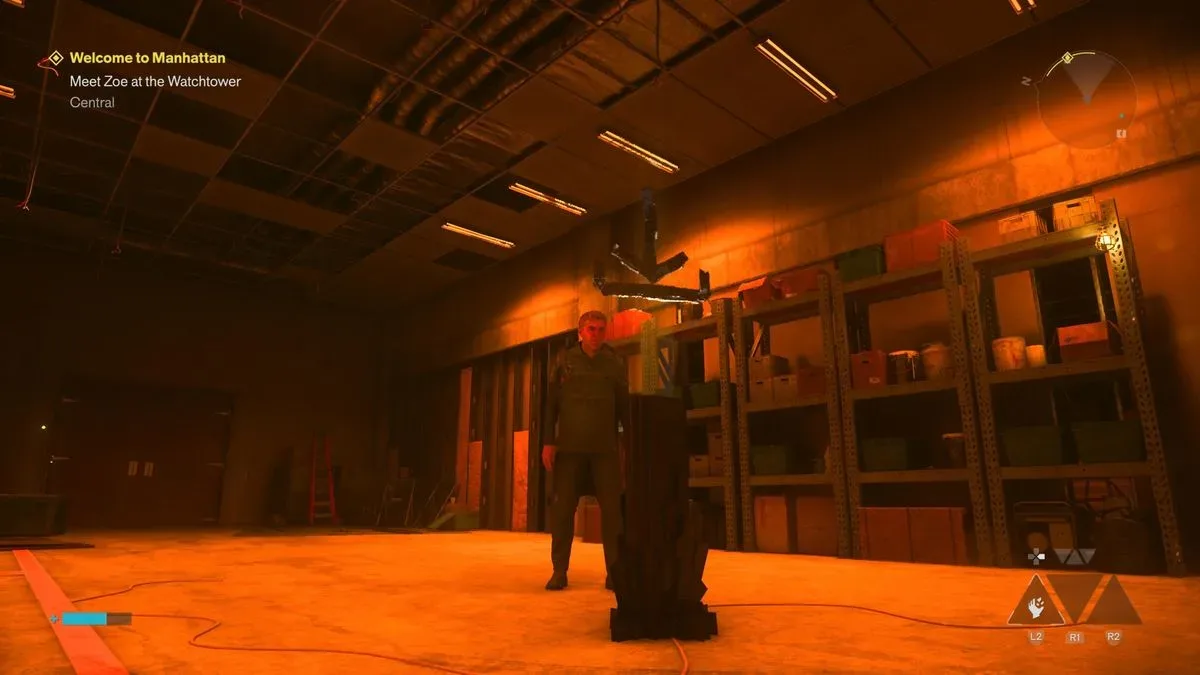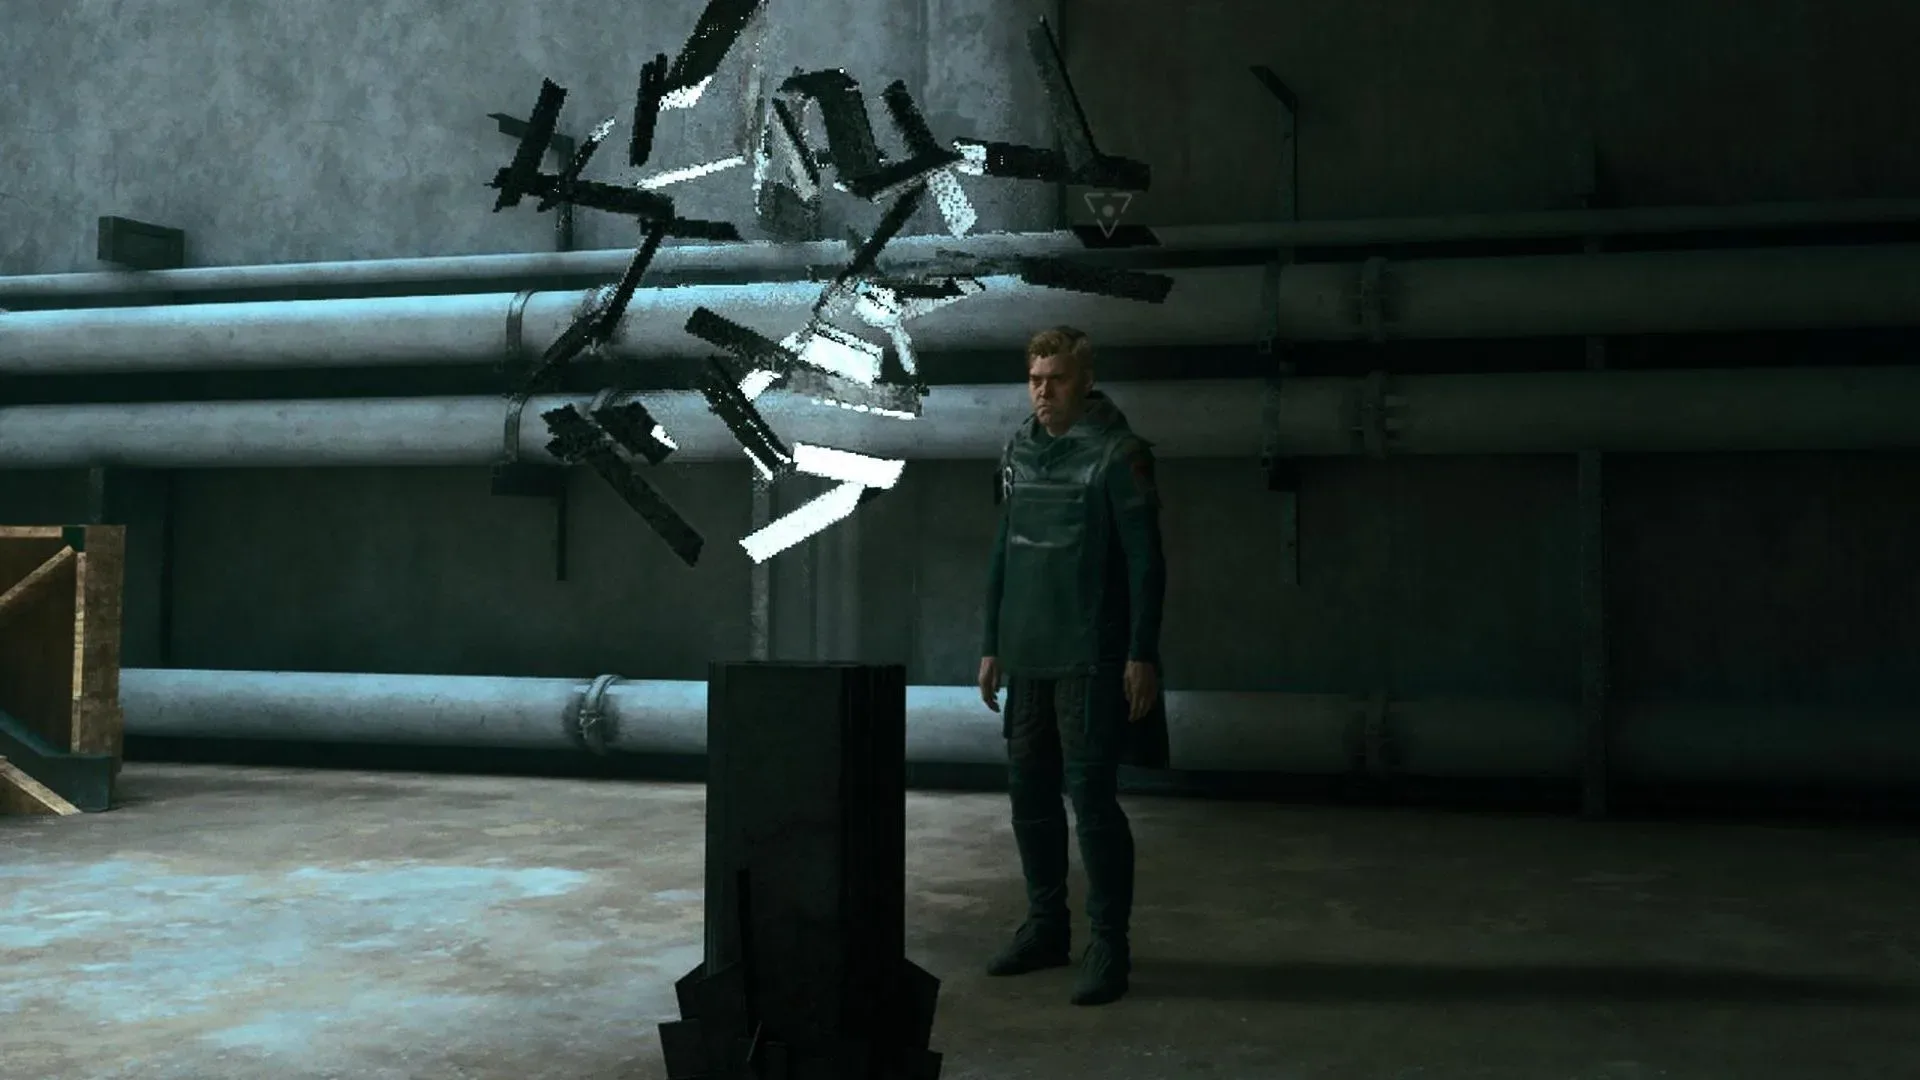
The pillars of light scattered through Control Resonant can look like environmental oddities at first. From a distance, they send a conspicuous beam skyward. Walk close enough, however, and a rotating sequence of symbols appears above the pillar. That display is not a puzzle prompt, a collectible tracker, or a warning that an encounter is about to begin.
They are the game’s checkpoints: locations that update where you will return after a respawn. The effect activates automatically when you approach, so there is no apparent button press or menu interaction required. If you have passed a glowing pillar and seen icons cycling overhead, you have found one of Control Resonant’s key pieces of navigation and failure-recovery infrastructure.
What the changing symbols on light pillars mean
The symbols are a visual confirmation that the pillar has registered you. Several of the changing icons resemble familiar saving imagery, including a retro floppy disk. Taken together with the pillar’s automatic activation, the message is straightforward: your position has been logged as a checkpoint.
In practical terms, a checkpoint is a designated location used for respawning. Respawning means the game returns your character to a recorded point after a defeat or similar setback. The pillars therefore matter most before dangerous stretches, when making a fresh checkpoint can reduce the distance between a failed attempt and another chance to tackle the area.
It is worth separating that function from the broader idea of saving. Control Resonant saves the overall world state and player progress automatically whether or not you have discovered one of these pillars. The beams do not appear to be the sole mechanism preventing progress from being lost. Instead, their specific job is to log your current position for checkpoint and respawn purposes.
What to do when you find one
- Approach the beam of light. The pillar activates as you get close.
- Watch for the symbol sequence. The shifting display, including save-like icons, indicates that the checkpoint has registered.
- Continue from there or stop playing. Since overall progress is saved automatically, visiting a nearby pillar before a risky route or before quitting is a sensible habit.
There is no indication that players need to solve a code, match the symbols, or wait for a particular icon to appear. The animation is feedback, not an input challenge. That distinction should save time for anyone who has been studying the icons for a hidden interaction.
How to spot a checkpoint quickly
The best clue is visible from afar: an upright beam of light. These pillars are generally distributed frequently and fairly evenly around the game world, and the beams are designed to stand out. They are also commonly positioned in prominent spaces, including the middle of streets, rather than tucked away as optional secrets.
That placement has an immediate gameplay benefit. When approaching an unfamiliar or potentially hostile part of the map, pause briefly and scan the surroundings for a vertical light beam. Reaching it first means the next respawn point should be closer if the area proves difficult. It also gives the symbols an easy visual role: they remove uncertainty by showing that the pillar has activated once you are within range.
Related coverage includes Control Resonant: What the Changing Symbols on Light Pillars Mean.
Checkpoints versus automatic saves
The two systems serve related but different purposes, and confusing them can make the pillars seem more mysterious than they are.
- Automatic saving preserves progress and the current state of the world without requiring every checkpoint pillar to be found.
- Checkpoint activation records the player’s location for respawning, making it particularly relevant near dangerous content.
This means a player should not treat an unvisited pillar as evidence that everything since the last one will disappear. Conversely, it is still useful to activate pillars even though the game auto-saves. A save answers the question, “Has the game retained my progress?” A checkpoint answers, “Where will I re-enter play after I fail?”
That difference is especially important when you intend to enter a high-risk zone. The pillar is a low-effort preparation step: walk into the light, let the symbols appear, then proceed. If things go wrong, the recorded location can spare you a longer trek back through previously cleared ground.
Why the design can be easy to misread
Control Resonant’s presentation leaves room for players to interpret the pillars as something more elaborate. A tall light beam is naturally conspicuous, while a changing line of abstract symbols suggests a cipher, quest trigger, or unusual world event. The floppy-disk-like image points toward saving, but it is one symbol among several and arrives only at close range.
Functionally, though, the visual design communicates three pieces of information without a conventional pop-up: the beam marks a place worth approaching; proximity activates it; and the symbols confirm the registration. Once understood, the system becomes less of a mystery and more of a dependable map-reading tool.
For other navigation questions around the same area of the game, the Central Checkpoint charge guide covers a separate objective involving that location. Do not assume every checkpoint-adjacent task changes the purpose of the light pillars themselves: the changing symbols remain the automatic respawn-point indicator.
Best habits for using the pillars
Because checkpoints are visually prominent and regularly placed, there is little downside to taking a short detour toward one when it is in sight. A few simple habits make their purpose work in your favor:
- Activate the nearest pillar before moving into an area that looks dangerous or unfamiliar.
- Use the skyward beam as a navigation landmark when deciding where to head next.
- Do not wait for a specific symbol or attempt to interact with the animation; proximity is what matters.
- Remember that a checkpoint is about respawn placement, while automatic saving handles wider progress persistence.
- If you are ready to stop, visiting a nearby pillar is a useful way to ensure your latest local position has been registered before leaving the game.
The short version is that the pillars are beneficial, not cryptic obstacles. Head toward the beam, allow the shifting symbols to appear, and treat the location as your updated return point. Their visibility and frequent placement make them one of the simplest systems in Control Resonant once their meaning is clear.