
Few sounds shatter a calm work session—or a quiet game menu—like a laptop abruptly impersonating a tiny jet engine. One moment the machine is nearly silent; the next, its fan is roaring. Then, sometimes just as suddenly, it settles down again.
That burst is not automatically a sign that something has failed. Modern laptops pack high-performance components into a very small enclosure, and the cooling system has to move heat out quickly when demand rises. Fans can therefore speed up for a short period as the system responds to a task. But repeated, unusually loud, or seemingly random fan surges are worth investigating. Two especially plausible places to start are restricted airflow and CPU-intensive background activity.
The sensible approach is not to start ending every process or opening the chassis immediately. Start with the easy external checks, clean cautiously, and then look at what the operating system says is using processor resources. That sequence reduces the chance of turning an irritating noise into an avoidable software crash or a warranty problem.
Why the fan ramps up in the first place
A laptop’s fan is part of its cooling response. When internal components are working harder, they produce more heat. The fan spins faster to push air through the machine and help remove that heat. A brief surge can occur while the computer deals with a demanding task that is not obvious on screen, such as a process running in the background.
CPU means central processing unit: the component responsible for carrying out many of the computer’s instructions. CPU activity is usually displayed as a percentage in Windows Task Manager and macOS Activity Monitor. A process with a high percentage is consuming a relatively large share of processor capacity at that moment. More sustained work can mean more heat, and more heat can prompt a faster fan.
Airflow matters just as much. The cooling system cannot work as intended if its vents are blocked by a soft surface or clogged with dust. In that situation, the laptop may need to run its fan harder simply because the path for air is restricted. That is why a machine can become noisy even when the visible task—writing, browsing, or sitting at a desktop—does not feel demanding.
It is useful to distinguish a short response from a persistent pattern. An occasional burst that quickly ends may reflect a temporary workload. Fan noise that stays loud, keeps returning during very light use, or worsens over time is a stronger reason to check ventilation, debris, and running processes.
Start with the laptop’s surroundings
Before changing a setting, look at where the laptop is sitting. A hard, flat desk or table is the better surface for normal use. Beds, sofas, blankets, and other soft furnishings can cover underside vents or otherwise interfere with air movement. The fix may be as simple as relocating the laptop to an uncovered surface and giving its vents room to breathe.
This is an especially practical check for gaming laptops and any machine used for long sessions. A game can create substantial processor demand, but cooling still depends on unobstructed vents. If the machine is on a surface that blocks those vents, the fan has a harder job than it should.
Also locate the vents before doing anything else. Their placement varies by model: they may be on the bottom, sides, or both. Knowing where air enters and exits makes it easier to avoid blocking the system in day-to-day use and helps when it is time to remove dust.
Clean exterior vents before considering disassembly
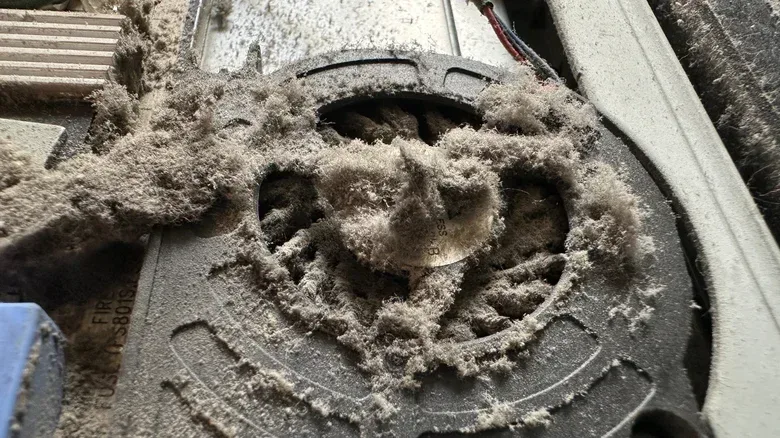
Dust around vents and fans can restrict airflow. The first cleaning option does not usually require taking the laptop apart, which makes it the lower-risk place to begin.
- Shut the laptop down.
- Unplug attached devices.
- Wait for the machine to cool.
- Find the air vents on the underside or sides of the laptop.
- Use brief bursts of compressed air to loosen dust and debris, following the compressed-air product’s directions.
- Wipe away loosened debris with a clean microfiber cloth.
Short bursts are the recommended method here, rather than treating the laptop like it is an air-hockey table. The goal is to dislodge debris from the vent area without unnecessary force. Once the loose material is out, a microfiber cloth can remove it from the exterior.
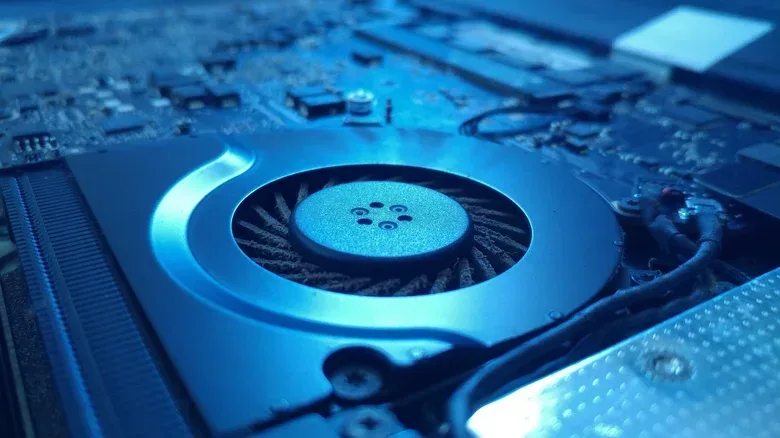
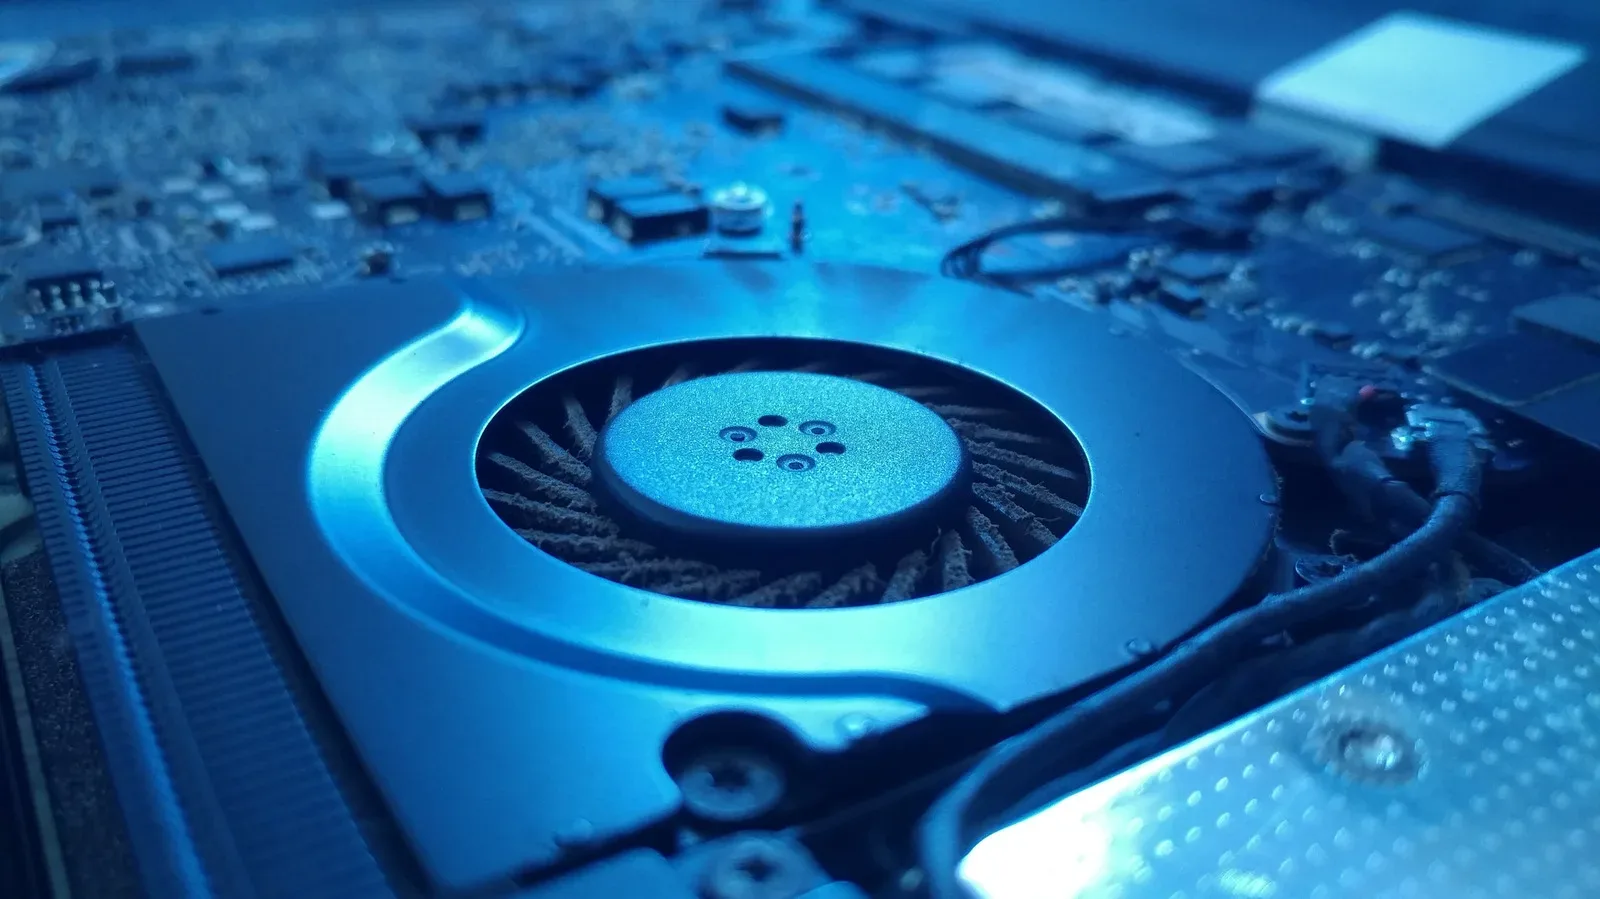
If the fan remains noisy after the accessible vents have been cleaned, dust may be deeper inside near the fans and other components. Reaching it can require opening the laptop. That process is model-specific and can be more advanced than it sounds. An ESD-safe brush—a brush intended for work around components where electrostatic discharge is a concern—can be used with compressed air for internal dust removal. However, no one should treat internal access as universal maintenance just because a fan is loud once.
Check the manufacturer’s repair guidance and the warranty terms before dismantling a laptop. Opening the device or attempting a repair yourself may affect coverage. If the process is outside your comfort zone, a technician is the safer next step. Cleaning can help an airflow problem, but it is not a license to improvise inside a compact computer.
Check whether software is quietly doing the heavy lifting
If airflow is clear and the fan still surges at odd intervals, inspect background activity. The key is to identify a process before deciding whether it is safe to quit. A process is simply a program or service currently running. Some are applications you recognize; others are parts of the operating system or support services that should not be closed casually.
Windows: use Task Manager
On Windows, press Ctrl+Shift+Esc to open Task Manager. Choose Processes to see what is currently running. Select the CPU column to sort the list by processor use, placing the biggest users at the top.
That sorted view is useful because it replaces guessing with a snapshot of what the laptop is actually doing. If a high-use item corresponds to a program you deliberately opened, the cause may be obvious. If it is something you do not need, investigate it before ending it. Closing processes indiscriminately can cause major crashes.
Windows also provides a longer-term cleanup option. In Task Manager, visit Startup apps and disable programs you do not want automatically launching when the laptop starts. This does not mean every startup item is disposable; it means automatic launch should be reserved for software you genuinely want ready at sign-in. Reducing unwanted startup activity can reduce the number of programs competing for resources from the beginning of a session.
Examples of processes that can generally be ended when they are not being used include Calculator, Gaming Services, News and Interests, Phone Link, CTF Loader, and Groove Music. “Generally” is important. The correct decision depends on what the laptop is doing at the time, and quitting a process should be a deliberate response to something you recognize rather than a routine sweep.
macOS: use Activity Monitor
On a Mac, open Activity Monitor. If it is not immediately visible, press Command+Spacebar to open Spotlight Search and find it. Go to the CPU area, then click the % CPU column to sort processes by processor usage.
To stop a selected process, use the Stop button and choose Quit. As with Windows, inspect first and quit second. The most reasonable candidates are lingering processes associated with applications that have already been closed, Rosetta applications that are no longer in use, and disk-image processes preventing a disk from ejecting.
macOS users may also choose to disable Spotlight indexing if they do not need the Mac to maintain a fully indexed library. Indexing is the work that lets a search system build and maintain a catalog of content; turning it off can reduce that background responsibility, but it also changes how completely the system keeps that searchable library. It is a trade-off, not a universal fix for fan noise.
A practical order of operations
For most people, the best troubleshooting plan is conservative:
- Move the laptop to a hard, flat surface and confirm that the vents are not covered.
- Allow the laptop to cool, then clean reachable vents with compressed air in short bursts and a microfiber cloth.
- Watch for whether the fan behavior changes during normal use.
- Use Task Manager or Activity Monitor to identify CPU-heavy activity when the noise happens.
- Quit only processes you understand and can safely live without.
- Review startup applications so unnecessary software is not launching every time.
- Seek technical help rather than opening the laptop if internal cleaning is beyond your experience or could affect warranty coverage.
Analysis: this order is valuable because it separates two different problems that can produce the same symptom. A blocked vent is a physical airflow issue. A high CPU process is a software workload issue. Both can make a fan loud, yet neither is solved reliably by treating the other one first. Checking the simple, reversible causes gives you a clearer basis for deciding what to do next.
For laptops that spend time in a bag, drawer, or storage space between sessions, it is also worth considering broader care practices. Our guide on storing a laptop safely for weeks or months covers the battery side of putting a machine away.
Do not confuse “quiet” with “healthy”
The aim is not to force a laptop fan never to run. Fans exist to cool powerful components in a confined space, and some audible response is normal. The aim is to make sure the system is not working harder than necessary because it cannot draw air properly, because dust has built up, or because unwanted background activity is consuming CPU time.
When the fan suddenly makes its presence known, treat it as a prompt to check conditions rather than a reason to panic. Give the laptop clear airflow, remove exterior dust carefully, and look at resource use with the tools built into Windows or macOS. That combination is often enough to turn an alarming burst of noise into an understandable—and manageable—part of owning a laptop.