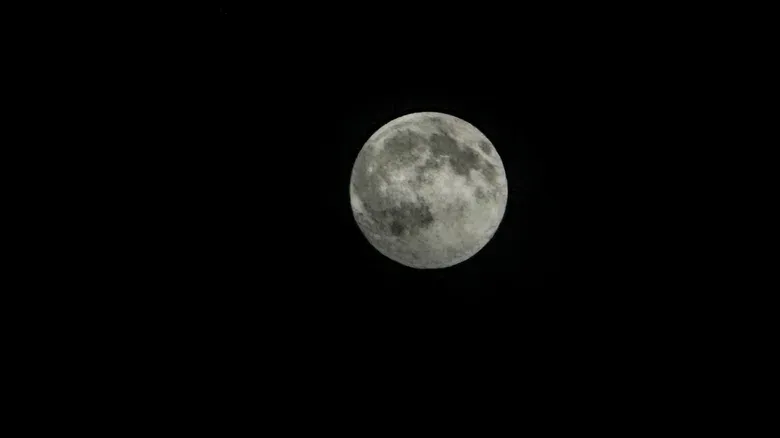

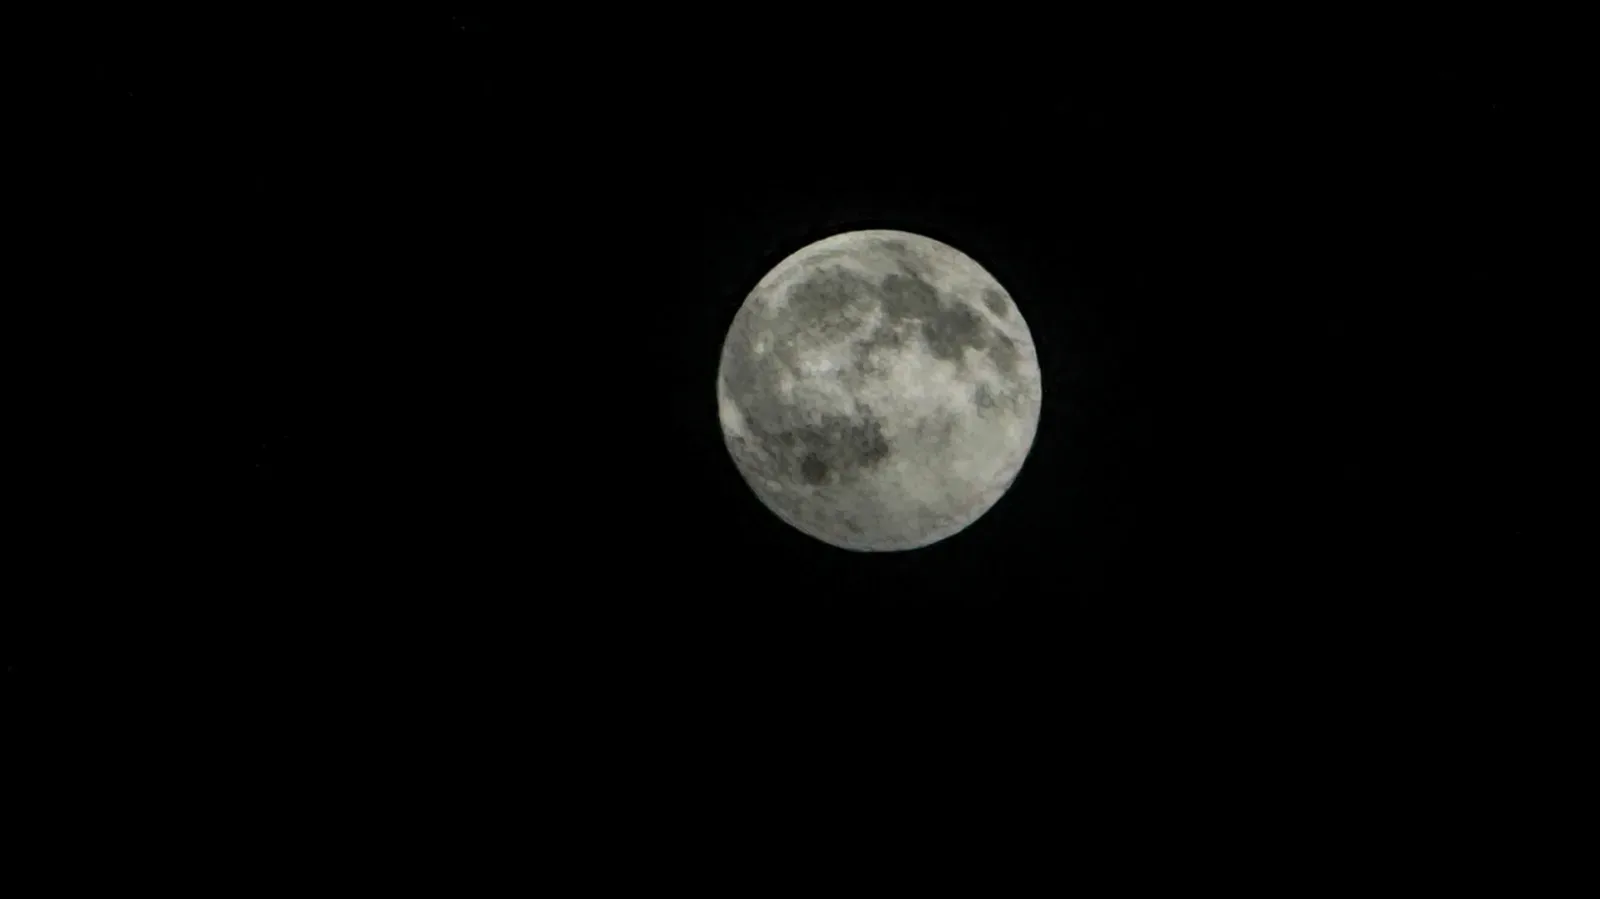
Getting a satisfying Moon photo with an iPhone feels like one of photography’s meanest difficulty spikes. To your eyes, the Moon can look enormous and richly textured against a dark, dramatic sky. On the phone screen, it may even appear promising for a moment. Then the saved picture reveals a featureless white disc, a shaky blur, or a tiny bright dot surrounded by a whole lot of black.
The good news is that this is not a mysterious failure of your iPhone camera. It is a predictable exposure problem, and the native Camera app includes enough controls to make a meaningful improvement. The essential approach is simple: keep the phone still, zoom in as far as the image remains useful, tell the camera to admit much less light, lock its focus and exposure on the Moon, and only then take the shot.
This will not turn a phone into a telescope. It can, however, stop the automatic camera system from treating the dark sky as the important part of the frame and give lunar surface detail a chance to appear.
Why the Moon turns into a white blob
The Moon is illuminated by the Sun, which means it is exceptionally bright relative to the night sky around it. That enormous gap between the brightest and darkest parts of the scene is the problem.
Automatic exposure systems try to produce a balanced-looking image. Point an iPhone at a mostly dark sky, and it may try to lift the overall brightness. That decision is sensible for many night photos, but disastrous for the Moon: the already bright subject becomes overexposed. Overexposure means the sensor received more light than it could record as visible detail. Once the Moon’s brighter regions have become plain white, its craters and tonal variations cannot be recovered from that capture.
Blur is the second common failure. When a camera needs more light, it can use a longer shutter speed—the amount of time it gathers light for each photo. In this situation, the iPhone can drop to around 1/30th of a second or slower. That is long enough for small hand movements to smear the result, even with image stabilization working in the background.
Think of the camera’s default behavior as an automatic setting that has picked the wrong objective. It sees a huge dark environment and attempts to brighten it. Your actual objective is different: preserve the bright object in the middle. The sky can stay nearly black. In fact, that is often exactly what a useful Moon exposure requires.
Start with stability, not settings
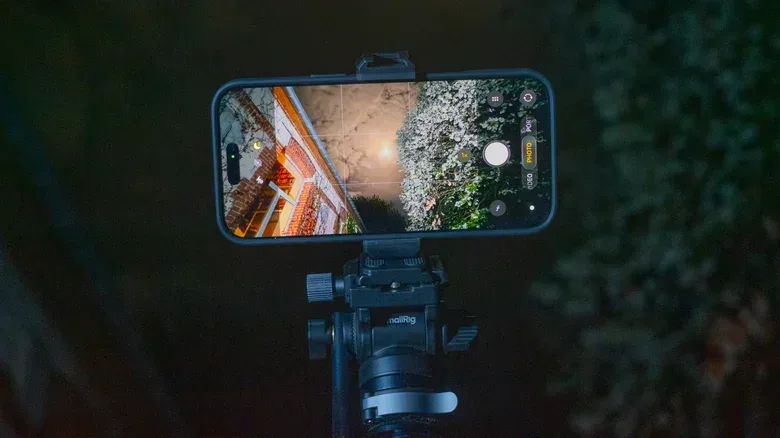
A tripod is the most straightforward way to make this easier. You do not need an elaborate setup; a phone-compatible tripod or a tripod with a suitable smartphone holder gives the iPhone a stable platform while you frame a highly zoomed subject. Stability matters more as the zoom level rises, because tiny movements become much more obvious in the image.
A tripod also solves another avoidable problem: physically pressing the shutter button can move the phone. If the iPhone is mounted, use the Camera app’s three-second timer so the phone is no longer being touched when it captures the photo.
If you do not have a tripod, create a stable substitute. Rest the phone securely against a book, cup, or another solid object, compose the image, and use that same timer. It is not as flexible as a tripod, but it can be much better than trying to handhold a heavily zoomed photo at night.
The purchase is not necessarily a one-shot accessory, either. A tripod can also help with long exposures, panoramas, hands-free video calls, and stationary video recording. But for lunar photography specifically, its job is refreshingly unglamorous: it removes shake from a situation where the camera may otherwise choose a slow shutter.
Zoom: get closer, but understand the trade-off
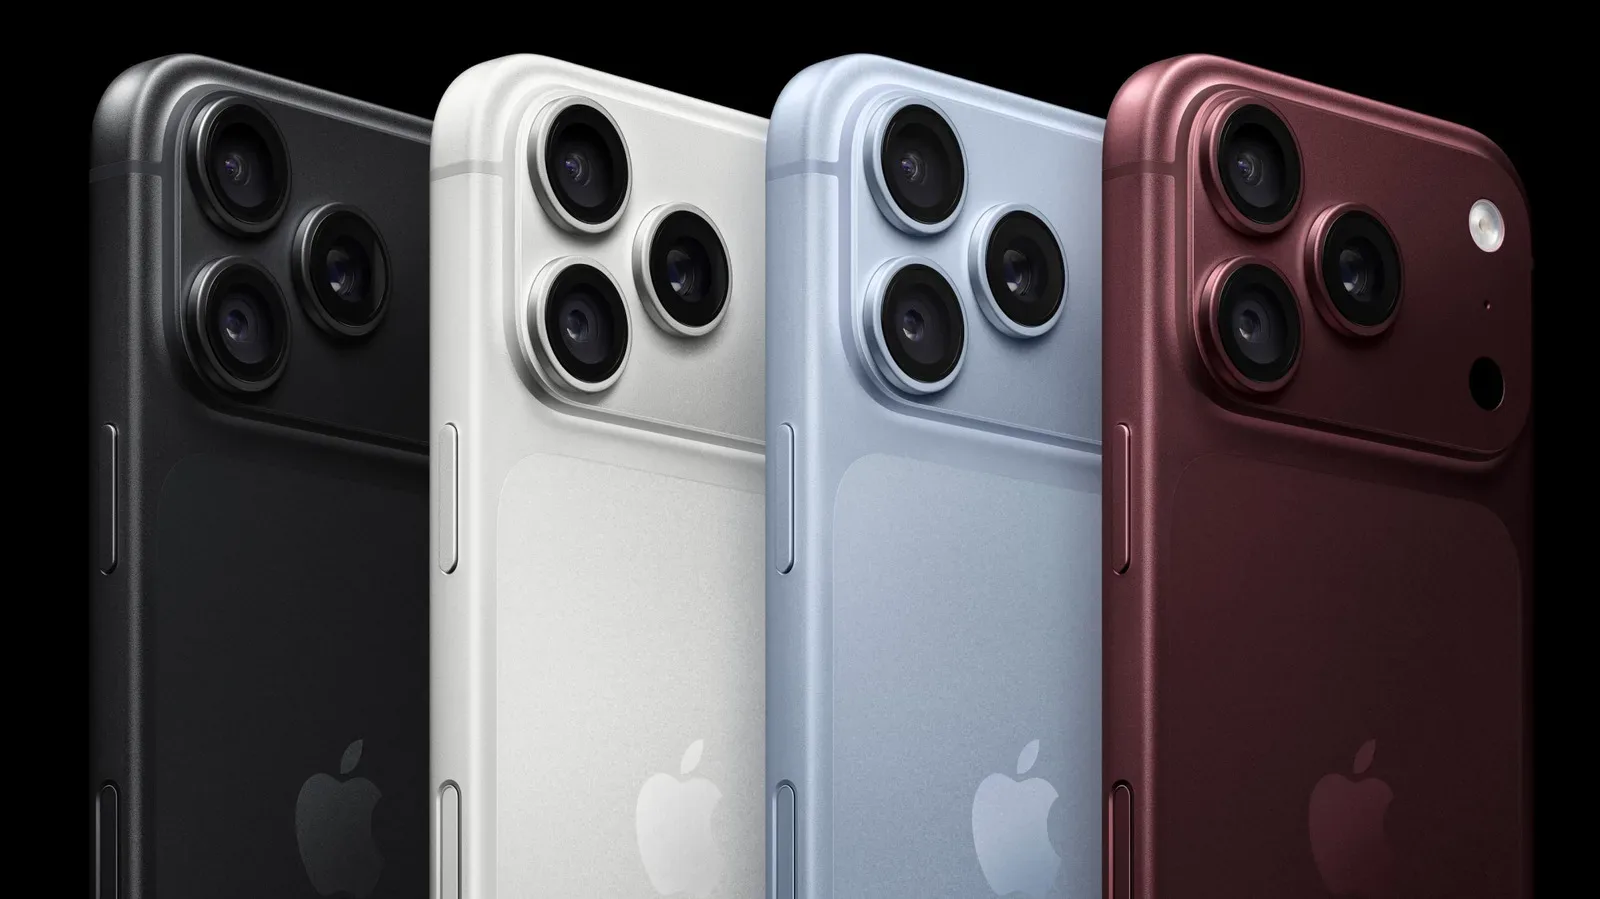
Zooming in makes the Moon more prominent, which is vital if it is only a small point in your frame. The available range depends on the iPhone. iPhone 15 Pro and iPhone 16 Pro models offer a 5x optical zoom and up to 25x digital zoom. iPhone 17 and iPhone 18 standard models have 4x optical zoom and 10x digital zoom. The iPhone 17 Pro and iPhone 18 Pro reach up to 8x “optical-quality” zoom and 40x digital zoom.
Those numbers need a little decoding. Optical zoom refers to using a lens that provides a closer view, while digital zoom enlarges part of the captured image. Digital zoom is useful for composition, especially when the Moon would otherwise be too small to see, but it does not create genuine lens detail. It can make softness and pixelation easier to notice.
Use the longest useful zoom setting so that the Moon is clearly visible and large enough to judge exposure. Then inspect the result rather than assuming the highest number automatically equals the best image. This is a practical limitation, not a bad setting choice: there is only so much original detail a small, distant subject can provide.
Why a 12MP file does not guarantee a 12MP Moon
Pixel count can be misleading at extreme digital zoom. At 25x on an iPhone 15 Pro or iPhone 16 Pro, each using a 12MP 5x telephoto camera, the effective resolution is about 0.48 megapixels before the image is enlarged back to a 12MP output. The photo can still be saved at 12MP, but upscaling does not restore the detail that was not captured in the first place.
The newer Pro models have some advantage here. Their 48MP sensors and 4x optical zoom yield roughly 1.24MP of effective resolution at 25x before upscaling. That is an improvement, not a magic escape hatch. A clean, sharply exposed Moon photo at a sensible crop can be more convincing than a larger-looking but heavily pixelated one.
This is also a useful expectation-setting point for anyone used to measuring tech by a single headline specification. The final result is shaped by exposure, stability, lens reach, sensor resolution, and how much digital enlargement is involved—not merely the megapixel number printed in the photo’s information panel.
The iPhone Camera app workflow for lunar photos
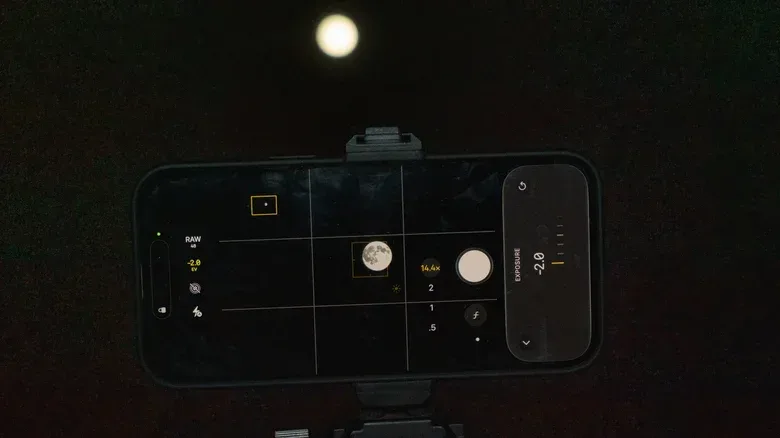
Once the phone is stable and the Moon is framed, the goal is to deliberately darken the capture. On recent iPhones, including the iPhone 16 Pro Max, open the Camera app’s six-dot menu and choose Exposure. Move the control to -2 EV.
EV, short for exposure value, is a way to describe an exposure adjustment. Moving the setting into negative territory tells the camera to use less light than its automatic choice. For the Moon, -2 EV is useful because the phone’s default reading is commonly trying to brighten a dark scene that you do not want brightened.
After setting Exposure, tap and hold on the Moon for several seconds. This locks autofocus and exposure on that subject. Without the lock, the camera can reconsider its decisions as you reframe or as the scene shifts slightly, bringing back the same automatic brightening that caused the trouble in the first place.
A sun-icon brightness slider should appear after you lock the Moon. Drag it downward, generally close to its minimum, while watching the lunar surface. The image may look darker than your instinct says it should. Prioritize the appearance of crater detail and surface texture over a bright-looking preview. Brightening a somewhat dark photo later is possible; restoring blown-out lunar detail is not.
- Stabilize the iPhone on a tripod or a secure improvised support.
- Open Camera and zoom until the Moon is large enough to evaluate.
- Open the six-dot menu, select Exposure, and set it to -2 EV.
- Tap and hold the Moon to lock focus and exposure.
- Pull the sun-icon brightness slider down until surface detail becomes visible.
- Use the three-second timer if touch input might disturb the phone.
- Take more than one image and compare the sharpness and detail afterward.
The Camera app retains the Exposure setting during the current session as long as you do not close the app. That is useful when taking several attempts, but it is also worth remembering before moving on to a different subject that actually needs normal exposure.
Video can be a workable alternate route
The same principle applies if you would rather capture lunar video. Switch the camera to Video, zoom and frame the Moon, set Exposure to -2 EV, tap and hold to lock focus, and lower the brightness slider until detail appears. Recent Pro cameras can be zoomed to 15x for this video approach.
After recording, play the clip back, pause on the frame you want, and take a screenshot to make a still image. This does not replace a properly captured photo in every circumstance, but it gives you another way to select a moment when the Moon looks sharpest and most detailed.
The practical lesson is broader than one celestial subject: automated cameras are optimized to make rapid decisions, while difficult scenes often reward taking control of the one or two decisions that matter most. It is a different sort of technical annoyance from a system prompt interrupting play—like the Sticky Keys pop-up issue on Windows 11—but both improve once the relevant setting is found and deliberately changed.
When an alternative camera app makes sense
Older iPhones do not offer the same native manual shutter-speed and ISO controls as the iPhone 18 Pro. ISO is the camera’s sensitivity setting; together with shutter speed, it is a key part of controlling how a camera responds to limited light. If you want that level of adjustment without changing phones, specialized camera apps may be an option.
Moontake is a free app designed specifically for Moon photography. It defaults to the longest telephoto lens, sets an appropriate exposure automatically, and shows astronomical information including lunar azimuth and altitude. Azimuth describes the Moon’s direction along the horizon, while altitude describes how high it is above the horizon.
Halide Mark III and ProCamera are alternatives aimed at more granular photographic control, including ISO and shutter-speed settings. Their value is not that they abolish the limits of phone optics or digital zoom. Their value is that they make the operator’s choices more explicit. If the native Camera app’s exposure adjustment and focus lock get you the image you want, there is no requirement to complicate the process. If you want to explore the settings behind the result, these apps offer a more direct route.
The winning Moon photo is therefore less about AI spectacle and more about a few disciplined choices. Hold the phone still, expose for the intensely bright subject rather than the black sky, lock those choices in place, and accept that extreme digital zoom has a cost. With that setup, the Moon has a much better chance of looking like a world with craters rather than a white loading-screen icon.
Shop the products
Check current price, model and availability at the retailer.