Phantom Blade Zero asks newcomers to learn several interlocking systems at once: rapid weapon switching, defensive timing, a flexible upgrade economy, exploration, stealth and boss-specific loadouts. The result can look overwhelming, but the game’s mechanics point toward a clear early-game priority: protect and break Sha-Chi efficiently, then use the opening to inflict decisive damage.
This guide explains the practical logic behind that loop, including what the game’s visual attack signals mean, why a weapon swap is more than a style choice, and when it is sensible to stop pushing forward and return later. The hero, Soul, has a remarkably adaptable toolkit; the trick is treating every encounter as a chance to choose the right tool rather than trying to force one favorite weapon through every problem.
Learn the defensive language before chasing damage
Parrying should be one of the first skills to practice. On PS5, it is performed with L1 shortly before an incoming strike lands. The timing is reportedly forgiving for many ordinary attacks, and Soul can interrupt many of his own actions and combos to make the defensive response. That makes parry an active part of offense rather than an emergency measure used only after a combo ends.
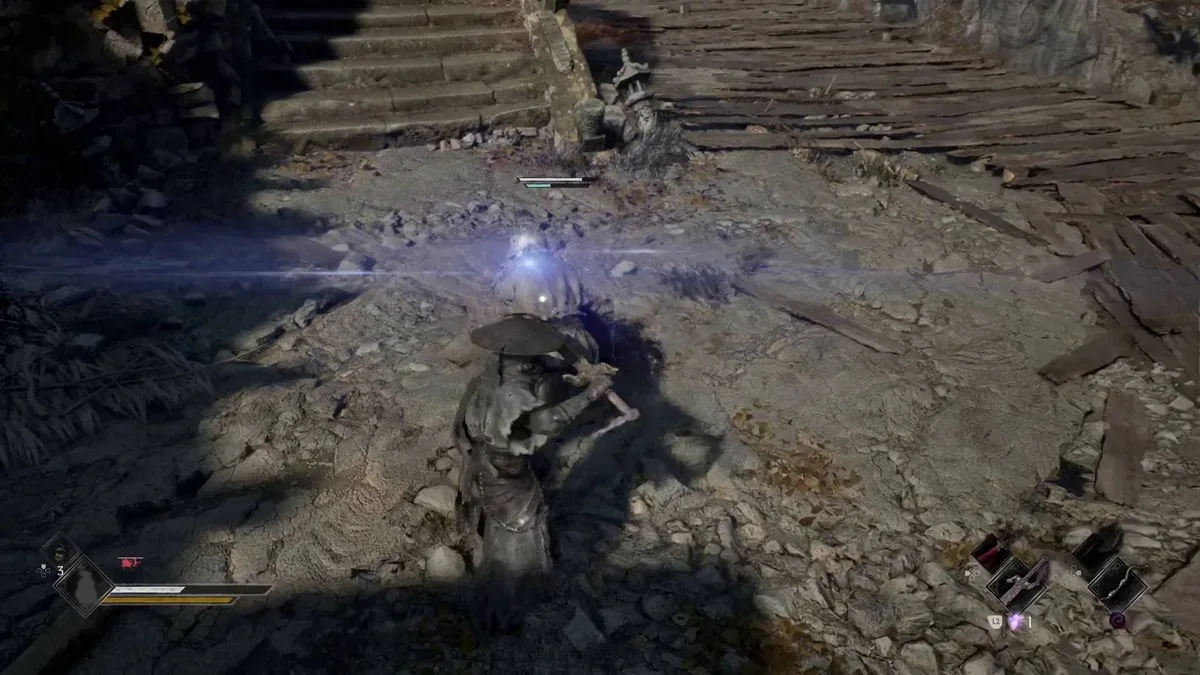
Not every attack follows the same rule. Red-flash attacks must be dodged; attempting to parry them is the wrong answer. A brief black-and-white effect is another especially dangerous signal: it warns of attacks that can drain all of Soul’s Sha-Chi if they connect. Avoiding those attacks is urgent because losing Sha-Chi can leave Soul exposed to lethal follow-ups.
Blue-flash attacks are the opportunities to watch for. A perfect parry against one deals heavy Guard Break damage. In plain terms, Guard Break damage pressures the opponent’s Sha-Chi bar and helps produce a stagger sooner. A stagger is the moment when a boss loses its defensive footing and Soul can convert sound defense into a concentrated burst of offense.
There is also no shame in blocking. When a boss strings together a long sequence and the timing is not yet familiar, holding the defensive button is a safer way to survive the sequence. The practical progression is straightforward: block what is uncertain, dodge red flashes and the black-and-white Sha-Chi-draining attacks, then increasingly parry attacks whose rhythm is understood. That approach gives players a way to learn a boss without treating every attempt as a reflex exam.
Sha-Chi is the heart of the combat loop
Sha-Chi is central to both pressure and survival. It is the resource associated with powerful Sha-Chi attacks, but it also determines how close Soul is to being Guard Broken under enemy pressure. Weapon switching is one of the game’s most useful ways to manage it: a quick swap to the other equipped weapon immediately replenishes Soul’s Sha-Chi.
On PS5, the quick switch is mapped to D-pad Left. It can rescue a failing defense after sustained enemy attacks, or sustain an aggressive sequence when Soul has room to press the attack. The mechanic has a cooldown. The first switch carries a short wait, while switching again brings a substantially longer one, though certain Abilities can reduce the cooldown. That limitation matters. Treat the switch as a timely resource reset, not a button to mash whenever it becomes available.
Related coverage includes Phantom Blade Zero Beginner's Guide: 12 Tips for Mastering the Wulin.
A useful rhythm is to carry two weapons with distinct jobs. One can prioritize Guard Break pressure and defense against a boss’s assault; the other can be the weapon brought out once the target staggers. This makes the refill from switching feel purposeful. Instead of merely replacing one moveset with another, it shifts the entire fight from control to punishment.
That structure is particularly valuable in bosses with extended strings. Defend with the weapon and accessories that help diminish the enemy’s Sha-Chi, earn the stagger, switch weapons to replenish your own resource, and use the vulnerable window for damage. If a Sha-Chi Essence is available after a Guard Break, Soul can spend it on a high-damage Power Surge; on PS5, this is L2.
Use Wooden Sanguine as an early Guard Break tool
Wooden Sanguine may not sound like a fearsome boss weapon, but its early-game Guard Break strength makes it a serious option. It is especially useful for players who are practicing parries, because successful parries with it can make a meaningful dent in a boss’s Sha-Chi. The plan is simple: equip Wooden Sanguine for the boss’s offensive phase, focus on accurate defense, then swap to the other weapon when the stagger arrives and capitalize before the bar recovers.
This does not mean every player must build around it forever. It illustrates the broader point that weapon descriptions and special properties deserve close reading. A weapon’s value is not limited to a headline damage number. Some bring special attacks, some gain additional traits as they level, and some are better suited to particular enemy types or phases of a fight. A supposedly humble weapon can have a precise role in a two-weapon setup.
Build for the boss in front of you
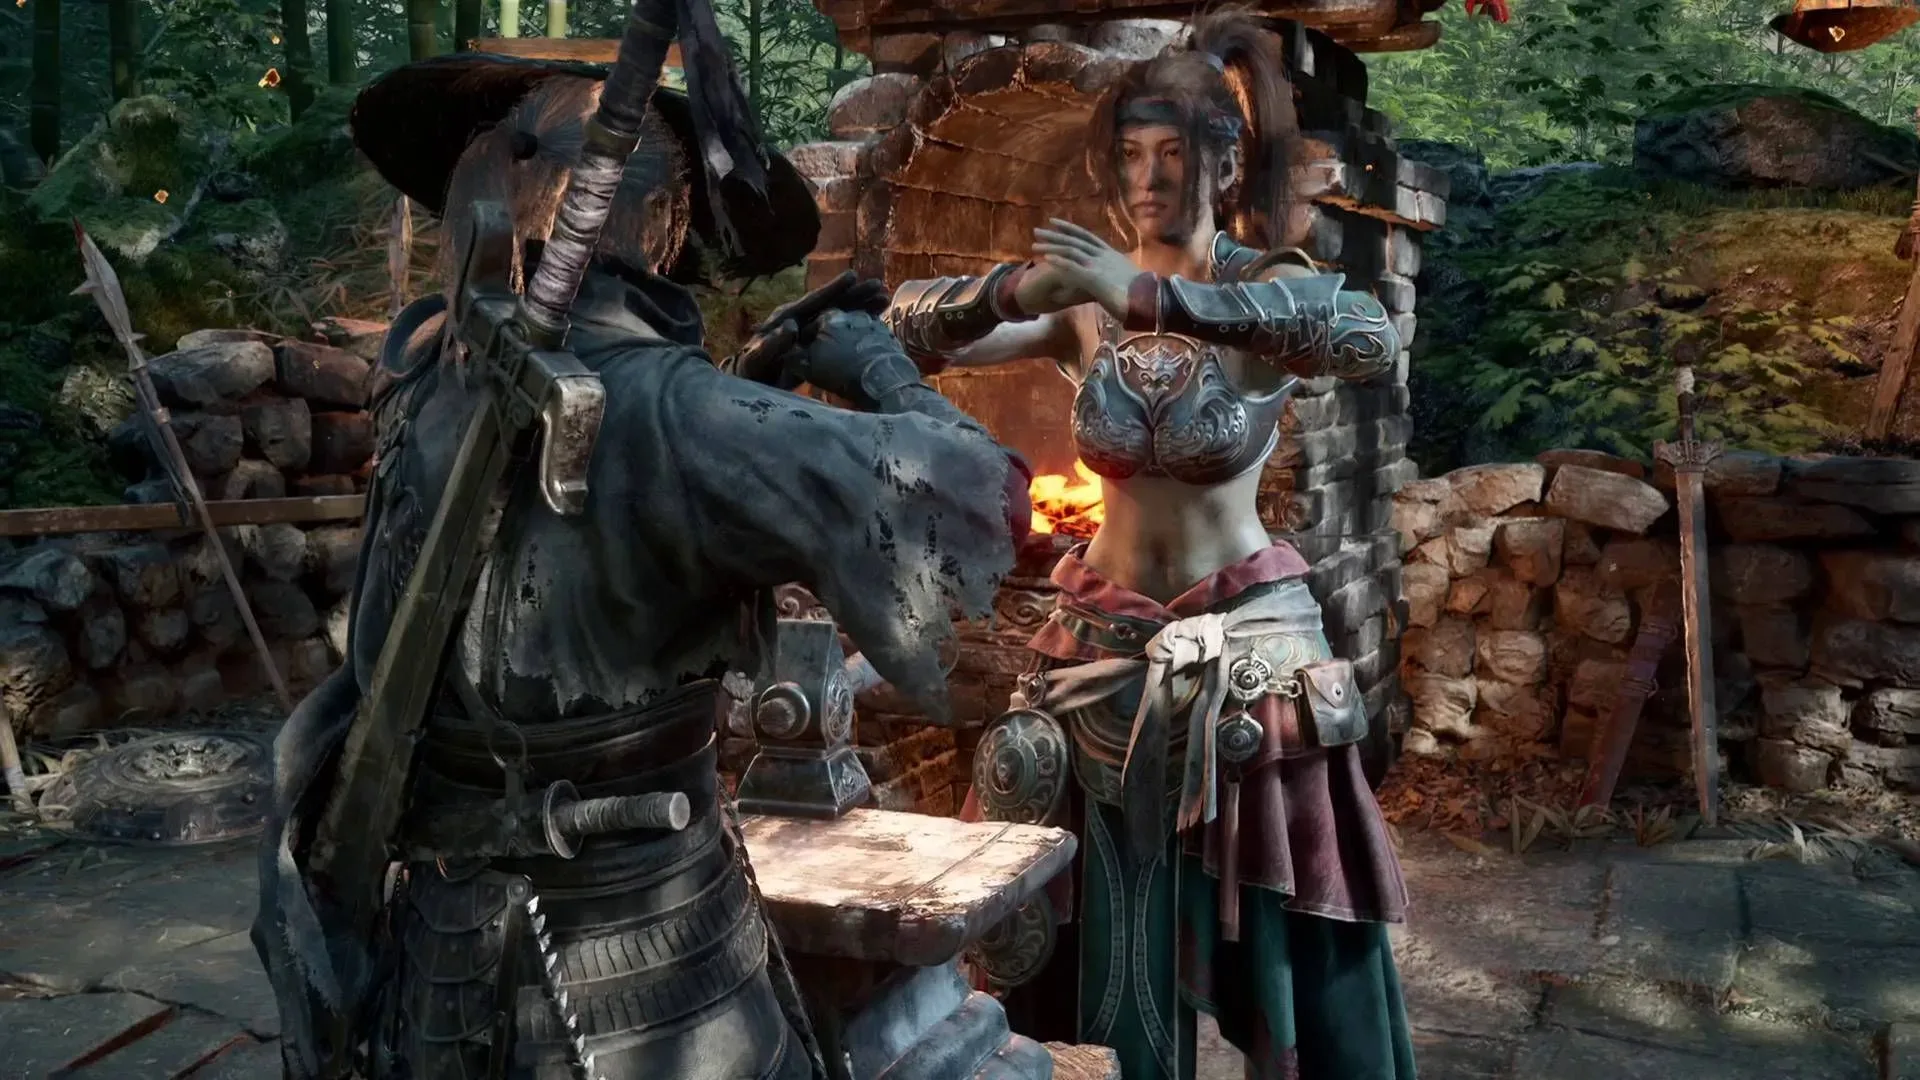
If a boss repeatedly stops progress, changing the loadout at a nearby Bell can be more productive than launching the same attempt again. Bells provide travel between regions and also function as the place to review equipment, upgrades and shop choices. The right response depends on the foe’s visible mechanics.
For example, a boss with a blue shield bar above its Sha-Chi bar calls for more shield-breaking strength. The Shieldbreaker Talisman and the Dread Axe Phantom Edge are options geared toward that need. Meanwhile, fleshy targets can take bleed damage, making Jagged Steel a potentially useful sword choice. Puppets and some other enemies are immune to bleed, so this is not a universal answer.
The analysis here is less about finding a single “best” build than identifying the constraint the encounter presents. Is the enemy’s shield preventing meaningful progress? Is bleed applicable? Is the fight punishing weak Guard Break output? Then select the weapon, Phantom Edge and accessories that address that constraint. Accessories provide buffs for Soul, so their relevance rises when a boss has a clearly identifiable weakness.
Boundless Capacity is an especially valuable early Ability because it grants a third accessory slot. It sits second in the Ability tree’s top row and costs 10,000 Remnant Dust. Further Boundless Capacity upgrades appear elsewhere in the tree, eventually allowing up to six accessory slots. More slots do not remove the need to choose wisely, but they make specialized boss preparation far easier.
Spend Remnant Dust with a plan
Remnant Dust is the main currency, and the game offers several ways to use it: weapon upgrades, Abilities and shop items. The safest early economy is conservative. Thorough exploration can supply considerable upgrade material, reducing the need to buy materials at a Bell’s shop. Selling them is not especially rewarding either, so materials are best retained until they are genuinely needed.
Prioritizing meaningful Ability unlocks, including Boundless Capacity, can often provide more enduring value than repeatedly purchasing crafting materials. This is not an instruction to ignore weapon improvement. Rather, it is a reminder that shop purchases are a trade-off: every batch of materials bought is Remnant Dust unavailable for Soul’s broader capabilities.
The upgrade system also makes experimentation less punishing than it initially appears. Any weapon can be reset to level 1, returning every upgrade material invested in it. When a weapon falls out of the active rotation, reverting it frees those materials for the current setup. As a result, players can keep the two weapons they are actually bringing into battle as strong as possible instead of spreading resources across unused equipment.
That refund feature changes the best habit from “upgrade nothing until absolutely certain” to “commit to what works now, then reclaim the materials when it no longer does.” Do not feel obliged to abandon a familiar weapon merely because a new one has better statistics, either. Preference and comfort with a moveset remain useful, especially while learning enemy timing. Test new equipment, read its traits, and change only when its advantages suit the way the player wants to fight.
Explore carefully, but expect the map to ask for a return trip
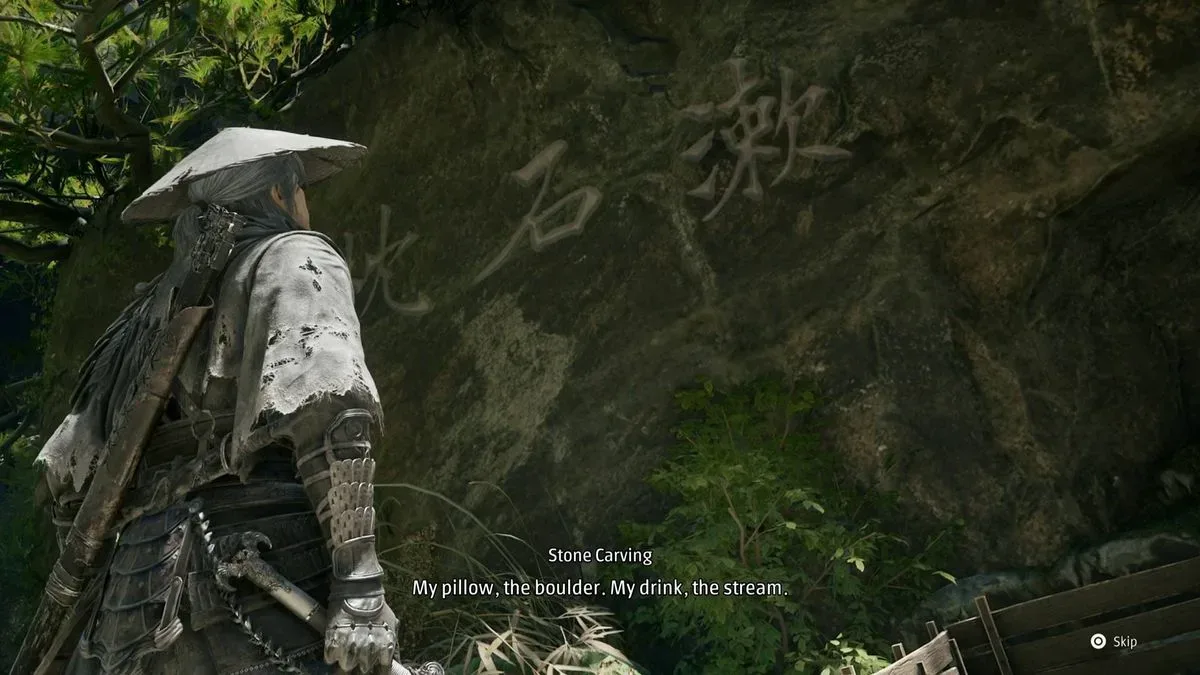
Every region contains interactable details, including book pages and writing on walls. Investigating them yields Remnant Dust in small amounts. Individually, the reward may be modest; across a region, it contributes to the same currency pool needed for Abilities and upgrades. More importantly, slowing down to inspect the environment helps reveal keys, objectives and nearby opportunities before a region is left behind.
Keys are often located reasonably near what they open, making a careful initial sweep worthwhile. Some quests are also time-sensitive in practice: leaving them too long can cause a reward to be missed. A Healer’s Mercy in Crimson Forest is one such quest. Before traveling onward, it is sensible to review open objectives and resolve accessible local tasks.
At the same time, completeness does not mean trying to conquer every obstacle immediately. Some barriers require a particular Phantom Edge acquired only after a later boss encounter. Map markers help distinguish a future task from a present one: a relevant red icon changes to green once Soul has what is needed. An optional puppet boss within a rift is another case where retreating and returning stronger is the rational choice.
Side quests can also progress in stages and resume in another region after appearing to go dormant. The Flesh Lily quest is an example of this long-form structure. Keep its incomplete state in mind while moving through the main path rather than assuming it has failed simply because the next step is not nearby.
That structure is part of the game’s broader rhythm: be diligent while an area is fresh, record loose ends, and accept that certain problems are deliberately deferred. For a different look at how game settings can shape player choices and high-pressure escapes, see our take on GTA 6’s Leonida and the consequences of every getaway.
Stealth is a legitimate way to lower the difficulty
The stealth system may not be the deepest part of Phantom Blade Zero, but ignoring it can create unnecessary fights. Approaching an unaware enemy from behind enables a high-damage assassination that will often instantly kill weaker opponents. When multiple enemies stand close enough together, a quick-time event can allow Soul to chain the assassination and reduce the group before conventional combat begins.
Its practical value is not merely saving time. Removing weaker foes lowers the number of simultaneous attacks to read, which in turn makes dodges, parries and Sha-Chi management more controllable. Stealth is therefore a preparation tool: it lets players reserve their attention and resources for the enemies that actually require a direct duel.
A compact routine for new players
- Inspect pages, writing and other interactable objects while exploring to accumulate Remnant Dust.
- Finish accessible local objectives before leaving a region, but mark barriers that require a later Phantom Edge.
- Carry two weapons with complementary roles and switch to restore Sha-Chi at moments that matter.
- Dodge red-flash attacks and black-and-white Sha-Chi-draining attacks; block uncertain strings and pursue reliable parries.
- Use Guard Break-oriented tools, such as Wooden Sanguine early on, to create stagger opportunities.
- At a Bell, adapt weapons, Phantom Edges and accessories to the boss’s shield, bleed vulnerability or other visible trait.
- Keep upgrades focused on equipped weapons, then reset retired weapons to recover materials.
- Buy Boundless Capacity early when possible for the additional accessory slot.
- Thin groups from stealth before committing to a full fight.
Once these habits are in place, Phantom Blade Zero’s many systems become less like separate chores and more like a single loop. Exploration funds growth, growth expands loadout options, smart switching preserves Sha-Chi, and tailored equipment turns a difficult boss from an opaque wall into a readable combat puzzle.