
DMZ keys are only valuable if a squad can turn their vague location labels into an efficient route. A key may point toward a district rather than a precise door, while several labels recur across the map. That makes inventory management as important as opening the lock: carrying a key into the wrong side of the map can turn a promising loot run into a long, dangerous detour.
This reference organizes the known MW4 DMZ key uses by region. The entries below identify the named lock or room associated with each area. Repeated entries are intentional: keys such as Silo Control Room, Blackmarket Weapons Locker, Police Station Armory, Fire Station Storage, Gun Store Weapons Locker, and Hanex Bank Vault can be relevant in more than one part of the map.
In practical terms, a multi-use key is a better reason to plan a route around a region where multiple matching locations are possible, while a location-specific key is best held until the team can deliberately visit its named zone. The distinction matters in an extraction-style mode: the objective is not simply to unlock a room, but to reach it, collect what is useful, and leave with the gains intact.
Political Prison keys
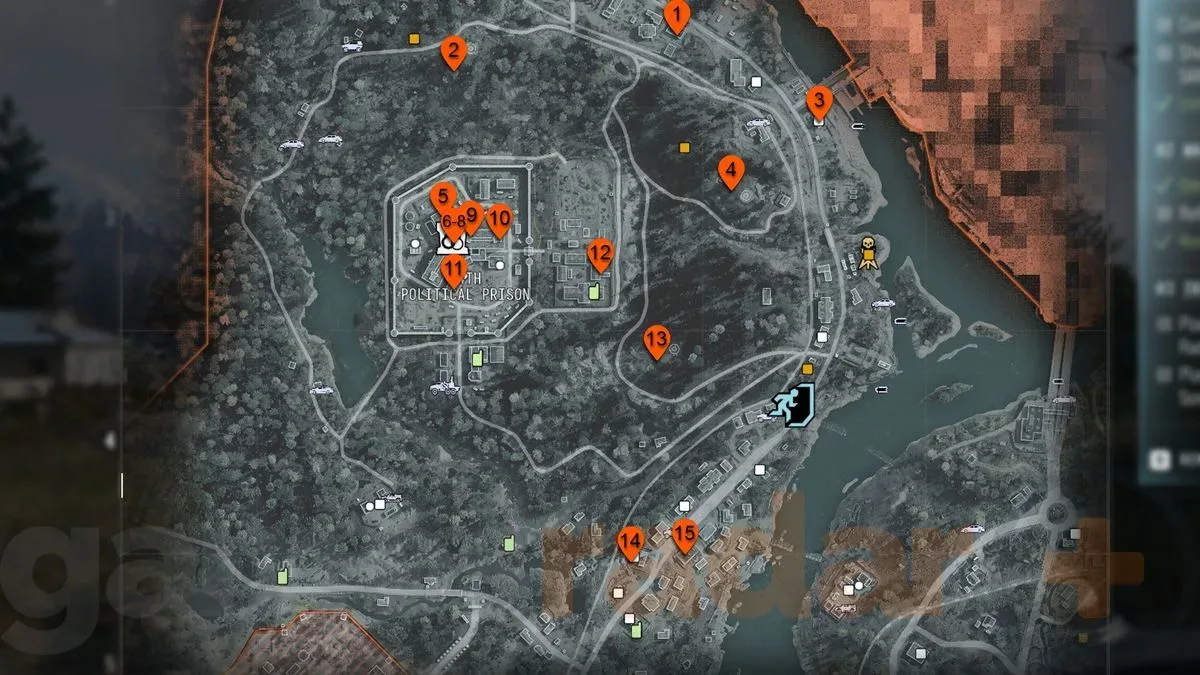
The Political Prison, in the northwest portion of the map, combines common-spawn-area access with a more demanding interior breach. That split makes it useful for flexible keys, but its prison-specific rooms need more commitment. The central prison-related entries in this section are more hazardous because accessing them requires getting through the prison itself.
For more context, explore Jeff Kaplan Says Overwatch 2 Was Announced Before Blizzard Had Settled What It Was.
- Blackmarket Weapons Locker
- Silo Control Room
- Police Station Armory
- Silo Control Room
- Kang's Arms Incinerator
- The Citadel Secondary Control Room
- The Citadel Main Control Room
- The Citadel Side Access
- The Citadel East Wing Storehouse
- The Citadel East Wing Office
- South Block Armory
- Prison Encampment Storage
- Silo Control Room
- Police Station Armory
- Blackmarket Weapons Locker
How to approach the prison
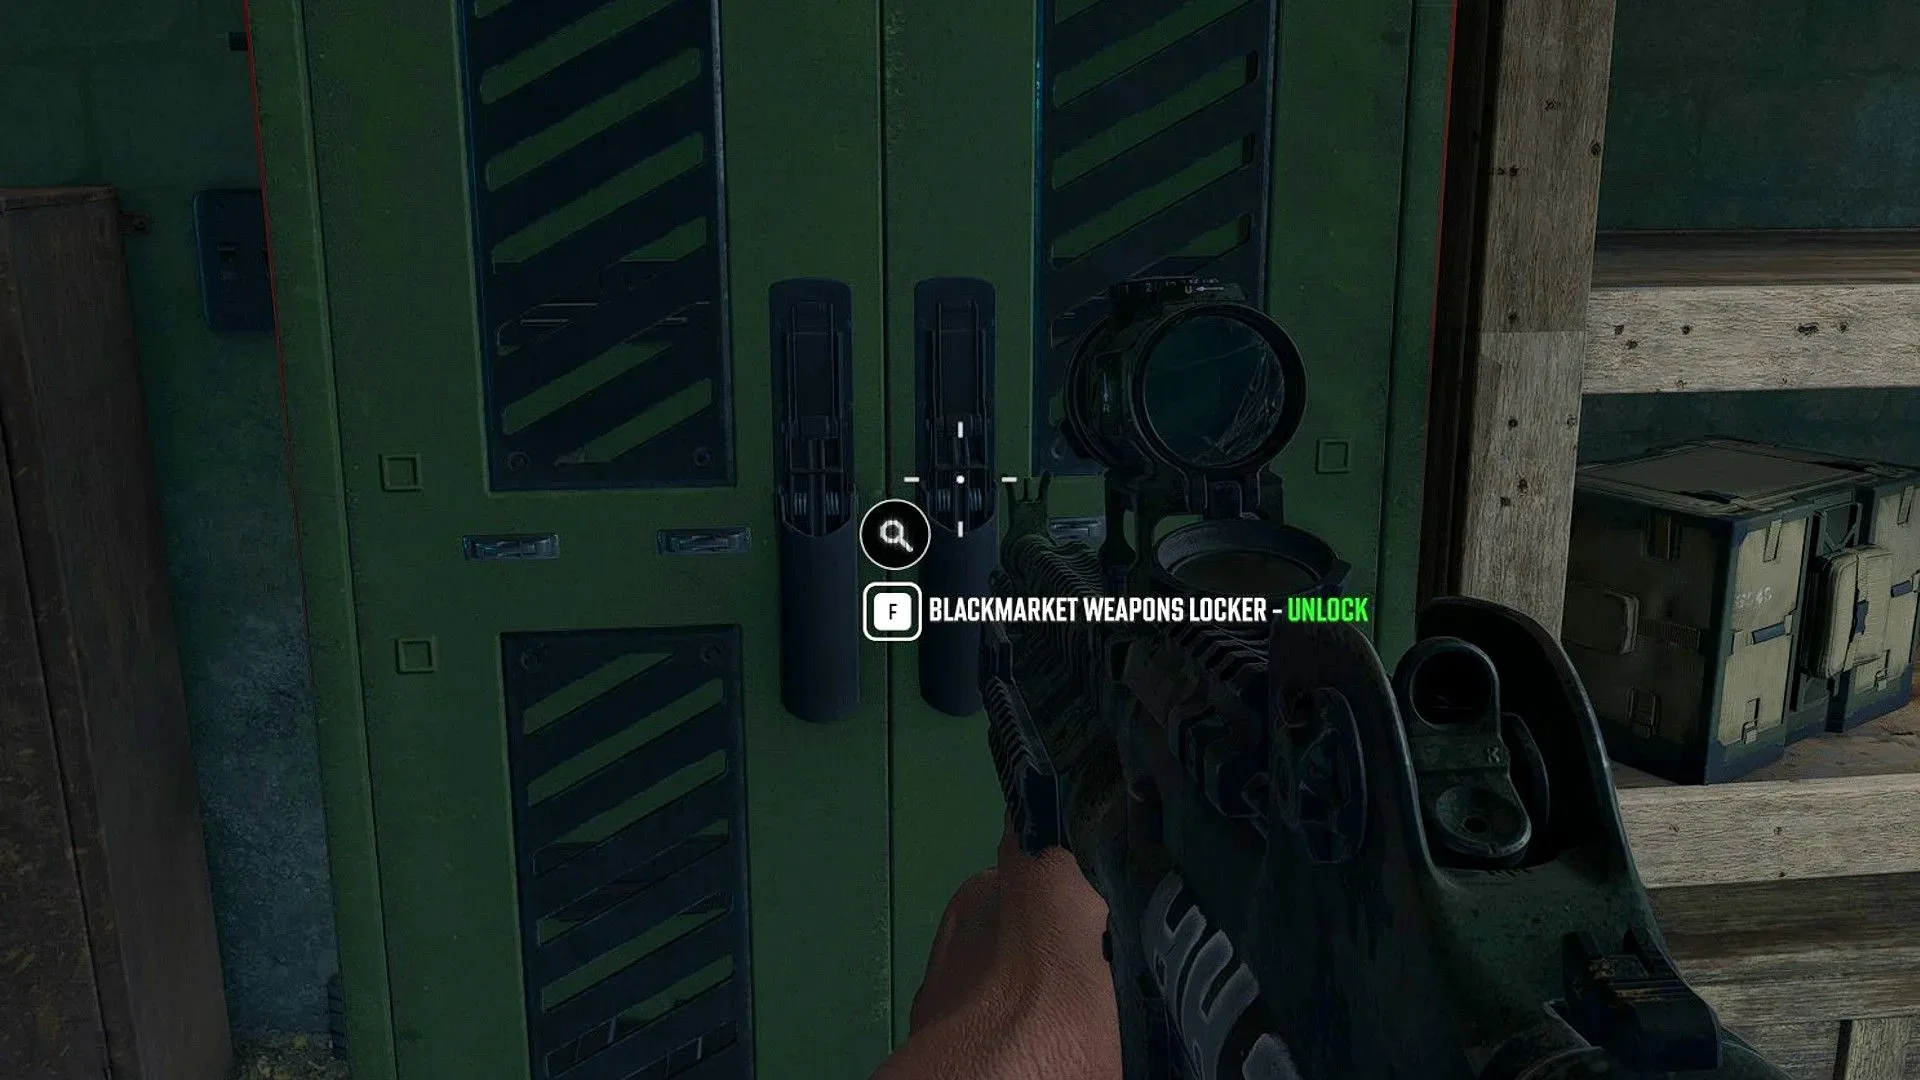
The Blackmarket Weapons Locker and Silo Control Room labels are especially practical here because both appear in this northwest region and elsewhere. If one of these is already in the stash, the prison side of the map provides an opportunity to use it without building an entire run around a single unique door.
The Citadel and South Block names suggest a different kind of decision: these are tied to the prison complex and therefore demand a plan for dealing with resistance on the way in. Do not treat a key name as a guarantee of a low-risk reward. The safe interpretation is that the lock provides a destination, while the approach remains the real problem to solve.
Cheongun Village and Mirae General Hospital keys
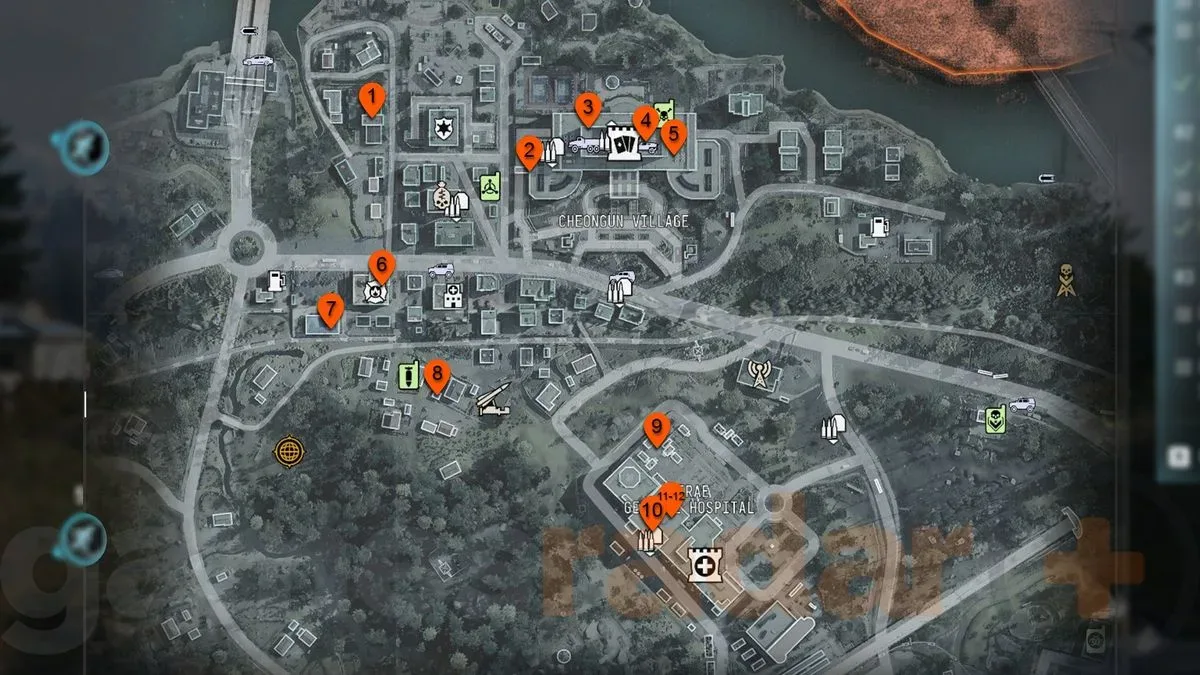
Cheongun Village is made up of smaller buildings, unlike the more concentrated hospital and casino locations nearby. That can make the village the less complicated area to search, but the casino is described as a tougher target. A team aiming for it should arrive with suitable weapons and medical supplies rather than regarding a key as a free pass.
- Gun Store Weapons Locker
- Heavenly Luck Casino Ground Floor
- Jin-Tae's Private Lounge
- Counting Room Vault
- Vault Armory
- Fire Station Storage
- Rail Depot Storage
- Mechanic's Shack
- Mirae Electrical Room
- The Doctor's Command Office
- Hospital Chemical Lab
- Hospital Chemical Locker
The Counting Room Vault is notable as an early Story Mission reward, making it a key worth recognizing rather than casually discarding. Its placement alongside casino-related access also reinforces a simple planning rule: prioritize the most demanding lock first, then decide whether nearby village or hospital objectives fit the same route.
Hospital-themed keys are easy to sort at a glance: Mirae Electrical Room, The Doctor's Command Office, Hospital Chemical Lab, and Hospital Chemical Locker all belong in this broader village-and-hospital plan. Fire Station Storage is the exception worth remembering, since it reappears in other regions.
Haneul Nuclear Reactor keys
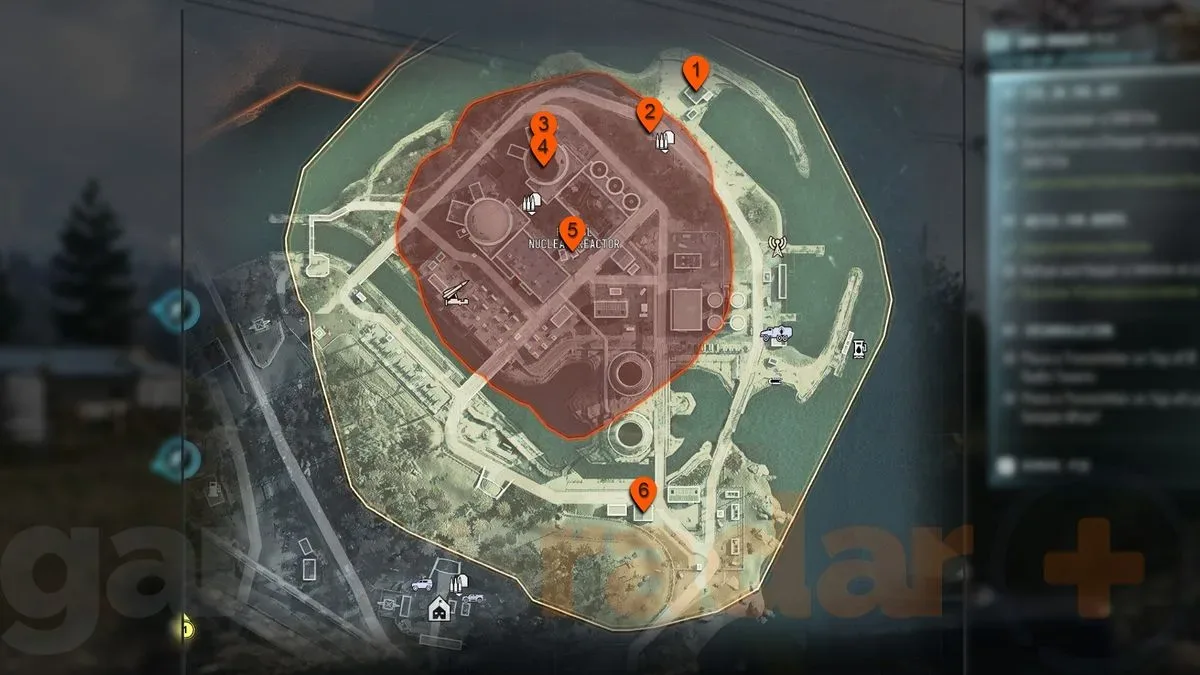
The Haneul Nuclear Reactor is the clearest case for patience. It is protected by a radiation field that damages players without a gas mask. A mask reduces the immediate issue but does not eliminate it: masks deteriorate over time. In other words, the relevant resource is not simply whether the squad has a mask, but how much safe time remains after entering the zone.
- Haneul Boat House
- The Chemist's Secure Armory
- Reactor 02 Control Room
- Reactor DRC Locker
- Utility Maintenance Storage
- Hazard Storehouse
What “plan the entry” means here
For reactor keys, preparation should happen before crossing into the radiation field. Decide which named lock is the actual priority, avoid using the zone as a casual detour, and preserve the key in the stash until the group is ready. This is an area where an unfocused search consumes the same time a squad needs to reach the intended objective and get back out.
The list also divides naturally between control-oriented rooms and support locations. Reactor 02 Control Room and Reactor DRC Locker read as core-facility targets; Utility Maintenance Storage and Hazard Storehouse sound like service-area objectives. The names should help a team communicate its intended stop, but they should not be treated as confirmation of exact loot or a guaranteed route.
The Grid and Sangdo Wharf keys
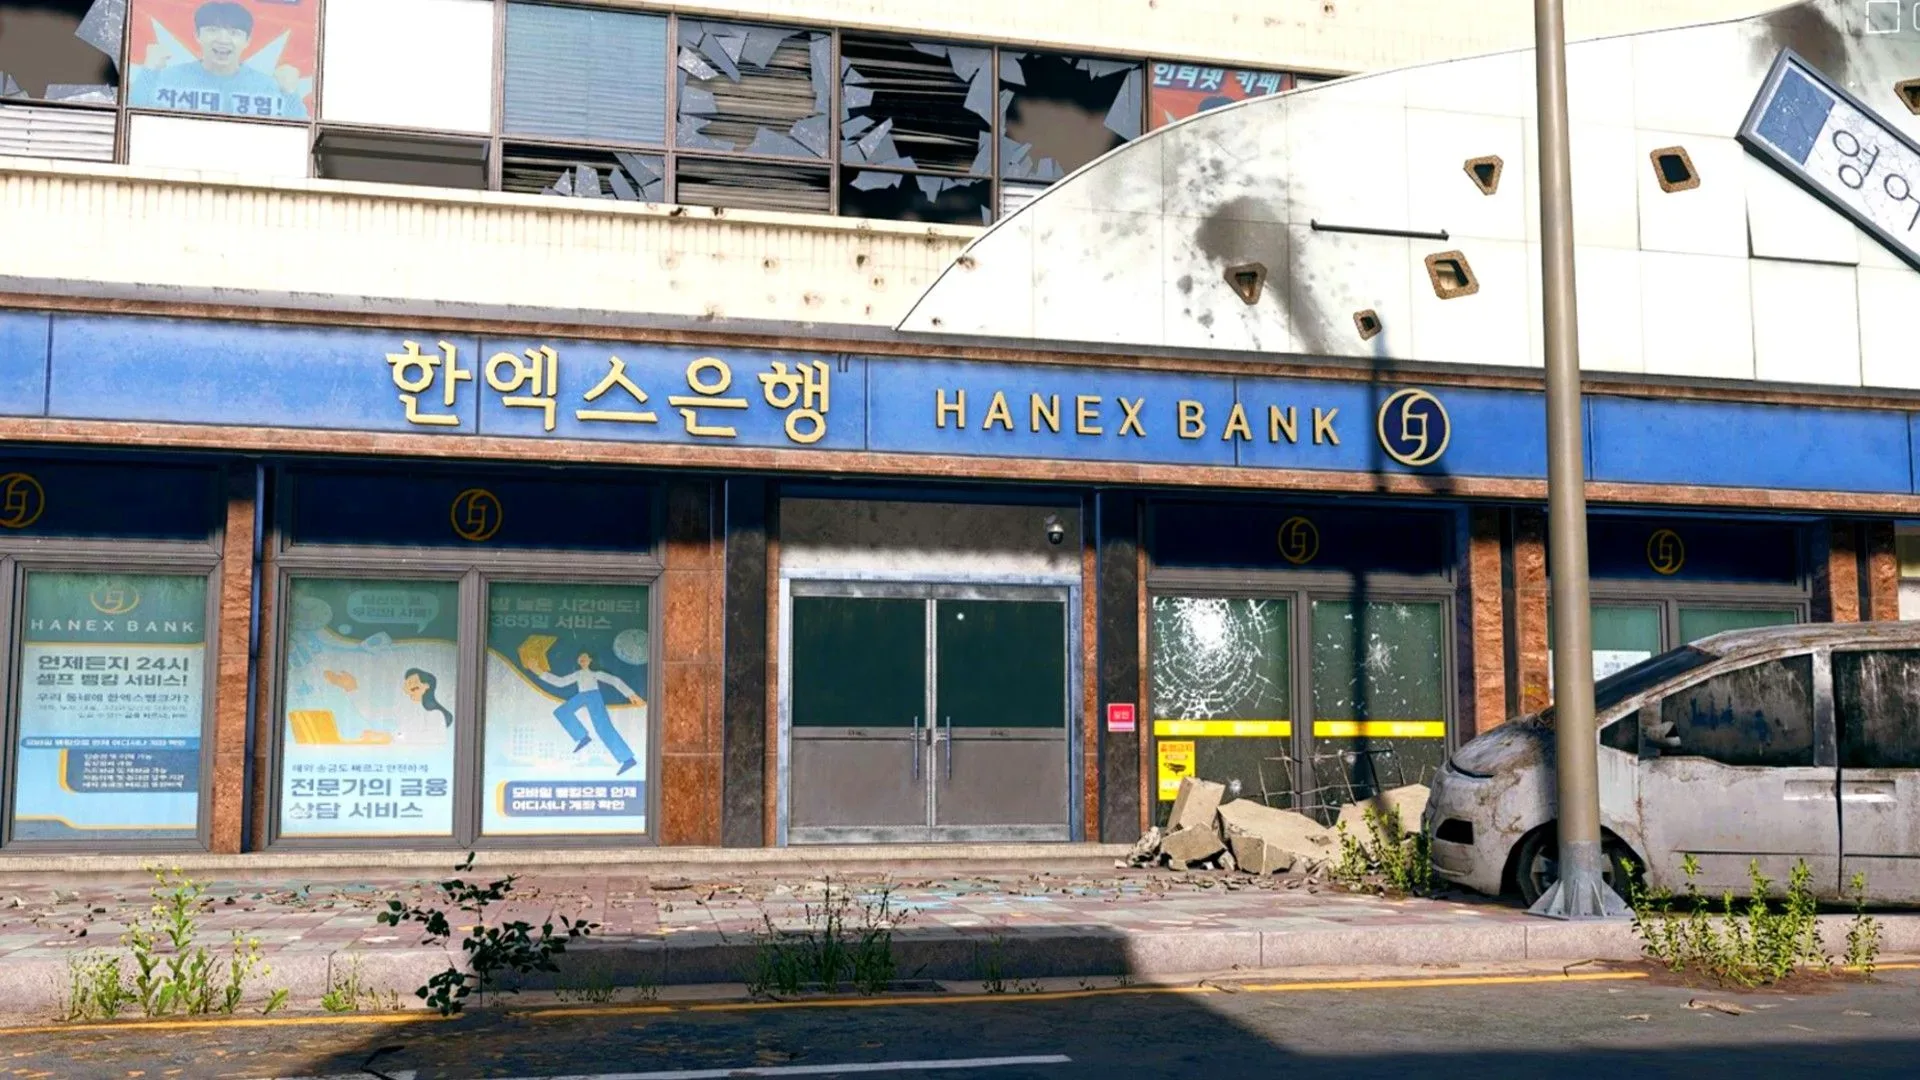
The Grid and Sangdo Wharf have one of the broadest sets of possible destinations. It includes commercial, security, office, residential, utility, and vault objectives. It is also the key region for Hanex Bank Vault runs: three banks can be attempted across this broader part of the map, including a bank farther south. The main bank tower within The Grid is a high-threat location.
- Shopping DRC Locker
- Jang-ui's Converted Power Room
- Coin Mining Den
- Fire Station Storage
- Hanex Bank Vault
- Downtown Branch Lobby Main
- Netshin Security Office
- Netshin IT Room
- Roze's Highrise Armory
- Executive Arms Auction
- Hanex Guard Station
- Lucera Suite 703 Bedroom
- Design Center Director's Office
- Hanwoori Art Records Room
- Gas Station Electrical Room
- Gun Store Weapons Locker
- Hanex Bank Vault
- Old Barber Shop
For a player holding a Hanex Bank Vault key, the important takeaway is flexibility, not safety. Multiple bank possibilities give a run options, yet the principal tower’s high-threat status means a vault plan needs a risk threshold. If the tower is too contested, the presence of other vault opportunities around the wider area can make a different route the more sensible choice.
Keys sharing a brand or building group should also be sorted together before deployment. Netshin Security Office and Netshin IT Room form a useful pair for one search plan; Hanex Bank Vault and Hanex Guard Station belong in the same mental folder. That does not prove the rooms are adjacent, but it reduces the chance of overlooking a compatible key while deciding what to bring.
Wolves Stadium and Hajin River Heights keys
The stadium and river-heights region continues the bank-and-police-station theme. One bank sits near the boundary with The Grid, while another lies south of the stadium. Both are described as comparatively accessible when the needed materials are available. A nearby police station gives players carrying multiple compatible keys a reason to make this a focused stop, provided their backpack has room for the results.
- Hanex Bank Vault
- Police Weapon Depository
- Police Station Armory
- Shop Records Room
- Hanex Bank Vault
- Gangbyeon Apartment B
- Militia Arms Depot
- Iskra's Control Room
This is a strong example of why duplicate key names should not be ignored as list clutter. The second Hanex Bank Vault entry signals another possible use in the wider stadium area. Pairing that flexibility with Police Weapon Depository and Police Station Armory can make the region efficient for a player whose inventory happens to contain those particular labels.
Imjin Farmland keys
Imjin Farmland is more isolated and has fewer general reasons to visit. The best rationale for traveling there is therefore a key-driven run. Apart from Fire Station Storage, the listed objectives are unique to this area, making the region a good place to consolidate several farmland keys in a single match rather than spending repeated runs traveling for one room at a time.
- Gorani's Scout Overlook
- Rice Mill Bunker Area
- Imjin Mill Foreman's Office
- Mill Explosives Lab
- Haejeok Radio Station
- Hoesik Supply Room
- Fire Station Storage
The mill keys are especially suited to this consolidation mindset: Rice Mill Bunker Area, Imjin Mill Foreman's Office, and Mill Explosives Lab all point toward a shared farmland objective. Searching the region may produce more locally useful keys, so an entire match devoted to the zone can be more productive than treating it as a brief stopover.
Chang-San Air Base and Deadtown keys
Chang-San Air Base and Deadtown make up another western common-spawn region. It is a natural place to consider when holding the reusable Blackmarket Weapons Locker or Silo Control Room keys, but it also has a substantial group of local military, underground, and school-related objectives.
- Silo Control Room
- Weapons Mod Workshop
- Field Depot
- Commandant Office
- Air Base Armory
- Air Base DRC Weapons Locker
- Silo Control Room
- Silo Control Room
- Underground Equipment Storage
- Underground Propaganda Store Room
- Re-Education Center Annex
- Haksan School Armory
- Blackmarket Weapons Locker
Three Silo Control Room entries make this western zone particularly relevant for that key. The air base also contains several weapon-oriented names, including Weapons Mod Workshop, Air Base Armory, Air Base DRC Weapons Locker, and Haksan School Armory. That makes careful exploration valuable, but it is still wiser to enter with a short list of intended locks than to assume every named location can be safely searched in one outing.
Key-management checklist for DMZ runs
- Sort keys by district before deployment. Keep flexible keys separate from one-area objectives so a vague label does not send the squad across the map unnecessarily.
- Combine compatible targets. Bank, police, silo, fire-station, and weapon-locker keys can make a region more worthwhile when several appear in the inventory.
- Match preparation to the threat. Casino, prison, high-threat Grid locations, and the radioactive reactor should not be approached with the same expectations as scattered village buildings.
- Protect reactor keys until properly equipped. Radiation damage and deteriorating masks make Haneul a time-sensitive objective.
- Respect carrying capacity. A backpack limit can determine whether combining a stadium bank and police-station run is genuinely worthwhile.
For an additional overview of routing keys around the map, see this DMZ run-planning guide.