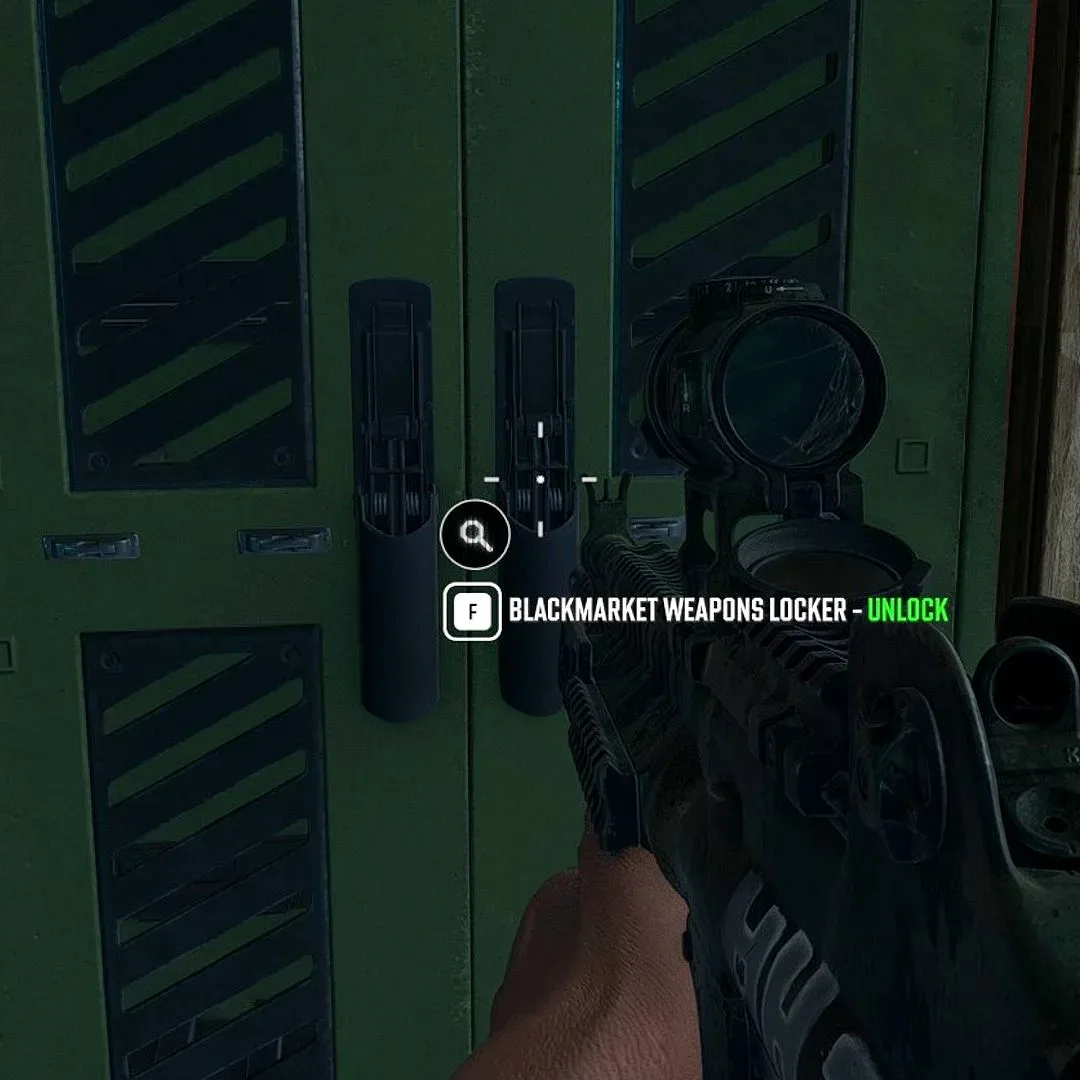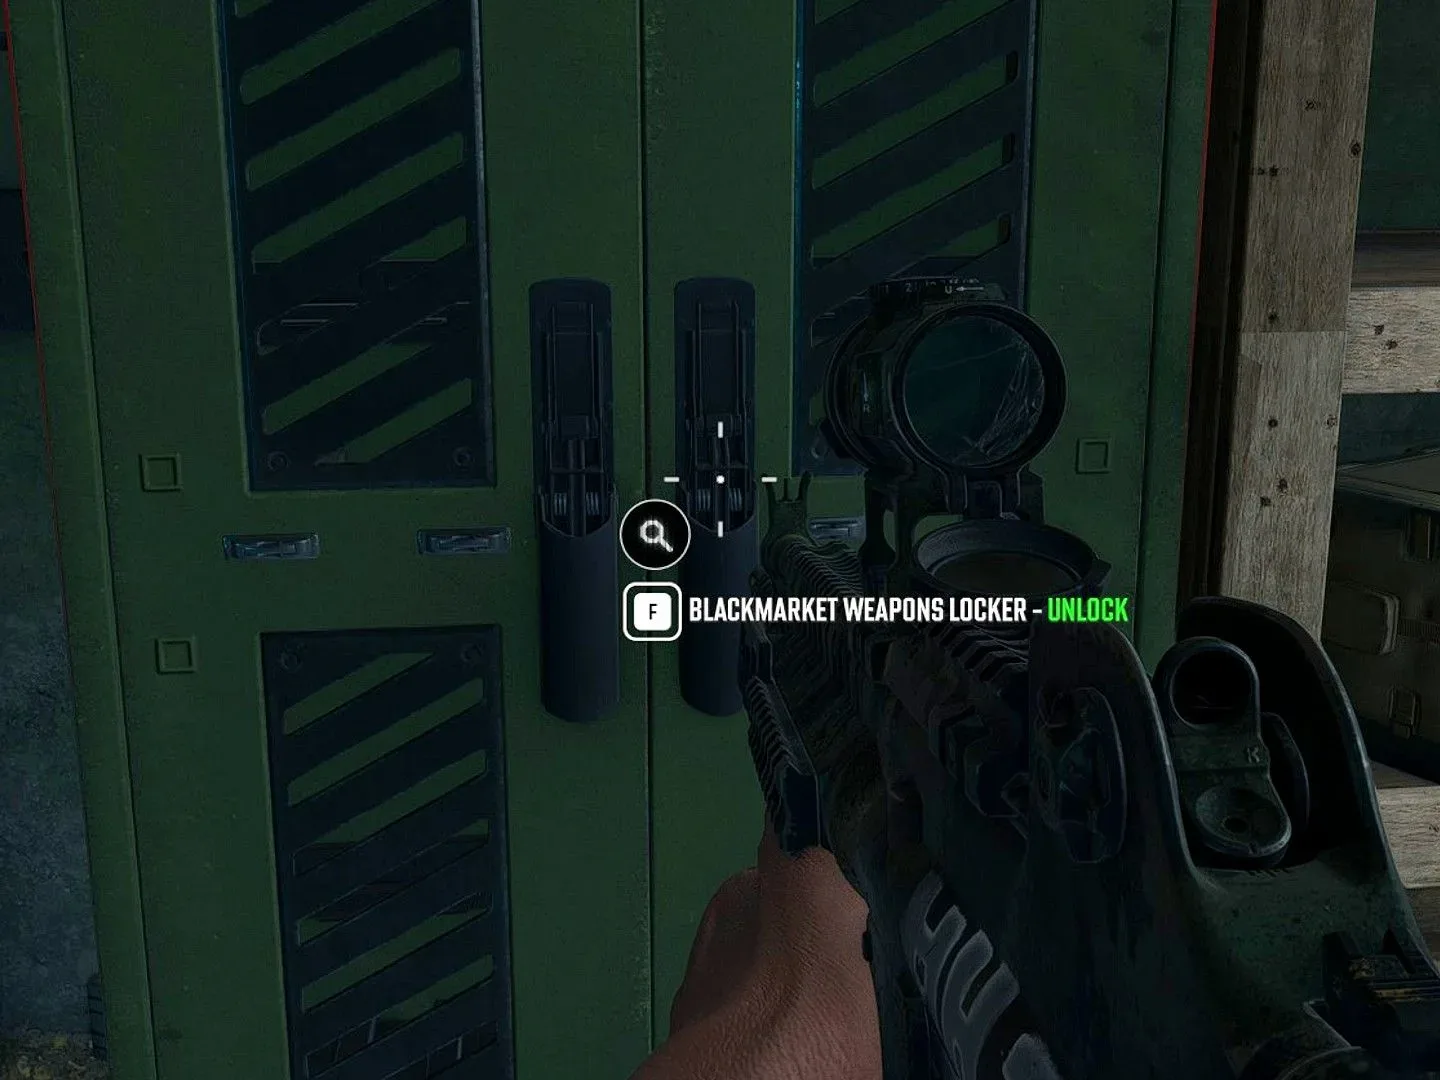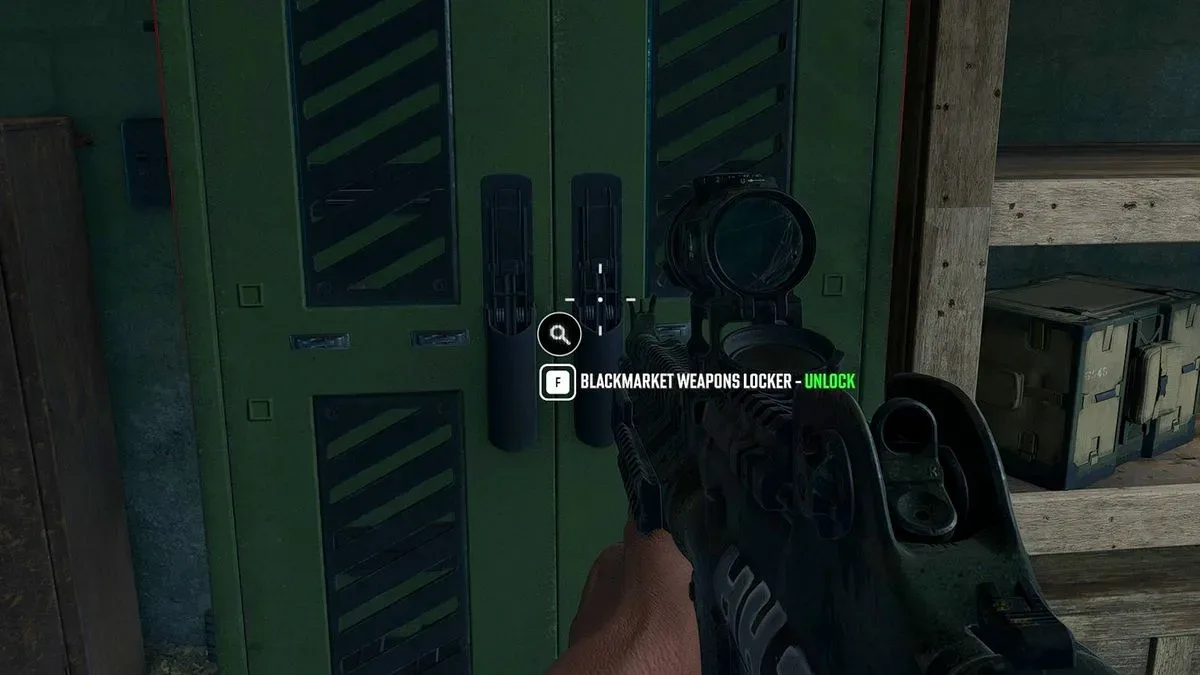

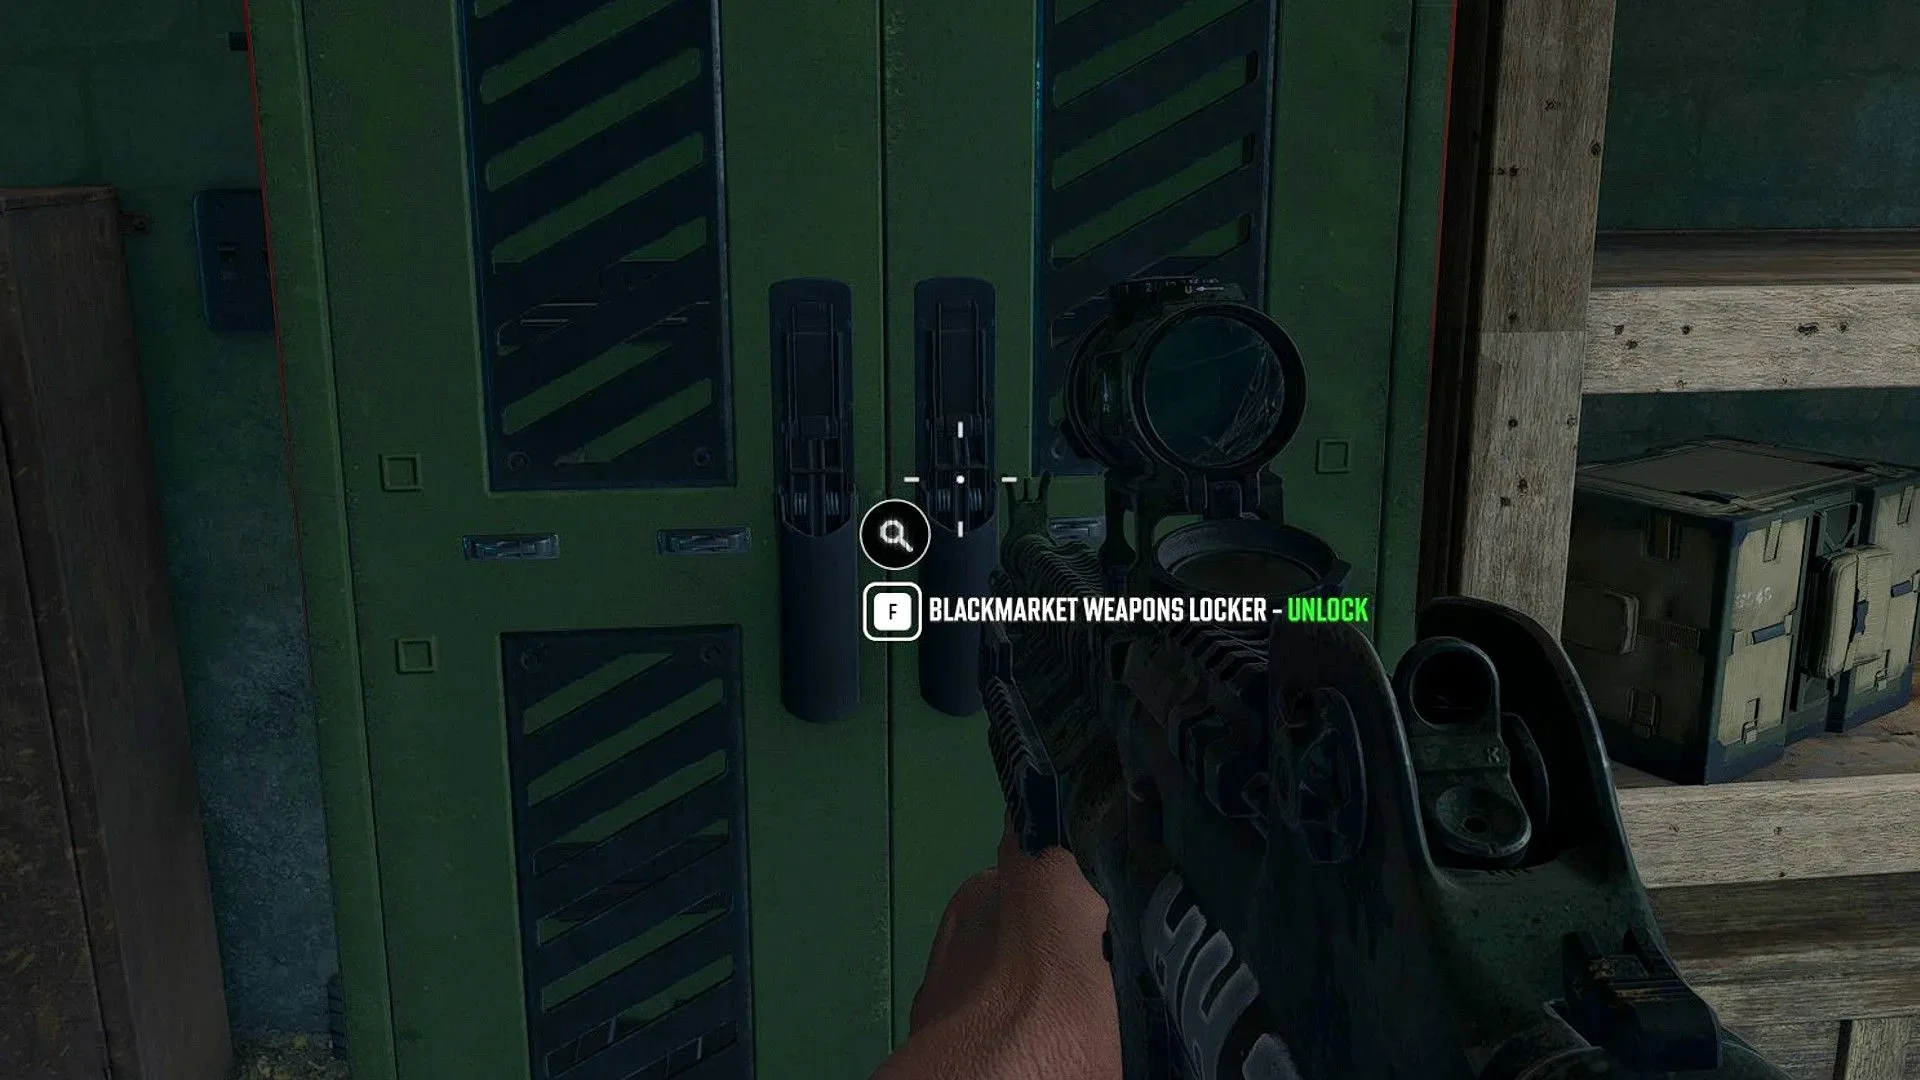
Blackmarket Lockers in MW4 DMZ are a compact loot objective with one important catch: a key is required to open them. If a Blackmarket Locker key turns up during a match, the useful question is not simply where the nearest door is, but whether the detour, the loot space and the eventual extraction plan make sense for that deployment.
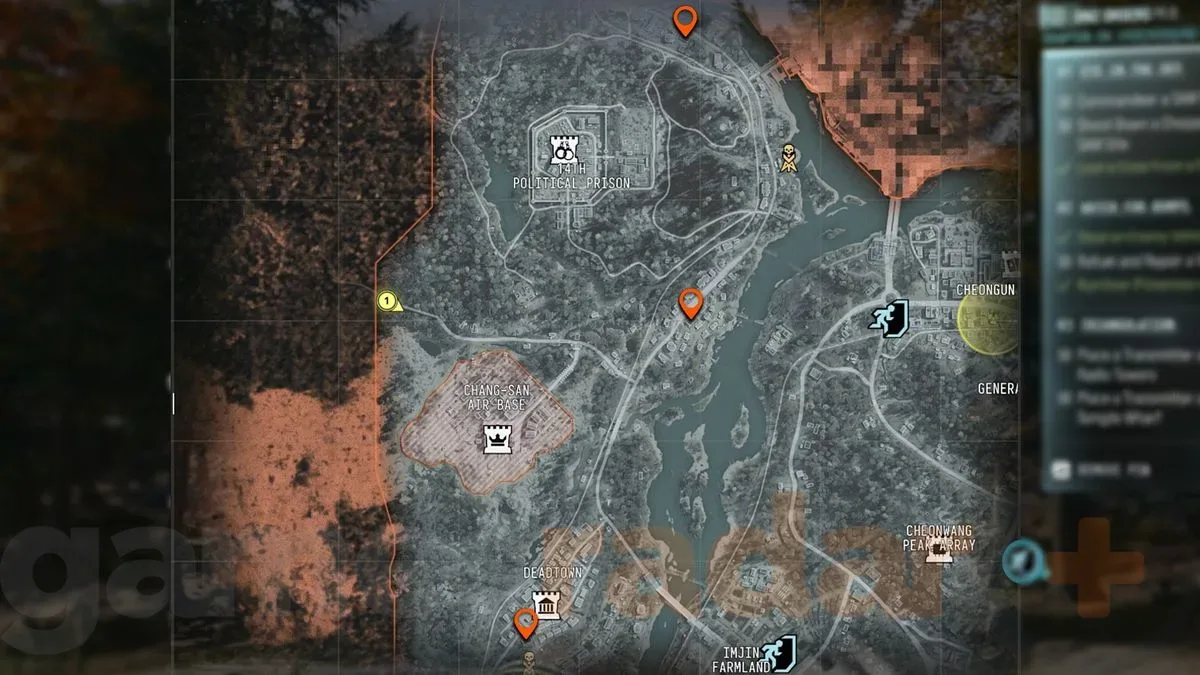
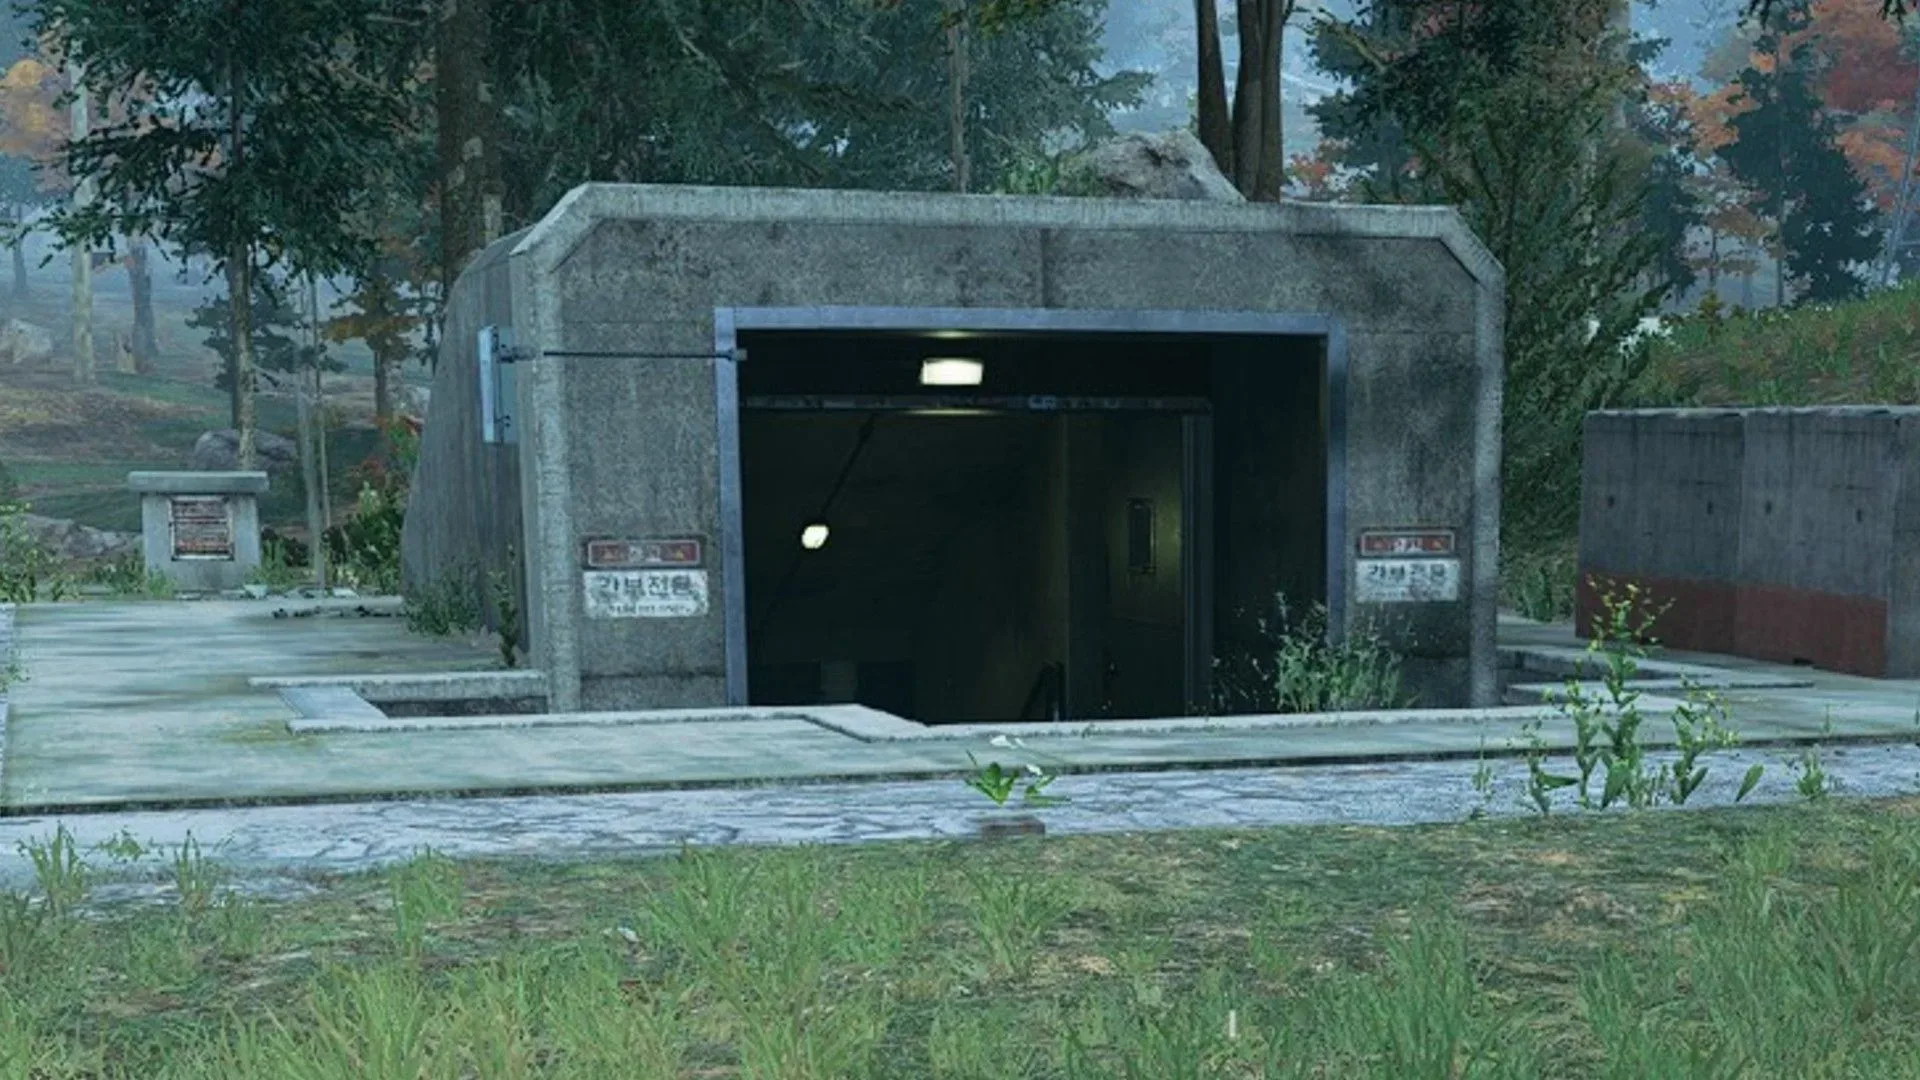
The currently known locker sites are all on the western side of the map. There are three locations in total: two around the prison area and one in Deadtown. Every listed site contains two lockers, so a single visit can potentially use two keys. That makes these rooms worth understanding before committing valuable inventory items or running across the map with a key that could be lost.
This guide separates the confirmed location pattern from practical route-planning advice. It also explains how Blackmarket Locker keys can be found or claimed through Recon Equipment Kits in the DMZ lobby.
Known MW4 DMZ Blackmarket Locker areas
There are three currently known Blackmarket Locker locations, all positioned in the west:
- Prison area: two locker locations are found here.
- Deadtown: one locker location is found here.
The exact building approach matters in a live DMZ match, but the larger takeaway is simple: players operating in the western half of the map have the most convenient opportunity to convert a key into locker access. A player beginning far away may want to weigh the journey against other objectives, threats and the remaining time needed to reach an extraction point.
Each location holds two Blackmarket Lockers. That detail changes the value calculation for anyone holding more than one key. Bringing two keys to one room allows access to both lockers at that site. Bringing one preserves a potential second key for another run while keeping more flexibility during the current deployment.
What a Blackmarket Locker key does
A Blackmarket Locker key is an access item: it opens a Blackmarket Locker, and it is the only stated way to get inside one. In practical terms, the key is not the reward by itself. Its value depends on reaching one of the locker rooms and successfully leaving the deployment with whatever is worth keeping.
That makes the key part of the match’s risk-and-reward loop. DMZ asks players to acquire items in a dangerous space and then exfil—extract from the match with those items. Opening a locker may improve the quality or quantity of loot available, but it also gives players another reason to travel, linger and manage inventory.
Related coverage includes MW4 DMZ Blackmarket Locker Locations and How to Get Keys.
There is still a reason to check a locker room even without the relevant key. Weapons and other valuable items can be found in those rooms independently of opening the locked containers. In other words, the room can be a loot stop, while the lockers are an additional keyed opportunity rather than the sole reason the location has value.
How to obtain Blackmarket Locker keys
There are two broad routes to a key:
- Looting during a deployment. Keys can be found randomly while looting the map. This is the opportunistic route: useful when fortune puts a key in the squad’s path, but not something to rely on for a planned locker run.
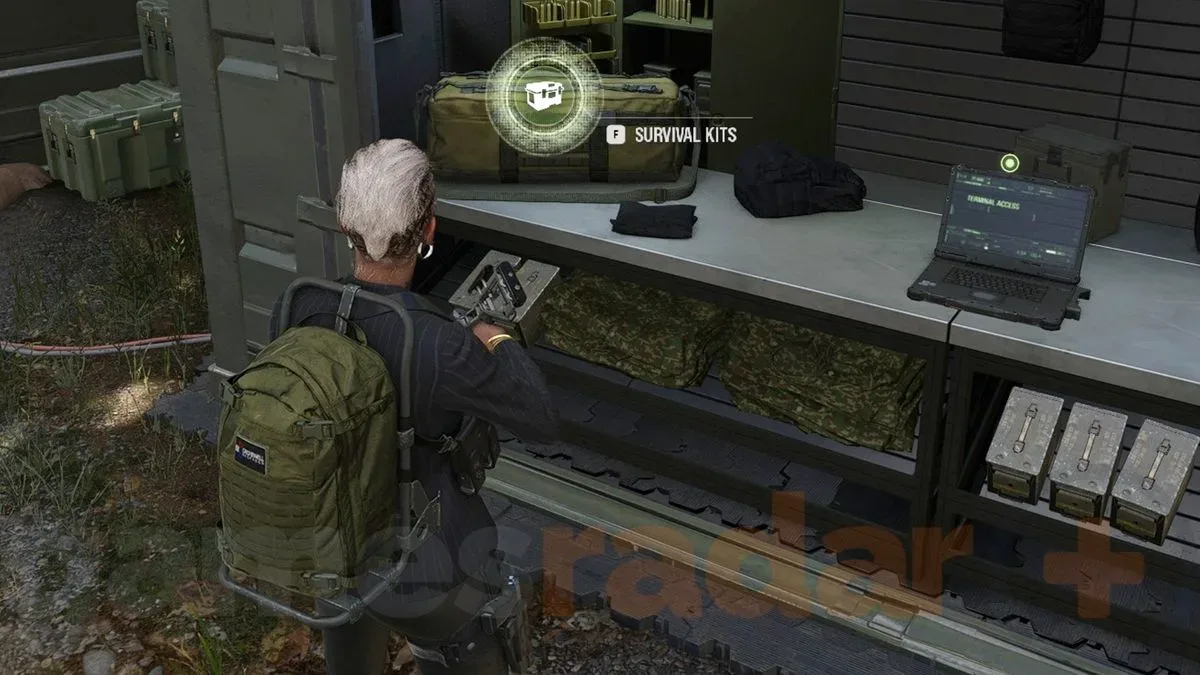
- Claiming Recon Equipment Kits. A more dependable supply comes through Survival Kits, specifically Recon Equipment Kits, that are obtained through DMZ progression and reward tracks.
Recon Equipment Kits are available at DMZ career levels 19 and 46. The kits can also be associated with career progress, orders, missions, the Battle Pass and events. Once earned, they must be claimed from the Survival Kits menu in the DMZ lobby. Claiming moves the items into the player’s Stash, where they can be prepared for use.
The distinction between earning and claiming is easy to overlook. Reaching a qualifying career level does not help with a locker run until the available kit has been collected in the lobby and its contents are present in the Stash. Before loading into a match intended for the prison or Deadtown sites, it is sensible to check that step first.
Key terms, explained
- Stash: the lobby inventory where claimed items are held before they are taken into a DMZ deployment.
- Survival Kits: a DMZ lobby menu used to claim eligible kits.
- Recon Equipment Kit: the specifically named Survival Kit type tied to Blackmarket Locker key access at the noted career levels.
- Exfil: extraction from the deployment. The choice of what to carry out is central to a locker run.
- Secure slot: a backpack slot recommended for protecting a key until it is needed.
Should you bring one key or two?
Because each location has two lockers, carrying two keys is the direct route to checking both. It is a sensible plan when the squad’s objective is explicitly to clear a locker room and it has enough room to manage the potential returns.
But two keys also represent greater exposure. A key held throughout a deployment can be lost before it is used, and a player with limited carrying capacity may have to make difficult decisions after opening both containers. The advice to use a backpack with a secure slot is especially relevant here: keep the key protected until the locker room is reached rather than treating it as ordinary loose inventory.
A one-key approach has different strengths. It reduces the number of valuable access items committed to a single outing and leaves more freedom for weapons or other inventory choices. This can be the more measured option when the locker is an incidental stop rather than the match’s main purpose.
There is no universally correct loadout decision in the known information. The important confirmed constraint is that players can only attempt to exfil with two MW4 guns. That limit means a second locker does not automatically translate into a second weapon being worth carrying out. Before spending both keys, consider which two guns, if any, would displace the equipment already being carried.
A practical locker-run checklist
- Check the Stash in the lobby. If a Recon Equipment Kit has been earned, claim it through Survival Kits so its contents actually appear in storage.
- Choose the target region. Plan around one of the two prison-area rooms or the Deadtown room, all on the western side.
- Decide on the key commitment. Take one key for a lower-commitment stop, or two if checking both lockers is the goal.
- Protect the key. Put it in a secure backpack slot until reaching the room when possible.
- Leave room for choices. Two lockers can produce more options, but extraction is still limited to two guns.
- Search the room regardless. No key does not mean no reason to visit; the area can contain weapons and valuable items outside the locked containers.
Why the western placement matters
With every known Blackmarket Locker concentrated in the west, a key is more valuable on some deployments than others. A run already taking a player through the prison area or Deadtown can turn a random key find into a practical objective. A run on the opposite side of the map may make the same key a future resource instead.
This is a useful example of why keys should not be treated as automatic instructions. A key gives access, but the match still imposes distance, inventory pressure and extraction limits. Holding onto it safely can be more efficient than forcing a long detour with no room to benefit from the result.
For players who enjoy route-based objective planning, the logic is familiar from other game guides: know the condition required for the reward, prepare before travelling, then make the trip only when the payoff fits the current run. Our Ocarina of Time Golden Scale guide similarly focuses on meeting a specific requirement before claiming an upgrade, though MW4 DMZ adds the extra pressure of surviving to extraction.
What remains uncertain
The location count here is limited to the three sites currently known: two in prison and one in Deadtown. It should not be read as proof that no other lockers exist or will be added. Likewise, the available details establish ways keys can be acquired and the career levels tied to Recon Equipment Kits, but they do not establish a guaranteed key from every individual activity or reward source.
For now, the reliable framework is clear: search the western prison and Deadtown areas, use a key to enter a Blackmarket Locker, claim Recon Equipment Kits from the Survival Kits menu after earning them, and plan inventory around the two-gun extraction cap. That approach turns a random key find into a manageable objective rather than a risky scavenger hunt.