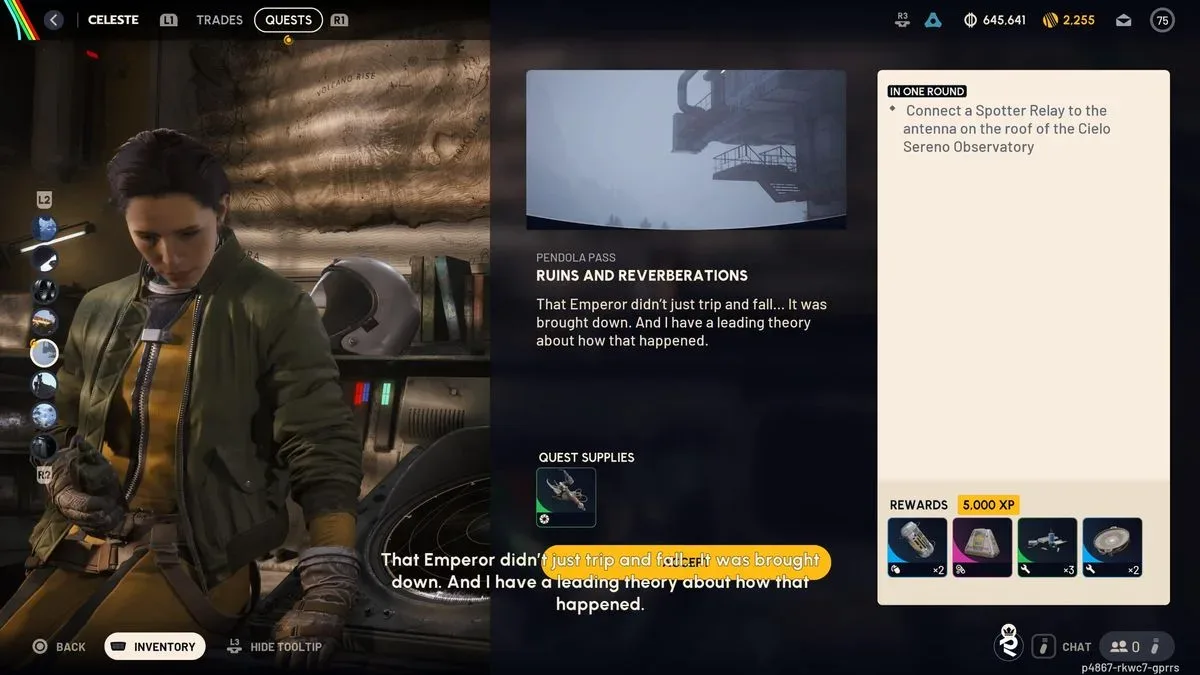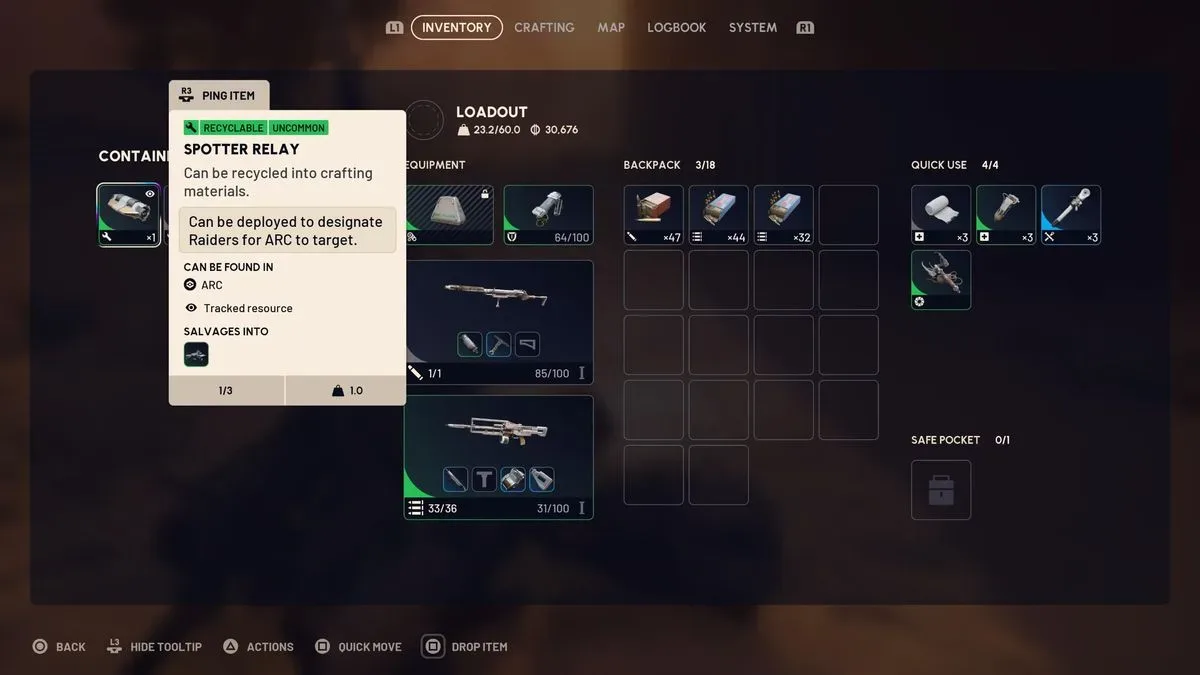
Ruins and Reverberations is an Arc Raiders quest that turns one antenna interaction into a compact multi-stage job. It begins with a straightforward instruction: take a Spotter Relay to the antenna atop Cielo Sereno Observatory in Pendola Pass. But the first activation does not complete the objective. Players must then trace the failure into the observatory’s crawlspace, weld a wire connection to redirect power, and return to the roof for a second activation.
That structure matters because the quest asks for three different kinds of preparation: acquiring a specific enemy drop, navigating a rooftop landmark, and moving through a dark interior route beneath the control-room area. The final interaction also creates a loud sound that can be heard by Arc enemies and other players, so the mission’s last step is not merely administrative. It can change the risk level of an otherwise successful run.
For broader context on the tension between safer play and the pressure that can make a raid feel consequential, see our coverage of the Arc Raiders PvE test debate.
Ruins and Reverberations at a glance
- Destination: Cielo Sereno Observatory in the northeast of Pendola Pass.
- Required item: One Spotter Relay.
- Roof target: The antenna on the south side of the observatory, roughly halfway along the building.
- Follow-up task: Enter the crawlspace beneath the control room area and weld the wires beneath that antenna.
- Completion step: Return to the same rooftop antenna and interact with it again.
- Important risk: The final activation is loud enough to alert nearby Arc and players.
Before entering Pendola Pass: get a Spotter Relay
The first potential roadblock is the Spotter Relay itself. The item is dropped by Spotters, circular airborne drones that accompany Bombardiers and can mark nearby players. In practical terms, the relay is not an item to expect at the observatory; it should be secured before committing to the trip there.
Spotters may be comparatively easy to destroy, but they are dangerous because of what follows if they identify a player. Their associated Bombardier can respond with arcing explosive mortar fire. “Arcing” describes projectiles that travel in a curved path rather than directly like a conventional bullet. That lets mortar shots threaten positions behind or below parts of the environment, making the drone encounter more consequential than its fragile appearance suggests.
A cautious way to separate the drone from the danger
A useful approach is to create noise away from your intended firing position, drawing the Spotter’s attention at a distance. From there, use a stronger weapon to bring it down quickly before it spots you. The aim is not to win an extended fight with every enemy in the area; it is to collect the relay while reducing the chance that the Bombardier gets a reliable location.
If the Bombardier does learn where you are, the safer response is to break contact, hide, and allow it to move on before checking the Spotter wreckage. The quest does not require taking on the Bombardier. Treat the relay as the objective and avoid converting a simple component hunt into a prolonged mortar engagement.
Once the relay is in hand, keep it as the focal point of the run. Losing track of the fact that this quest has a required carried item can result in reaching Cielo Sereno Observatory only to discover that the rooftop interaction cannot begin.
Related coverage includes Arc Raiders: Ruins and Reverberations Quest Walkthrough.
Bring a traversal tool for the observatory roof
Cielo Sereno Observatory sits on the northeast side of the Pendola Pass map. Reaching the correct antenna is easier with a mobility item: a grappling hook, zipline, or snap hook is recommended. The quest destination is on the exterior roof, and the job requires going up there twice—once to install the relay and once after repairing the wiring.
These tools are not described as a formal quest requirement, but they are sensible preparation because the roof is an integral part of the route rather than a decorative backdrop. A traversal option can make the approach and return less cumbersome while keeping the player focused on identifying the right antenna.
At the observatory, move onto the outer roof and look for the antenna on the south side at the building’s midpoint. There are multiple antennas, which is why the directional cue matters. Do not assume the first available rooftop interaction is the quest target. The south-side, halfway-positioned antenna is the one connected to Ruins and Reverberations.
Install the relay first, even though it fails
Interact with the specified antenna and use the Spotter Relay. The result is a failure rather than an immediate completion. This is expected: the mission is built around diagnosing and correcting the problem after the initial installation.
The failed attempt establishes the next task: power has to be redirected by welding the wires in the crawlspace beneath the control room. Players who leave after the first activation will be abandoning the quest before its repair stage. The good news is that the fix is still within the observatory; there is no indication that another component or a second Spotter Relay is necessary.
Why the route can be easy to miss
The wire interaction is not on the exposed roof, nor is it simply waiting in the first interior room below it. The relevant route runs through a dark crawlspace beneath the building’s main interior and above its catwalks. That vertical layering explains why a player can be near the antenna geographically without seeing the repair point immediately.
The key is to use the openings in the roof to drop back into the main observatory. From there, search nearby rooms for a hole in the floor that leads into the crawlspace. This is the entrance to the understructure required by the objective.
Find and weld the wires beneath the antenna
- Drop through one of the roof openings into the main observatory.
- Search the nearby rooms until you locate a floor opening leading into the dark crawlspace.
- Enter the crawlspace, which runs beneath the building interior and above the catwalks.
- Travel as far south as possible.
- Follow the southern corridor until you are directly below the rooftop antenna where the relay was used.
- Use the wire-welding interaction point to redirect the power.
The directional language is the most valuable navigation aid here: go south in the crawlspace, then continue along the corridor until you are beneath the antenna. Rather than searching every accessible segment at random, use the rooftop target as an anchor. You started at a southern antenna halfway along the building; the repair point is positioned underneath it.
Welding in this quest means performing the contextual interaction at the damaged wire point to restore the power path. The task is not presented as a crafting requirement or an item-gathering step. Once the correct interaction point is found, the repair advances the objective and sends the player back to the roof.
Return to the roof and plan around the noise
After welding the wires, return to the same south-side rooftop antenna and interact with it again. This second activation completes Ruins and Reverberations, but it is intentionally conspicuous. The sound is loud enough that Arc and other players can hear it.
That warning has practical implications. Before triggering the antenna, it is wise to remember that completion does not necessarily mean immediate safety. The noise can advertise the observatory as a point of interest, potentially bringing danger toward the area just as the objective is finished. The quest’s rewards are obtained upon extraction, so getting the final interaction is only one part of preserving the value of the run.
A disciplined sequence is therefore: finish the wire repair, regain rooftop access, activate the antenna, then prioritize leaving the area rather than lingering solely because the mission has changed state. The supplied details do not establish a required extraction route or a particular combat tactic afterward, but the audible signal makes awareness of nearby threats especially important.
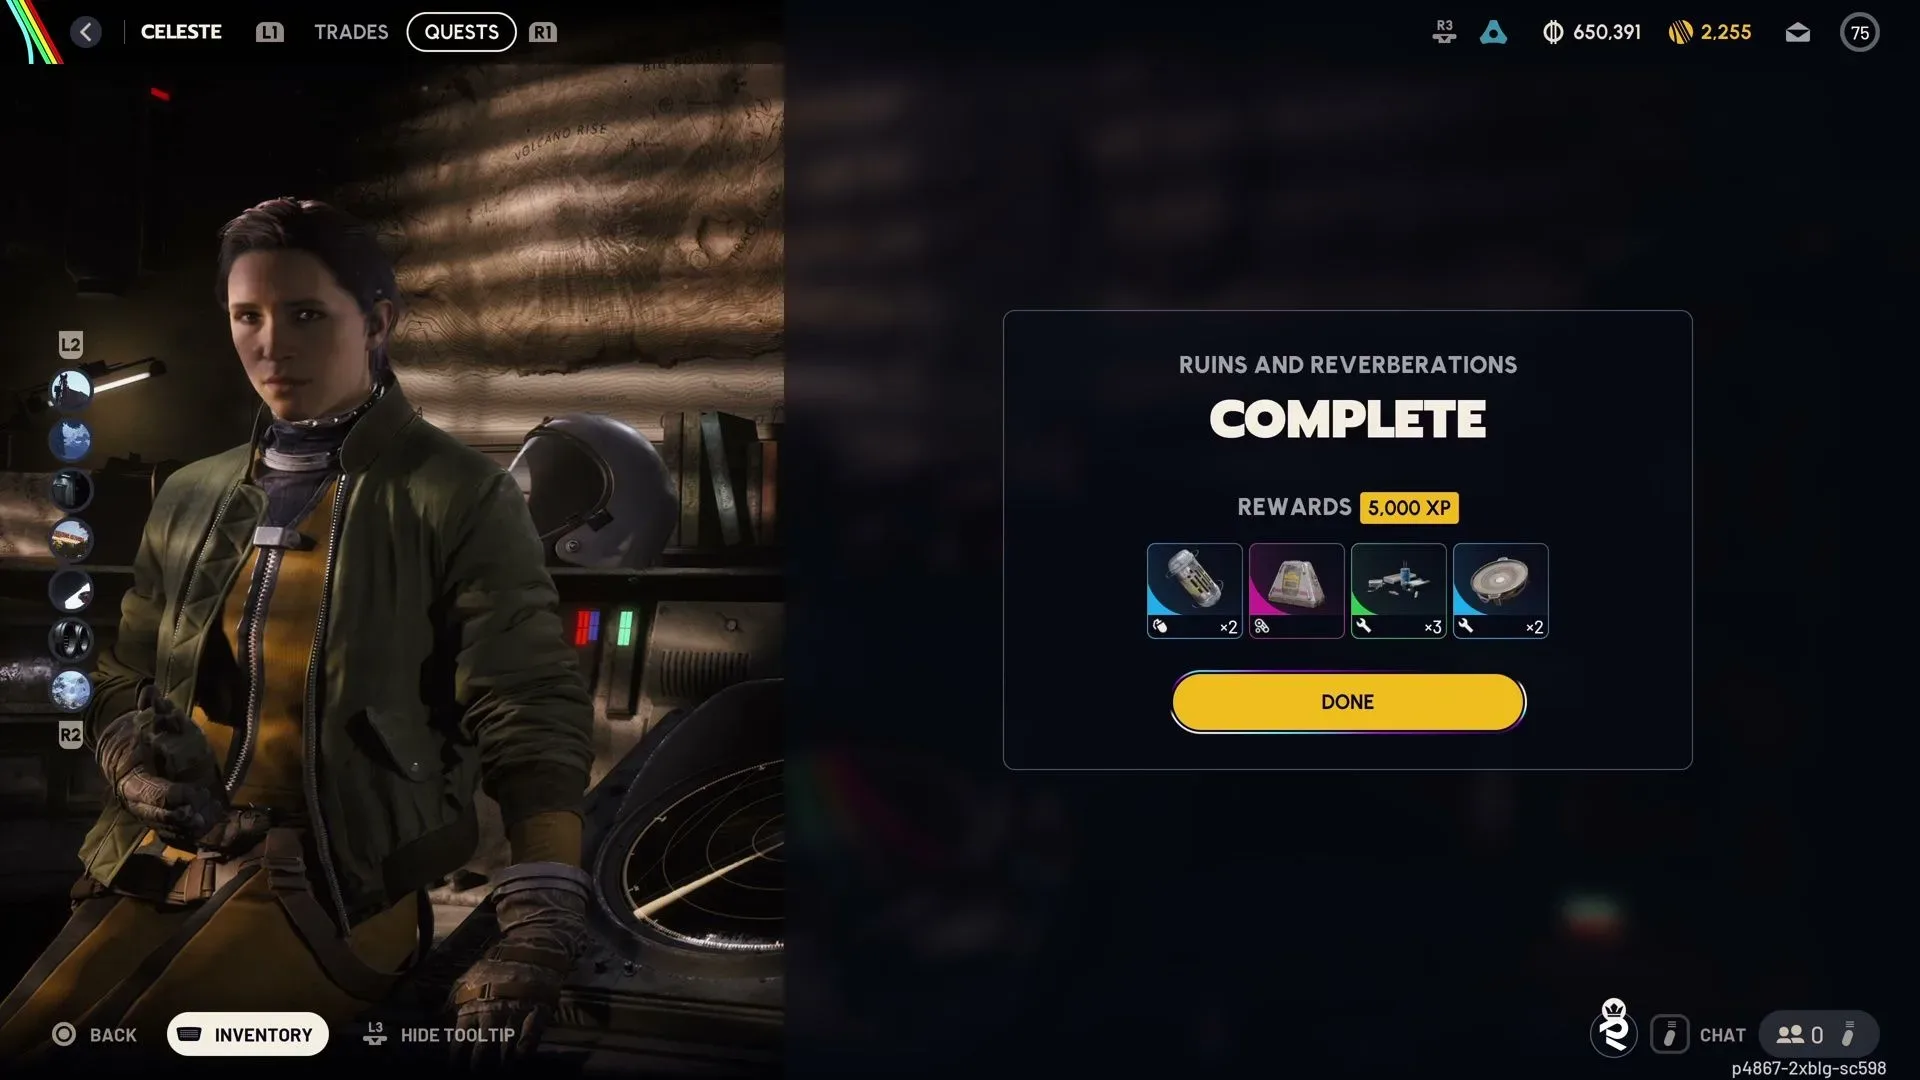
Ruins and Reverberations rewards
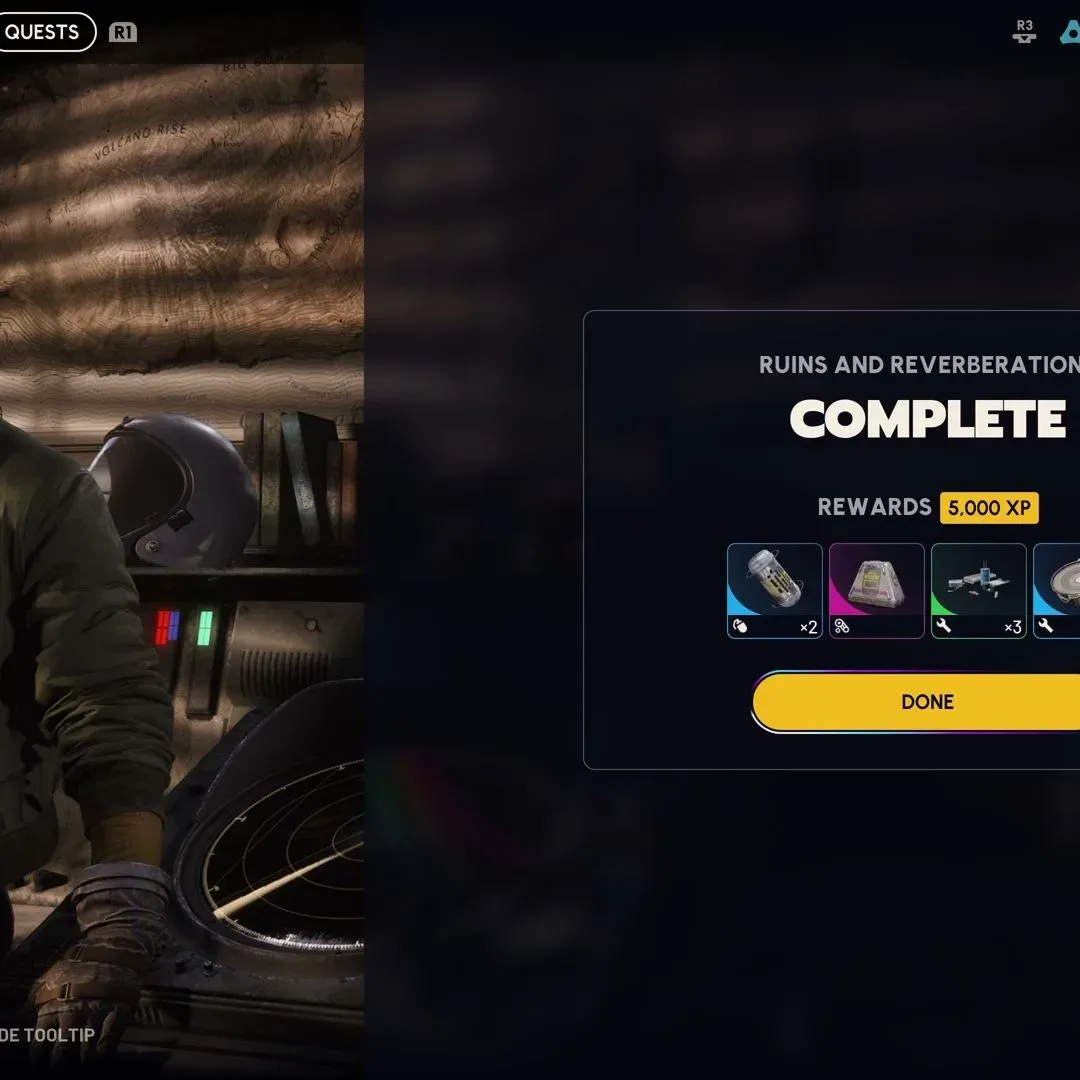
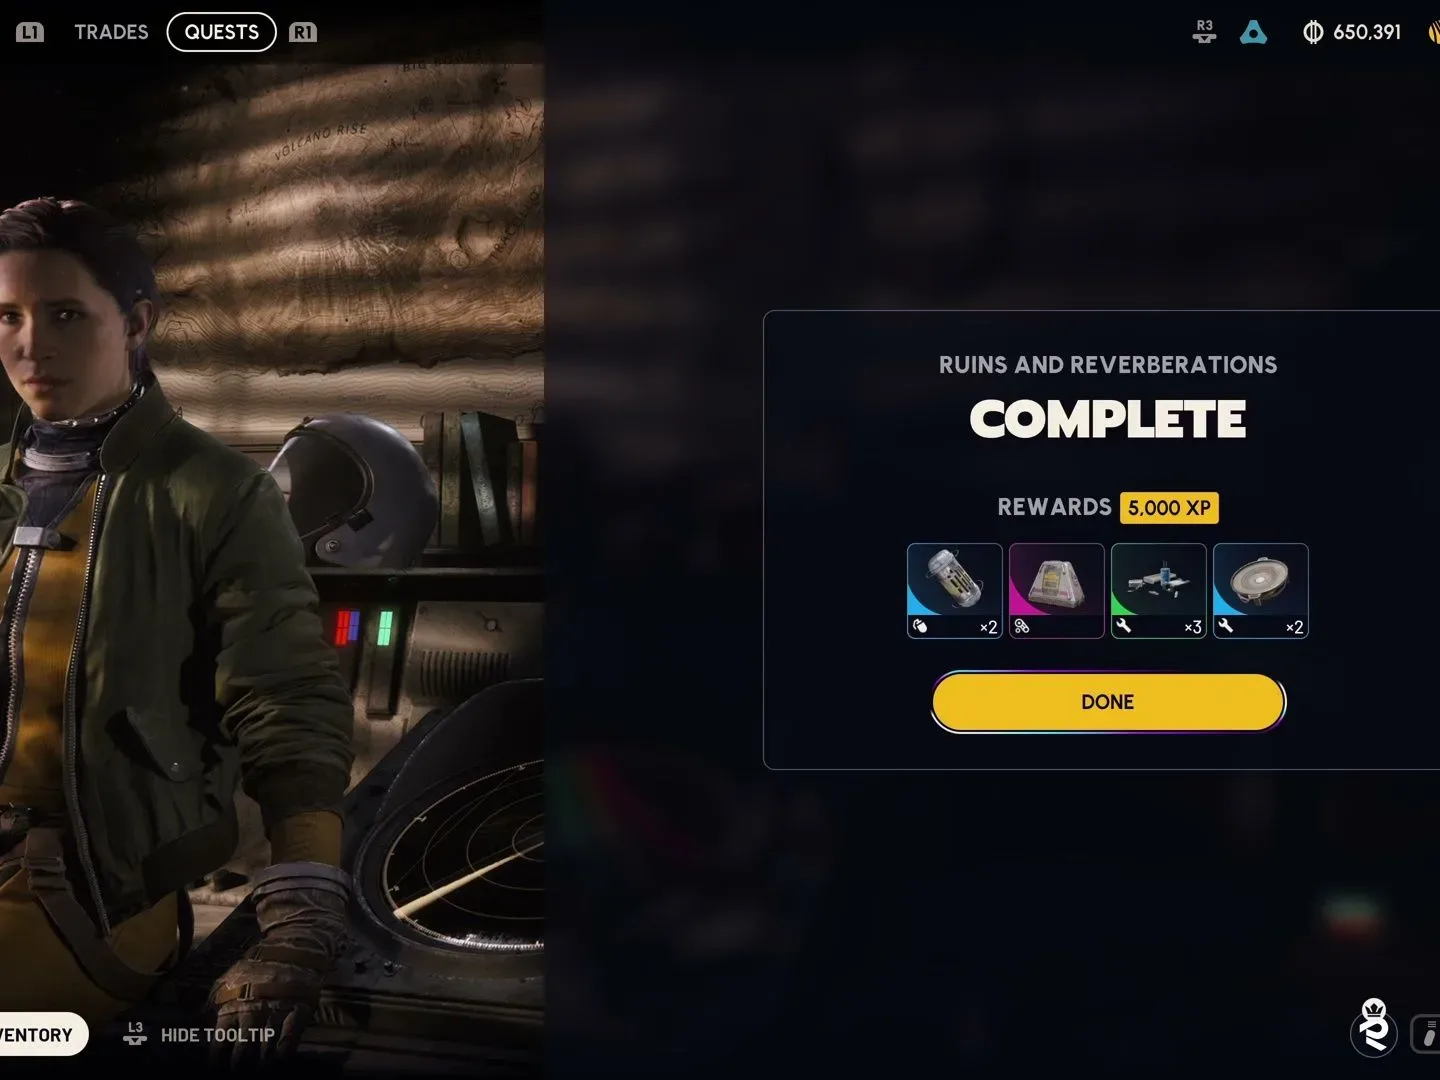
Once the quest has been completed and the player extracts, the listed rewards are:
- 2 Smoke Grenades
- 1 Looting Mk.3 (Safekeeper) Augment
- 3 Electrical Components
- 2 Speakers
- 5,000 XP
The Smoke Grenades are especially fitting alongside a mission that may draw attention at its endpoint, although the quest information does not prescribe how they should be used. Electrical Components and Speakers are also included alongside the Looting Mk.3 (Safekeeper) Augment, while the 5,000 XP provides the direct progression reward.
Quick checklist
- Defeat a Spotter and collect its Spotter Relay.
- Avoid letting the paired Bombardier establish your position; disengage if needed.
- Travel to northeastern Pendola Pass.
- Bring a grappling hook, zipline, or snap hook to help with roof access.
- At Cielo Sereno Observatory, locate the south-side antenna around the building’s midpoint.
- Install the relay, then drop back into the observatory through a roof opening.
- Find the floor opening into the crawlspace.
- Head south beneath the building and weld the wires below the antenna.
- Return to the antenna and activate it again.
- Expect the completion noise to be audible to Arc and other players, then extract to claim rewards.