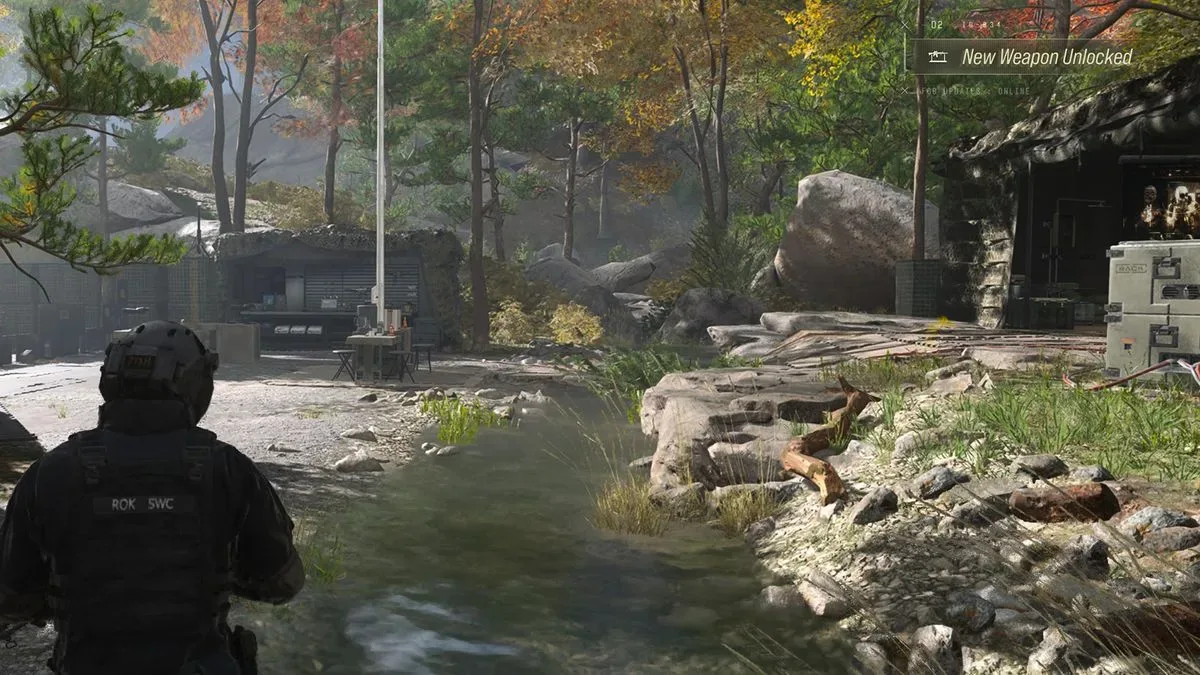
Weapon Manuals are among the most consequential items to pull from a Modern Warfare 4 DMZ run because they turn a successful loot find into a lasting base upgrade. A manual becomes a weapon recipe after extraction, adding that weapon to the pool you can purchase from the Gunsmith later. In short: this is not simply a gun you use for one match. It is progression tied to getting an item out alive.
That makes the search more complicated than following a single spawn route. Weapon Manuals are governed by random loot distribution, so no crate, room or landmark is guaranteed to contain one. The sensible approach is to focus a run on containers and areas associated with better odds, while still checking unexpected loot along the way. A manual can appear outside the obvious military sites, including in ordinary world containers.
What Weapon Manuals do in MW4 DMZ
A Weapon Manual is effectively a blueprint or recipe unlock. If the player carrying it successfully extracts, it automatically converts at their base into a recipe for that weapon. The unlocked weapon can then be bought permanently through the Gunsmith.
Permanent access does not mean a free weapon. Gunsmith purchases still cost money, and that cost rises as additional attachments or other elements are included in the crafted version. The manual therefore removes the problem of not having the recipe; it does not remove the resource cost of building a customized weapon.
There is also an important squad limitation. The conversion applies to the player who is holding the manual when extraction succeeds, not automatically to everyone in the squad. For coordinated teams, that means the intended recipient needs the manual in their own inventory before leaving the map. A squad can help one another find and protect a manual, but possession at extraction is what determines who receives the recipe.
The best places to look for Weapon Manuals
The locations below are not certainties. They are the strongest search targets because they are associated with higher-value military loot, locked loot rooms or improved rewards in more hazardous parts of the map.
1. Military containers in compounds and military areas
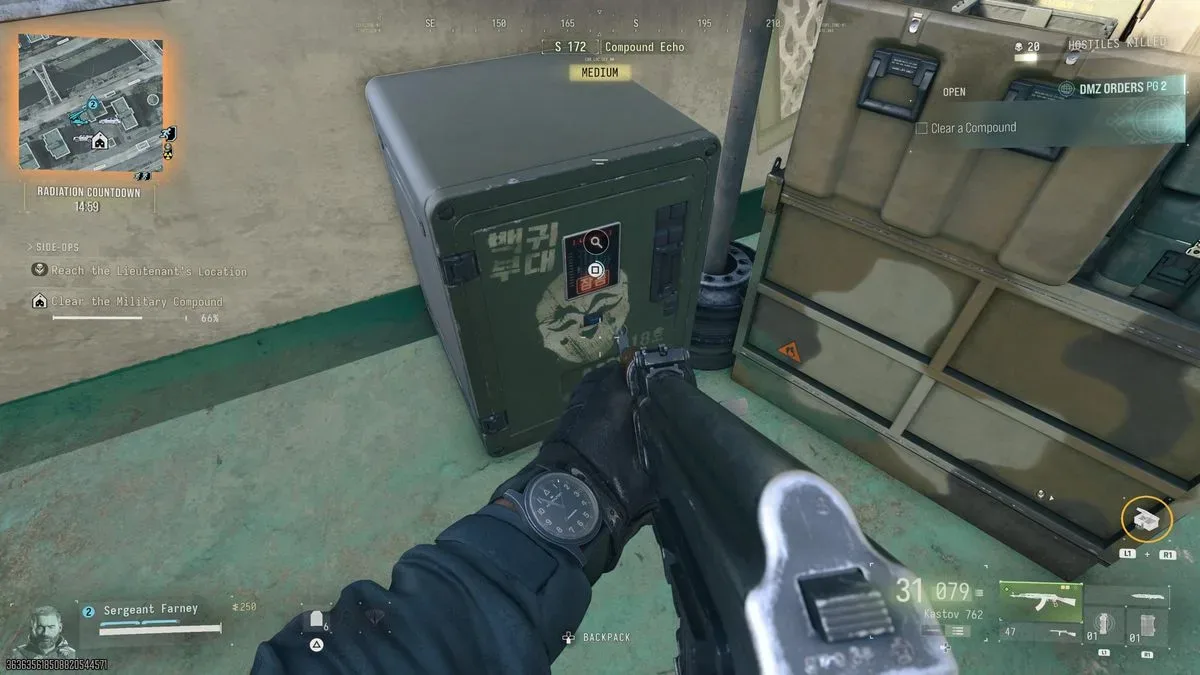
Military-style crates and lockers should be a first priority. These containers fit the item thematically and are more common in compounds and areas with a military focus. If a route passes through one of those locations, search the containers before spending time on lower-priority structures.
This is the most straightforward option for players who want to chase manuals without necessarily committing to the map’s most dangerous zones. The trade-off is that the higher chance remains a chance, not a promise. A military compound can still produce no manual at all.
Related coverage includes MW4 DMZ Weapon Manuals: Best Loot Spots and Extraction Tips.
2. Safes
Safes can appear in different types of locations and are an important manual target despite being relatively uncommon. Opening one takes longer than opening standard containers because the Operator must hack it. That added interaction time is the practical risk: players are exposed while the safe is being accessed.
Before starting the hack, treat the safe as an objective rather than casual loot. Clear immediate threats where possible, have teammates cover entrances if playing in a squad, and consider whether the current danger level justifies staying in place. A safe may be valuable, but it is not automatically worth losing an already-held manual or other crucial extraction loot.
3. Weapon lockers and locked armories
Weapon lockers and armories are another strong route because they are dedicated weapons spaces. These rooms reliably require keys, which introduces a second layer to the hunt: first acquire a suitable key, then read its description to identify the specific locked room it opens.
Keys can be found randomly or earned as mission rewards. In practical terms, that makes armory runs less spontaneous than searching crates. If you have a key, it is worth deciding whether the named room is reachable and whether the route supports extraction afterward. A key is an opportunity, not proof that a manual is waiting behind the door, but the locked-room loot pool is a better bet than wandering through ordinary interiors.
4. Police Stations
Police Stations have become a notable community-reported option for manual searches. There are five around the map, giving players multiple places to incorporate into routes rather than relying on one single building. Reports of strong luck there should be read as a useful farming lead, not a confirmed fixed spawn rule.
That distinction matters. If a Police Station is nearby, it is a worthwhile stop. If it is far away, heavily contested or requires crossing dangerous territory, there is no guarantee that the detour will pay off. The best route is usually one that checks a Police Station alongside other high-value container types, rather than treating any one building as a mandatory destination.
5. Red and Yellow Zones, including the northeast reactor
Red and Yellow Zones bring greater danger but also tend to offer stronger loot. Players seeking Weapon Manuals can improve their odds by accepting that risk, particularly around the nuclear reactor in the northeast of the map. This is the high-stakes option: better potential rewards are paired with a greater chance that reaching the loot or extracting with it becomes difficult.
A manual has no lasting value until it has been extracted. That is why a high-danger run should account for the return trip from the beginning. Diving into a hot zone may be appropriate when a team is prepared, has a workable exit plan and can protect the player carrying any manual. It is much less appealing when the squad is already depleted or deep in the map with no credible path back.
Random loot means you should search broadly
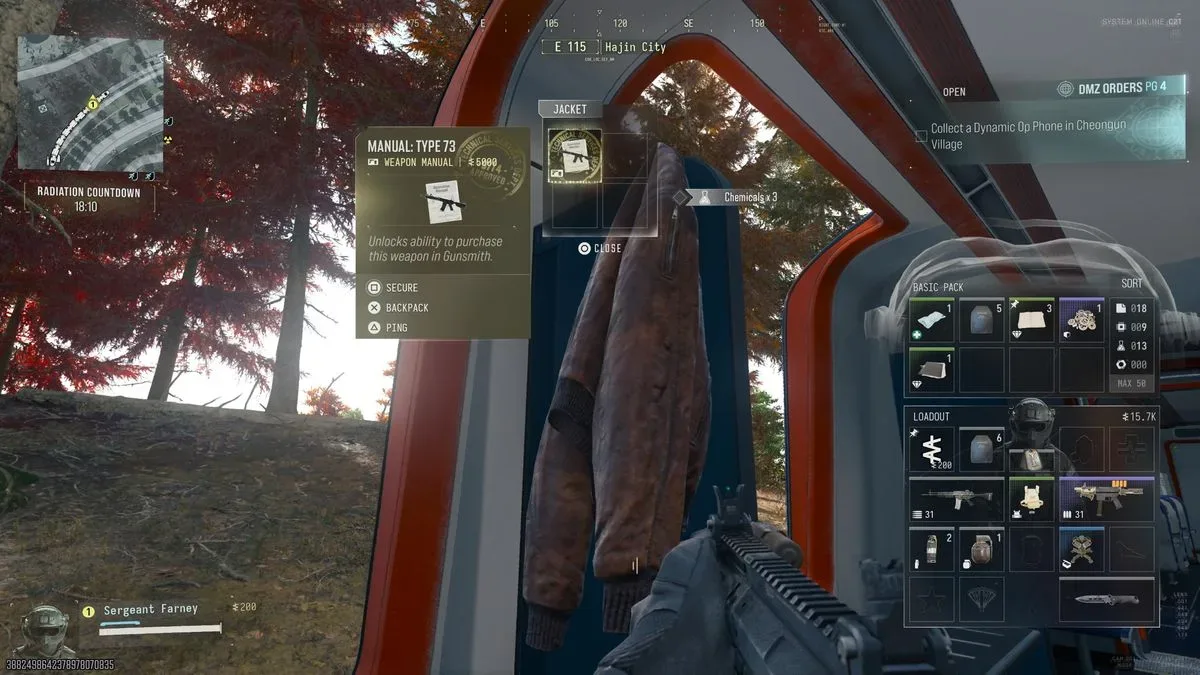
The listed targets improve the odds, but Weapon Manuals can appear anywhere. One reported find came from a discarded jacket on the train that circles the map. That is a useful reminder not to ignore ordinary interactable objects merely because they do not look like premium military loot.
For efficient searching, use a priority order rather than a rigid belief that only one class of container matters:
- Check safes, locked armories, weapon lockers and military containers when they are safely accessible.
- Include Police Stations and military compounds when they fit the route.
- Search regular containers encountered while moving between those higher-priority targets.
- Decide whether Red or Yellow Zone loot is worth the added danger for the run’s current state.
- Once a manual is secured, shift the goal from finding more loot to preserving that unlock through extraction.
This approach respects the central uncertainty of DMZ looting. It avoids wasting a match repeatedly checking one supposed “guaranteed” spot that is not actually guaranteed, while still directing attention toward places with better potential.
Extraction is the real finish line
Finding a Weapon Manual is only the first half of the job. Keep it in inventory and successfully extract to trigger its automatic conversion at base. Losing the manual before extraction means losing the prospective recipe.
That makes inventory ownership especially important in squads. If one player is meant to gain the Gunsmith recipe, make sure that player is the one carrying the item as the team leaves. Do not assume a teammate’s successful extraction will unlock it for everyone else.
There is a broader progression lesson here as well. A manual is a long-term unlock, whereas many other decisions during a run are temporary. Once one is found, the value of avoiding unnecessary fights and choosing a practical extraction route rises substantially. Chasing another container may be tempting, but the manual only becomes useful after the player gets home with it.
How manuals fit into the crafting loop
Manuals widen the menu of weapons available at the base Gunsmith. The eventual purchase price can scale upward with attachments and additional crafted elements, so unlocking a recipe and optimizing its final build are separate decisions. A player may have permanent access to the weapon after extracting the manual while still choosing how much to spend on its configuration.
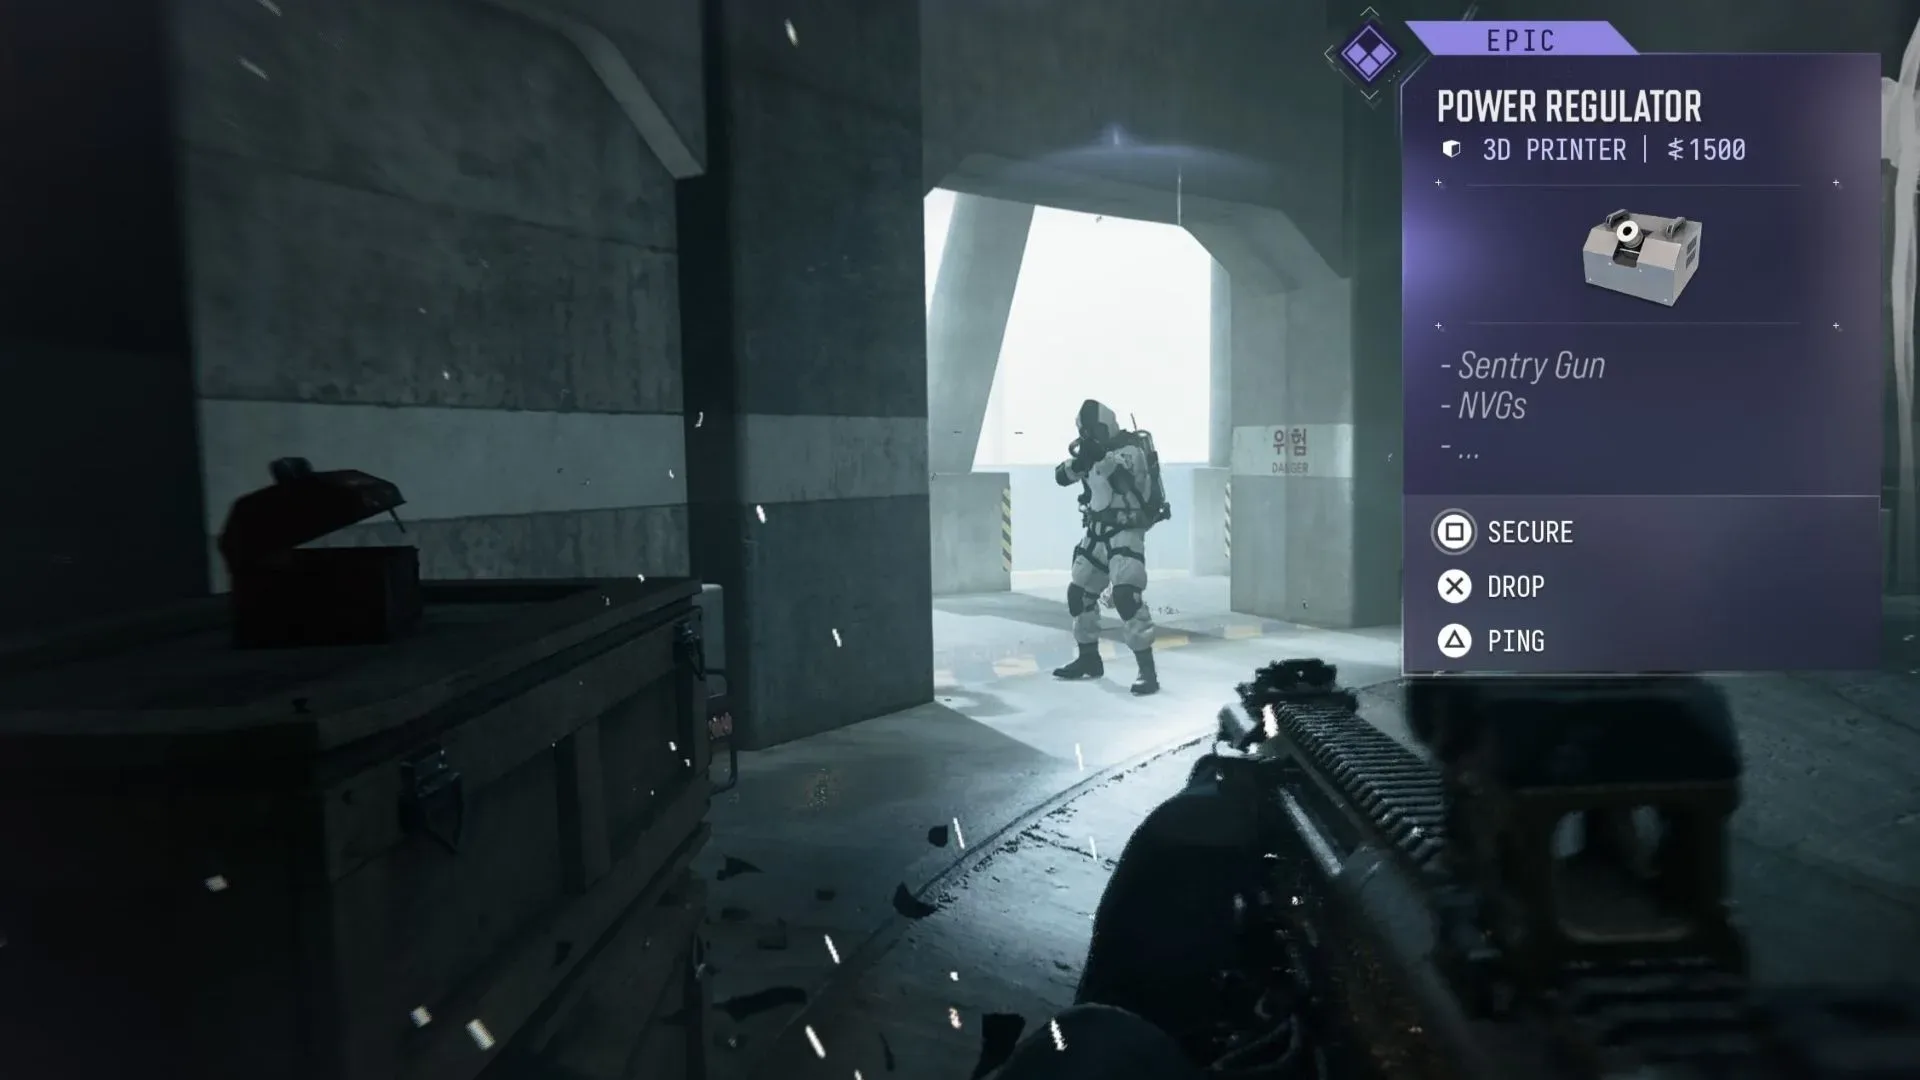
Players working on other base-crafting materials may also be looking for comms modules and power regulators. The overlap is strategic rather than guaranteed: a run built around military loot, locked rooms and higher-risk zones can support multiple crafting goals, but each item remains subject to the mode’s randomized loot.
For a separate look at how a game mode can be designed around avoiding wide performance gaps, see this breakdown of Final Fantasy 14’s Evercold Evolved approach.
A practical MW4 DMZ manual-farming plan
- Enter with room in your inventory for an item you will not want to discard.
- Route through military compounds, military crates and lockers first.
- Open safes when the area can be covered during the required hack.
- Keep any relevant armory keys and read their descriptions to identify the matching locked room.
- Work Police Stations into the route when practical; there are five on the map.
- Use Red and Yellow Zones, especially the northeast reactor, only when the danger matches your run’s readiness.
- Check ordinary loot too, including containers that seem unremarkable.
- When a manual drops, make extraction the priority and ensure the intended player is carrying it.
The key is to treat Weapon Manuals as valuable but uncertain DMZ loot. There is no guaranteed location, and even premium containers can come up empty. Consistently searching the right container types, taking advantage of keys and high-tier zones when appropriate, and protecting the item through extraction is the reliable way to build a larger Gunsmith catalog over time.